This is part five of five in my Use Docker to create a local WordPress development environment tutorial.
In this article, we’re going to review what we learned and put a few final touches on our Docker Compose application to combine everything we learned.
In WordPress and Docker: Introduction to Docker and basic Docker commands, I introduced some high-level concepts around Docker images and containers, and showed you how to get started with the creation, use, and management of Docker resources on the command line.
In WordPress and Docker: Use Docker Compose, I capitalized on the ideas of some other people’s Docker projects that I found on the Web to use Docker Compose to create a project or “application” consisting of three containers: a container from WordPress to provide the Apache and PHP components and the means of installing and using WordPress, a MariaDB container to act as the database service, and a phpMyAdmin container to make it easier to work with the database. Once you create your docker-compose.yml file, you can create your WordPress environment with just one command: docker-compose up -d.
In the WordPress and Docker: Customize a Docker container article, I demonstrated how you could make changes to a Docker container by adding and updating packages and changing the PHP configuration. Then I demonstrated how to persist those changes by committing the container as your own, locally stored image.
WordPress and Docker: Build custom images with Dockerfiles showed how you can automate those customizations and create a new image without even running the image as a container by using Dockerfiles. Then I showed how to include those images in your Docker Compose project.
Now I will show you one final trick around Docker Compose and Dockerfiles. At this point the addition will be somewhat simple: You can issue the docker build command from within Docker Compose.
To demonstrate this, I have created a “final” version of my Docker Compose application. The steps I took to create it are outlined here.
A final change to Docker Compose
- Navigate into the
dockerdirectory.$ cd ~/Documents/docker - Duplicate the Docker Compose project in the
wpdirectory.$ cp -r wp/ wp_final/ - Change into the new directory.
$ cd wp_final/ - Open the
docker-compose.ymlfile inwp_finalin your text editor. - Look for the
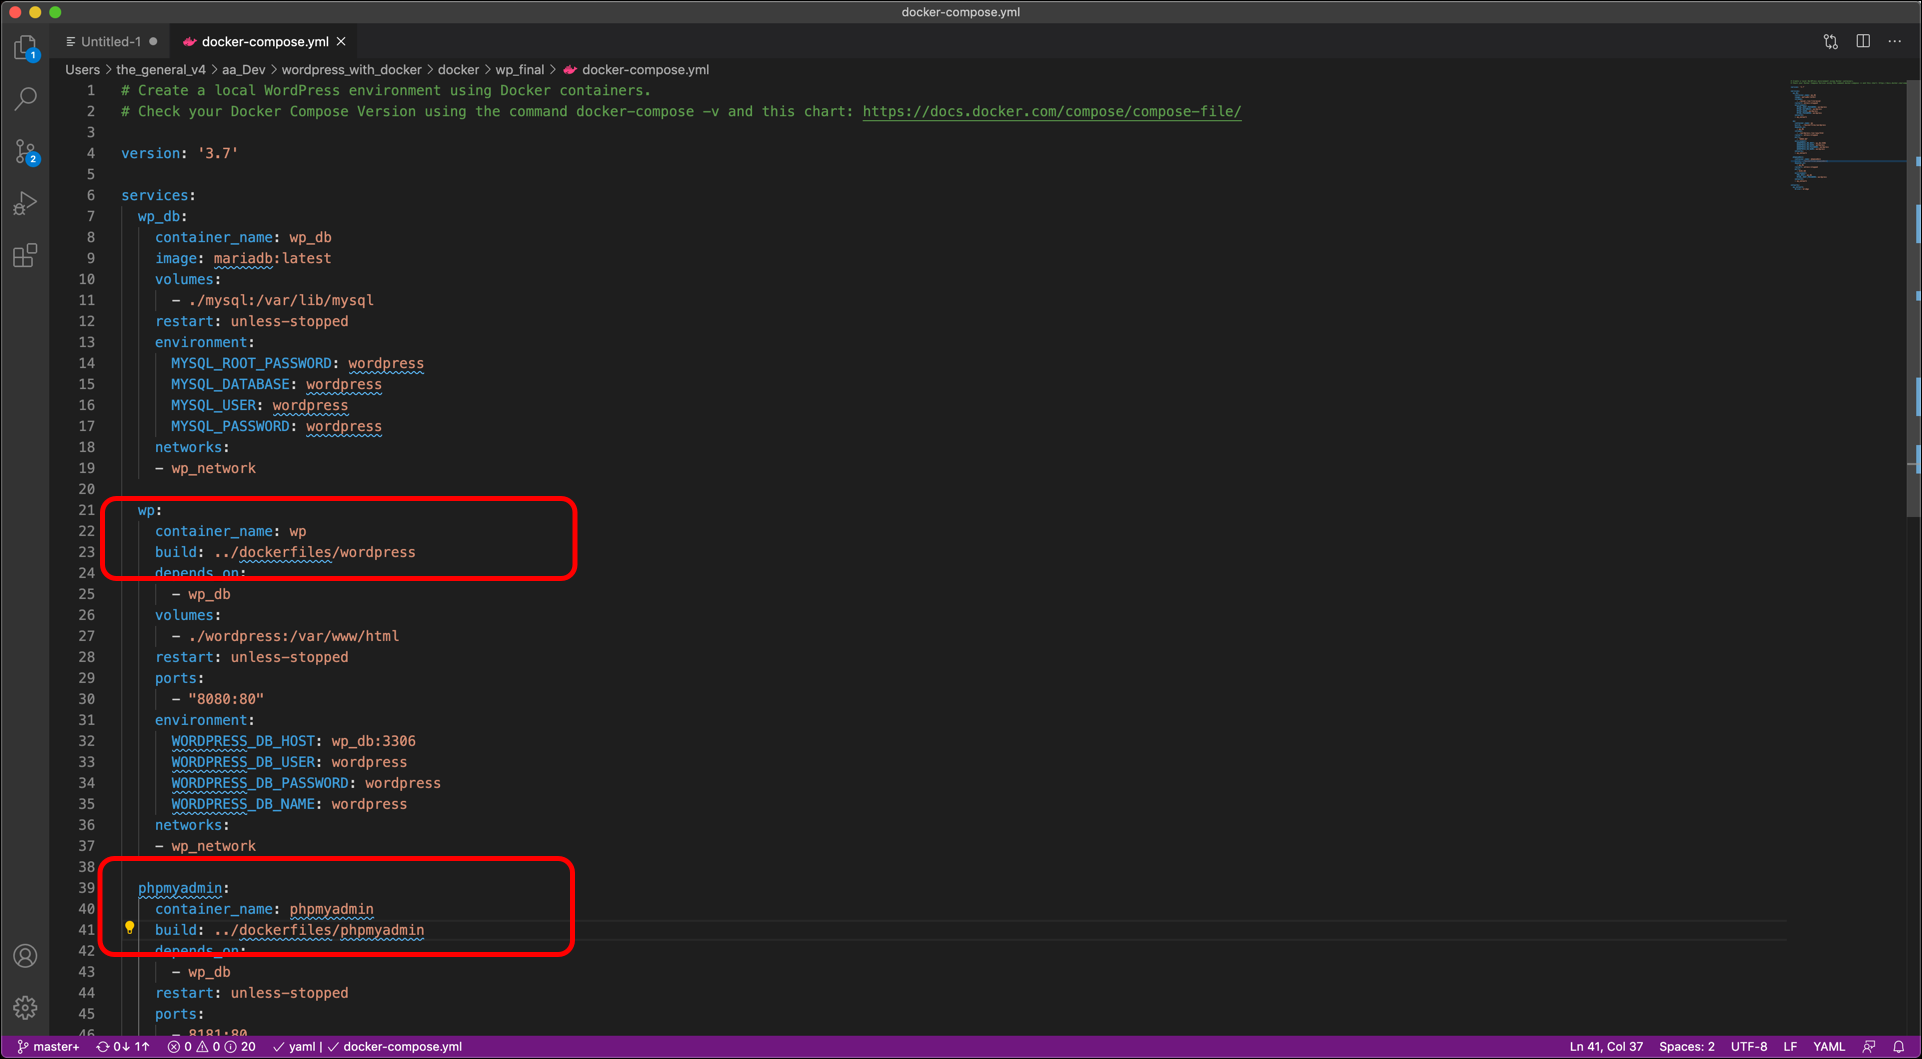
image:key underwp(the WordPress container). We’re not going to useimage:in this configuration, so replaceimage:withbuild:. - The value for
build:is the path to our WordPress Dockerfile. Based on what I put on GitHub, that looks like this:build: ../dockerfiles/wordpress - Find
image:underphpmyadmin(the phpMyAdmin container) and replace it withbuild:and the path to your phpMyAdmin Dockerfile:build: ../dockerfiles/phpmyadmin
- Save
docker-compose.yml.
Clean up the Docker environment
Before we run Docker Compose for this project, I want to clean up the environment, just so you see the entire process from start to finish. That includes removing our existing Docker Compose project as well as removing all of the images we have installed on the local machine.
- Navigate to the existing Docker Compose project that is currently running:
$ cd ~/Documents/docker/wp - Tear down the existing Docker Compose project:
$ docker-compose down - Remove all of your Docker containers:
$ docker rm $(docker ps -a -q) - Remove all of the Docker images you have pulled or built:
$ docker rmi $(docker images -a -q)
Run the new Docker Compose project
- Navigate into the new
wp-finaldirectory:$cd ~/Documents/docker/wp_final
- Before creating the containers, pull the images:
$ docker-compose pull

- Enter
docker imagesand you will see that the only image that was pulled was themariadb:latestimage that comes from Docker Hub.

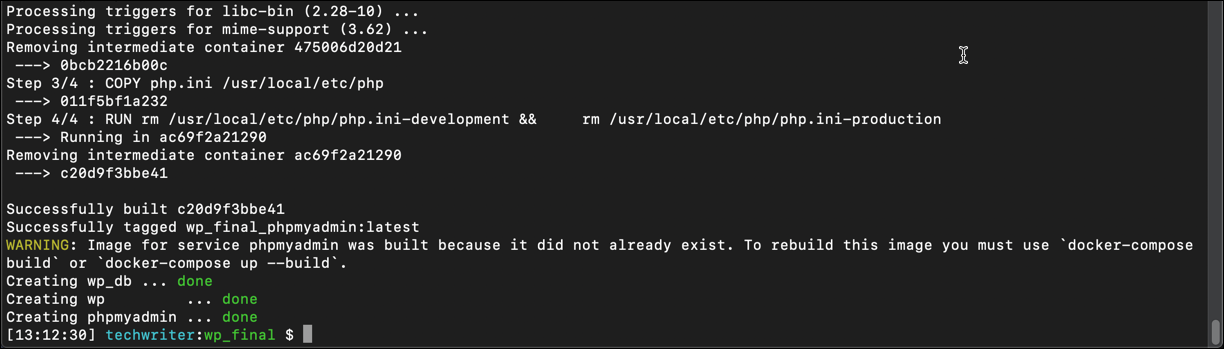
- Now build from your Dockerfiles and create your containers and network with the same command you have been using:
$ docker-compose up -d
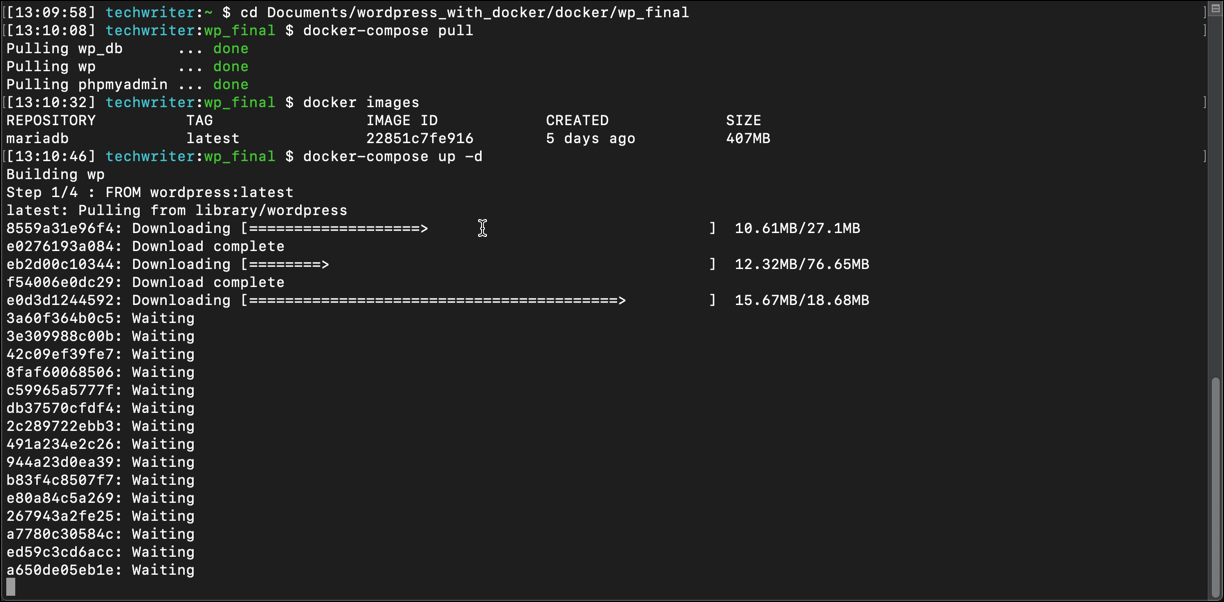
- You can watch all of the output and see some of the step, container, and
Successfully builtmessages throughout the process.
- When Docker Compose is done, enter
docker ps -ato check the status of you containers.

- You can also enter
docker imagesto see what images are now on your machine.

One final note…
I am just caught this while writing this so I thought I would point it out. My new Docker Compose application has two new images, which were built when Docker Compose referred to my Dockerfiles by path. But when I list my Docker images, I notice that those two images were not named by me, and instead Docker named them:
wp_final_phpadminwp_final_wp

It looks like the names were based on the path to the Dockerfile. In the Docker Compose file, we represented this with ../dockerfiles/wordpress. It looks like Docker concatenated the name of the directory where the Docker Compose file was located (wp_final) with the name of the directory the Dockerfile was located in (phpmyadmin and wp). I researched it some more, and you can assign your own name to the image by using build: to identify the Dockerfile and the image: key that we removed like this: image: <name>:<tag>.
Conclusion
One of the great things about Docker and the way it allows you to create, use, destroy, and recreate containers, is that you can perform this task on an application – in our case, a local WordPress development site – without breaking or deleting any of your data. So when the new Docker Compose application comes up with three new containers, two of which are newly built from my own Dockerfiles, my WordPress site was still intact. Those two directories for mysql and wordpress are not changed by Docker, so my database still works, the contents of wp-content – all of my images, themes, and plugins – is still there, and the site itself is unchanged. But we completely replaced the infrastructure that the site is running on. It’s a great example of Infrastructure as Code (IaC).
That’s it for my WordPress and Docker tutorial. I hope it was informative. Thank you to all of the creators of the content that gave me the ideas I needed to do this for myself and demonstrate it to you, the reader.
As I said, I am limited in what I can actually “apply” my knowledge to both in terms of interest and skill level, which is why I am always using WordPress as the example. In addition to running your own local WordPress site while learning some valuable lessons about containerization, I hope you can do something else with what you learned here.