Update: May 2020
This article was originally created in 2018 and completely updated in May 2020. I will not be updating it going forward.
This is part of my Introduction to Hosting WordPress on Amazon Web Services (AWS) tutorial.
In this tutorial I will go over the steps needed to access your WordPress files by connecting to an Amazon Web Services (AWS) EC2 instance over FTP (or, more accurately, SFTP) using an FTP client.
- I am using macOS.
- The FTP client I am using is called Cyberduck, but these instructions should be easy enough to use with another FTP client, such as FileZilla.
- I need the host address and login credentials for the server I am trying to connect to, including the private key needed to authenticate an SSH connection with the server.
- If you have already read and tried to follow along with the instructions in WordPress on Amazon EC2: Connect to an Instance via SSH, some of these steps will be familiar to you.
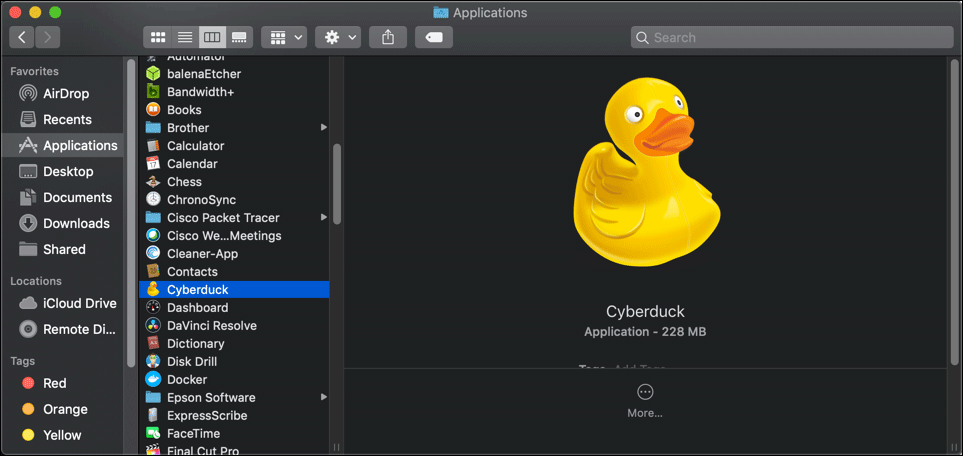
- Open Cyberduck from the Applications folder.
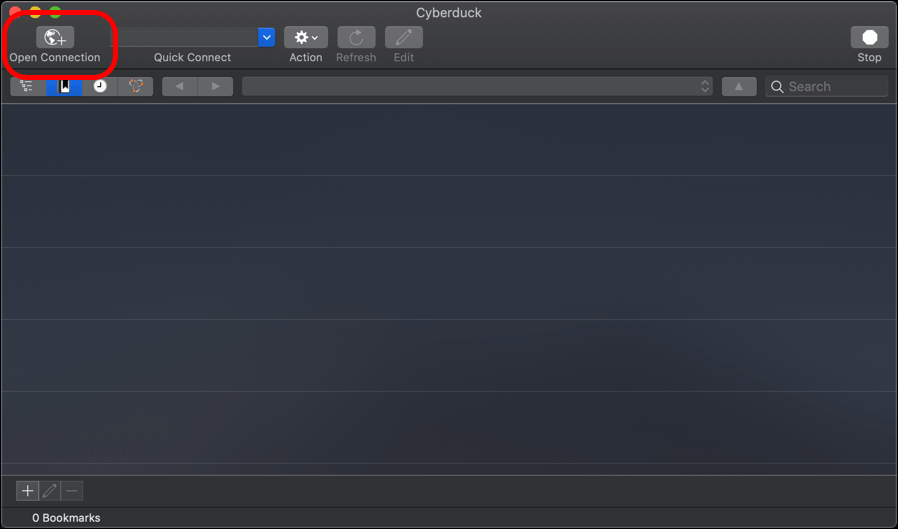
- Click the Open Connection icon in the top-left corner of the Cyberduck browser.
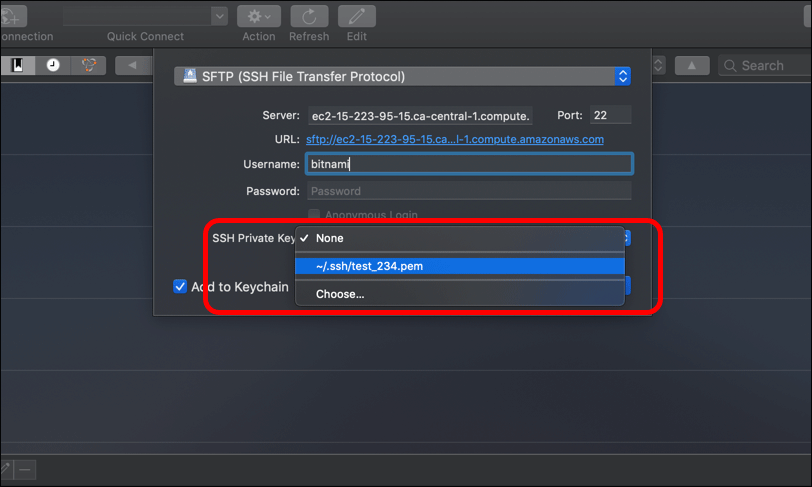
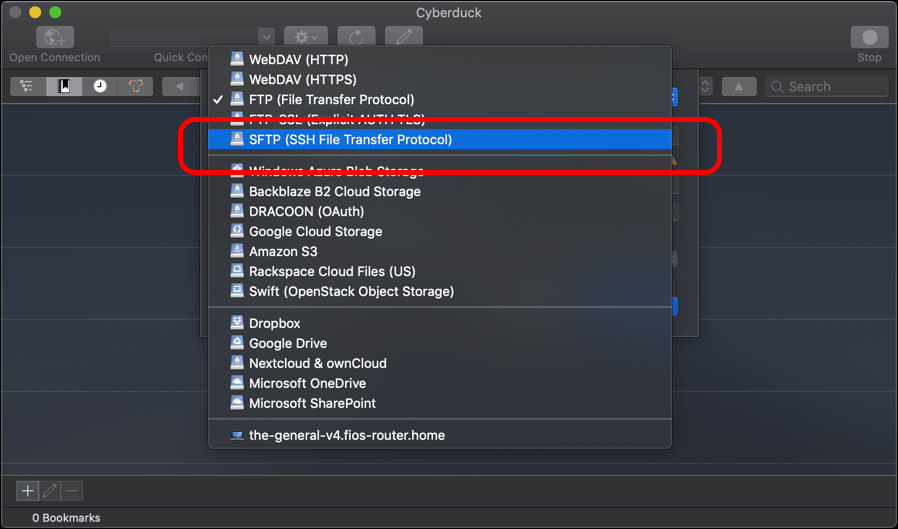
- Click the drop-down menu at the top of the pop-up, which defaults to FTP (File Transfer Protocol). Select SFTP (Secure File Transfer Protocol) from the items in the drop-down menu.
- In the Server field, enter the address for your EC2 instance. For example:
ec2-15-223-95-15.ca-central-1.compute.amazonaws.com(the actual address of your own EC2 instance will differ based on its IP address and availability zone).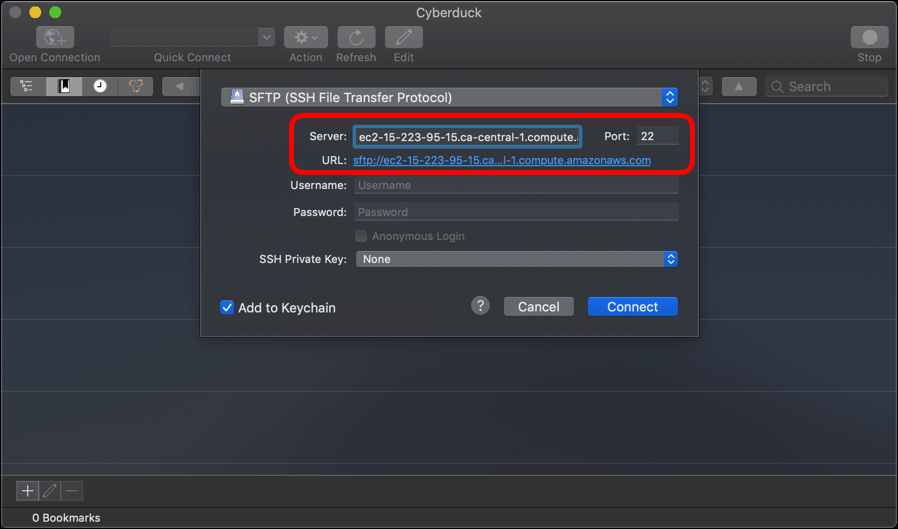
- You can get the IP address for your EC2 instance from the Public DNS (IPv4) field under the Description tab for your instance on the EC2 Dashboard.
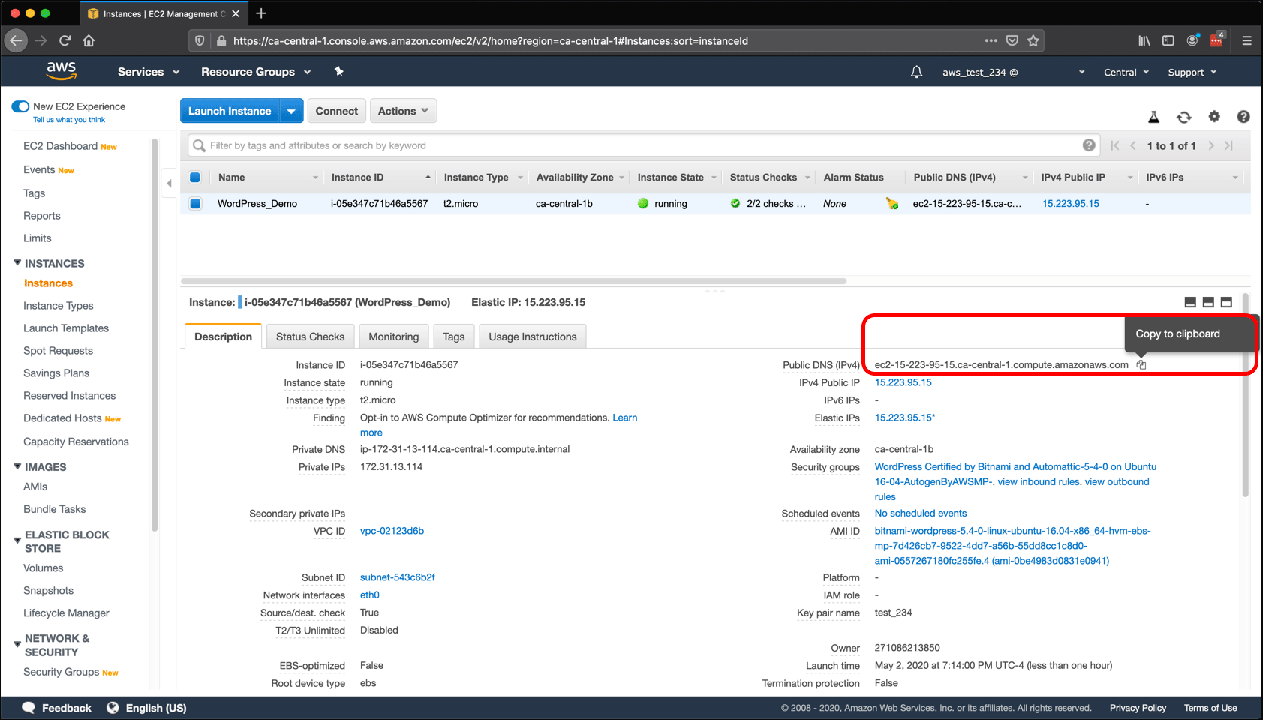
- You can get the IP address for your EC2 instance from the Public DNS (IPv4) field under the Description tab for your instance on the EC2 Dashboard.
- Enter the Username from your login credentials. My EC2 instance was created from the WordPress Certified by Bitnami and Automattic AMI (Amazon Machine Image), and from reading Bitnami’s own documentation, I know that the Username is
bitnami. (This is the same username I used in the SSH tutorial.)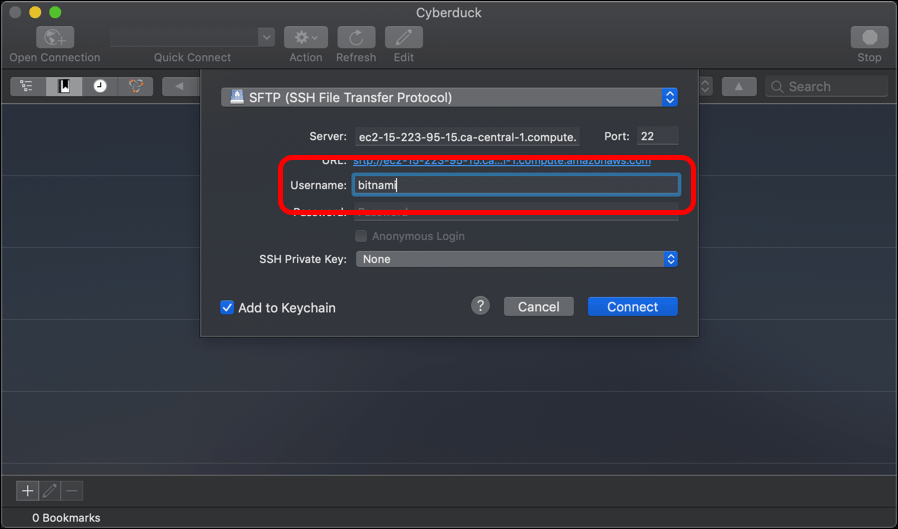
- There is no password. Click the drop-down menu for SSH Private Key. In this example,
test_234.pem, the private key I previously used to connect over SSH using the command line, is included in the drop-down since I added the identity to the SSH agent using thessh-addcommand. Click Choose… if you want to select another private key.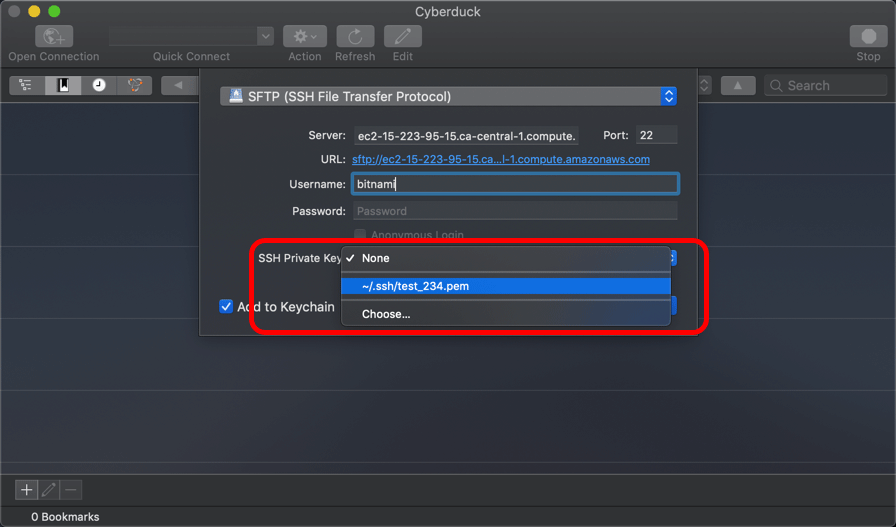
- If you click Choose…, a Finder window opens. Here, it defaults to the
.sshdirectory for the user, which is where I stored thetest_234.pemkey. (The user’s.sshdirectory is a standard location for storing SSH private keys.)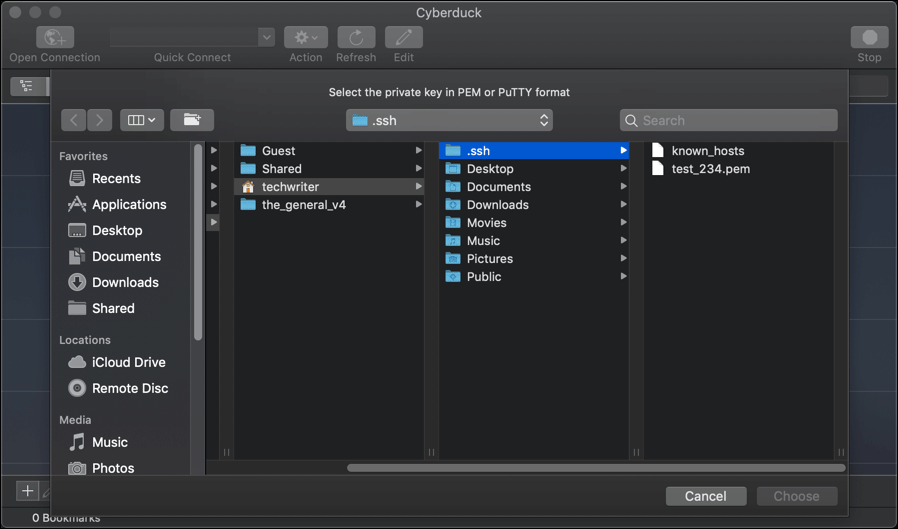
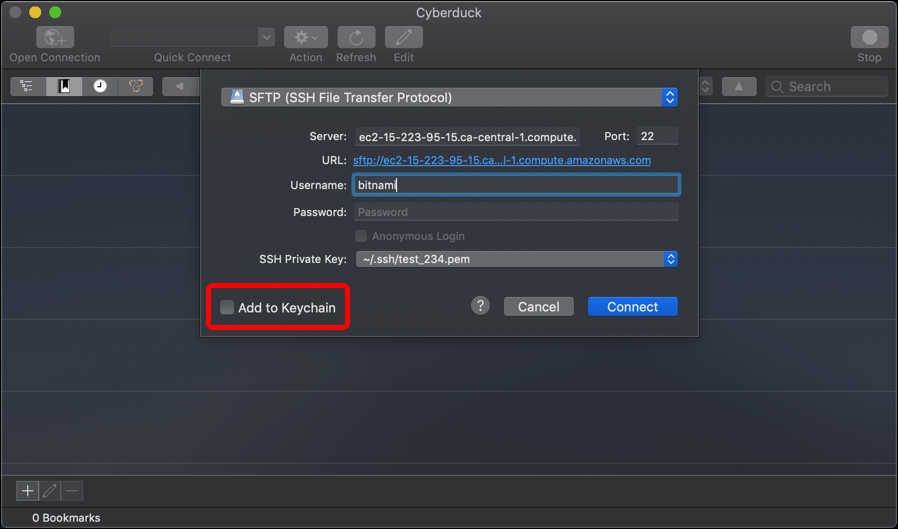
- You have the option to include the private key in your macOS Keychain service. Add to Keychain is selected by default. I cleared the option.
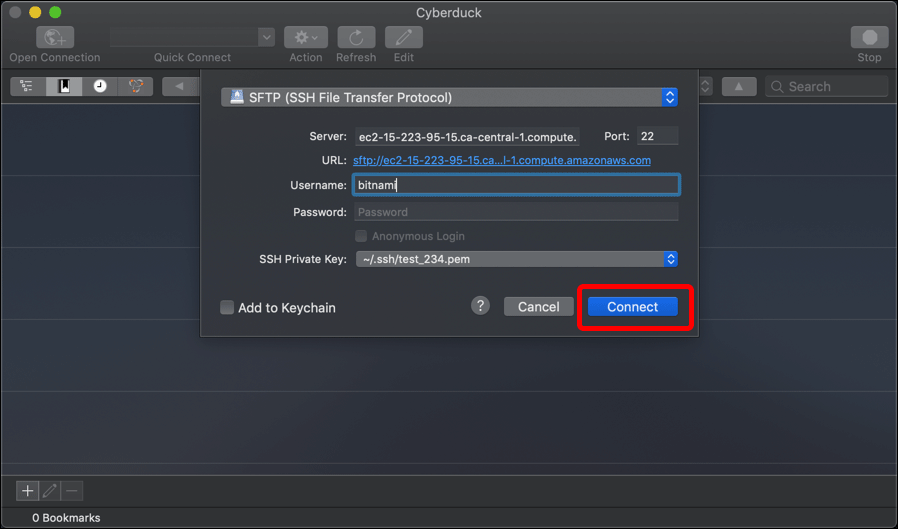
- Click Connect.
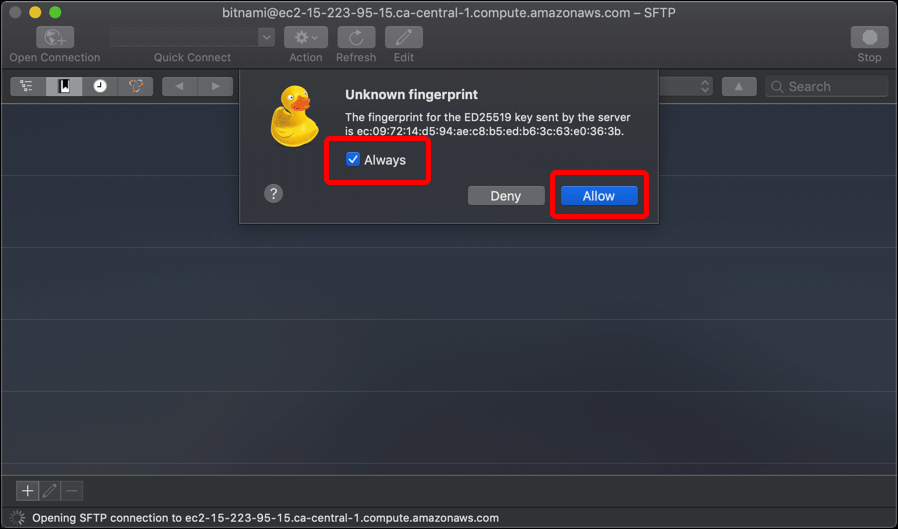
- If this is the first time connecting to the server, you will see an Unknown fingerprint pop-up window, not unlike the one you saw when you logged in for the first time over SSH. Check the Always box and click Allow. (If you do want to check the fingerprint info, you can find it by looking through your EC2 instance’s System Log from the EC2 Dashboard.)
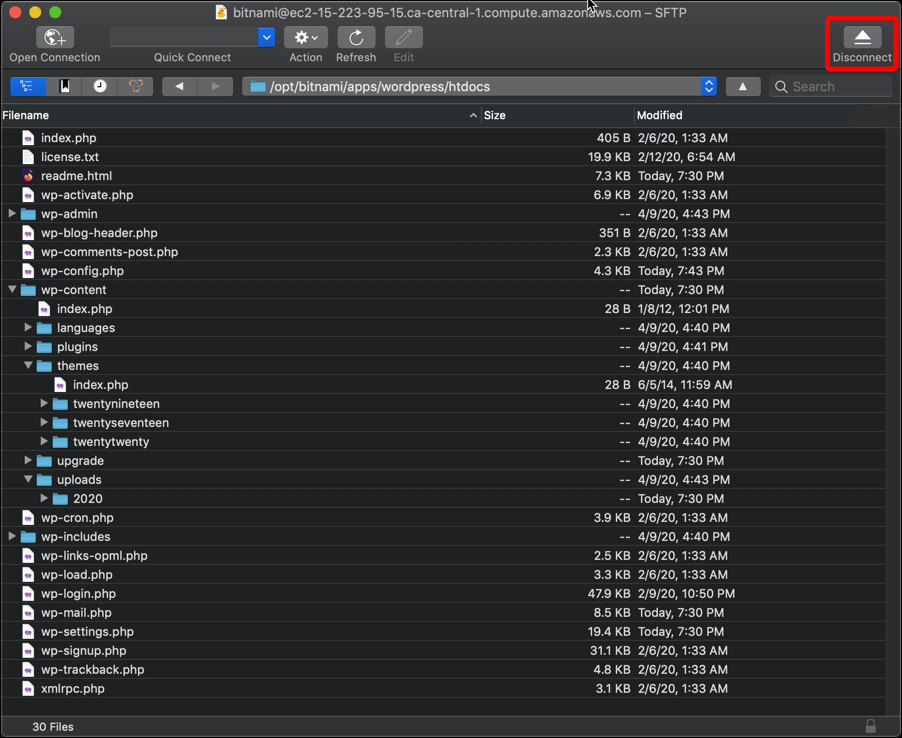
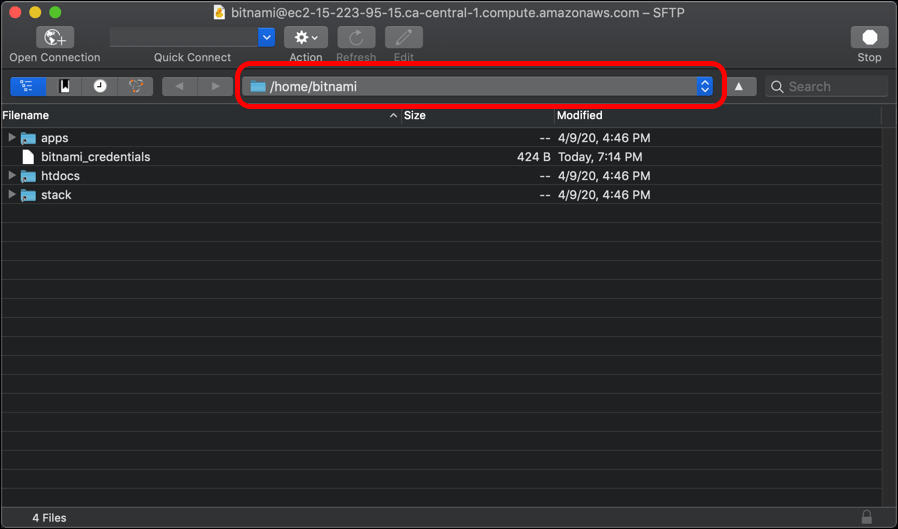
- Now that you have connected, you will see from the address bar at the top of the browser that you are in the bitnami directory (/home/bitnami).
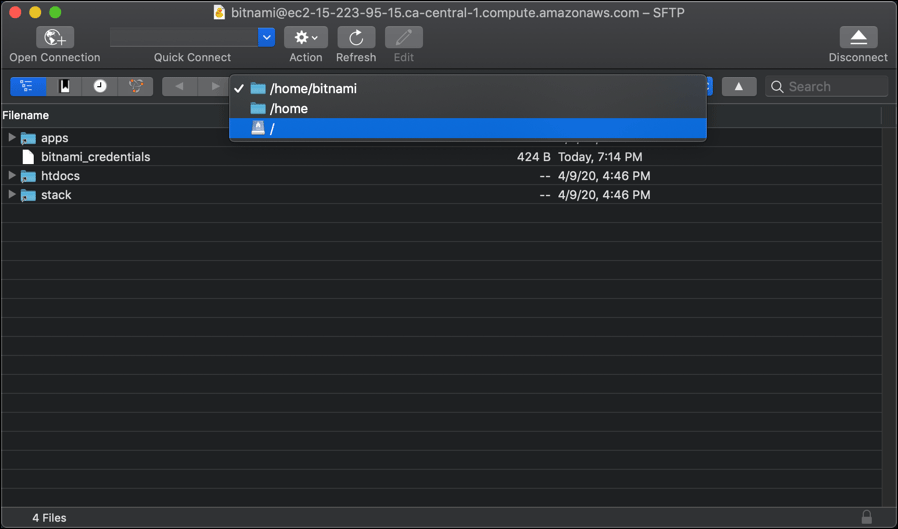
- Click the drop-down menu displays your location and select another destination; I have selected the top-level, or “root,” directory of the instance,
/.
- I know that the WordPress installation is located at
/opt/bitnami/apps/wordpress/htdocs, so from the root directory I can twirl down the arrows of the directory structure to get to/htdocsand select thewp-config.phpfile.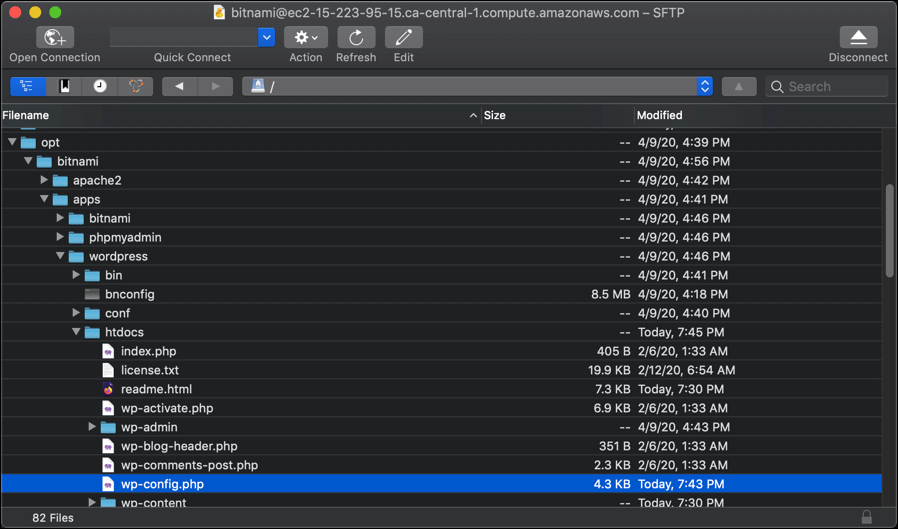
- If you have configured Cyberduck to work with a text editor, you can click the Edit button, represented by the pencil icon, and edit
wp-config.phplike I did in the SSH example.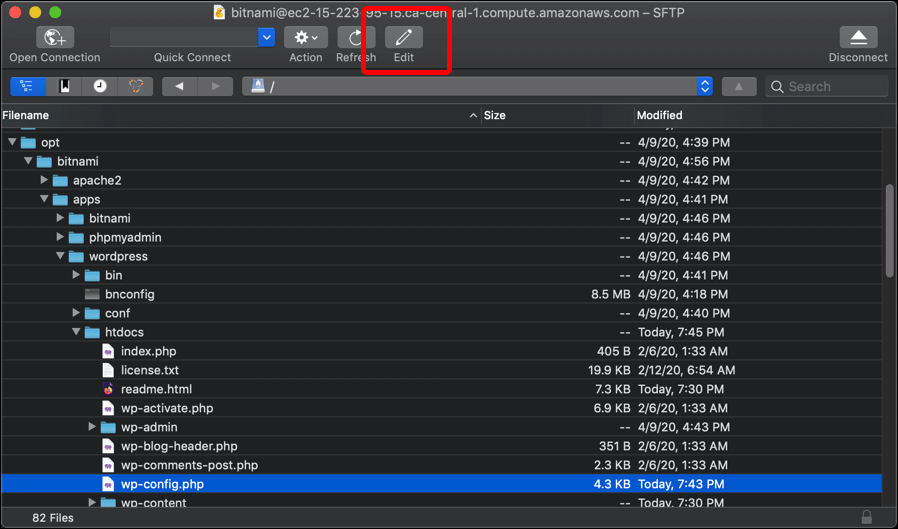
- Most of the WordPress-related work that I use an FTP client for is in the
wp-contentdirectory, where I might edit theme or plugin files or access theuploadsfolder.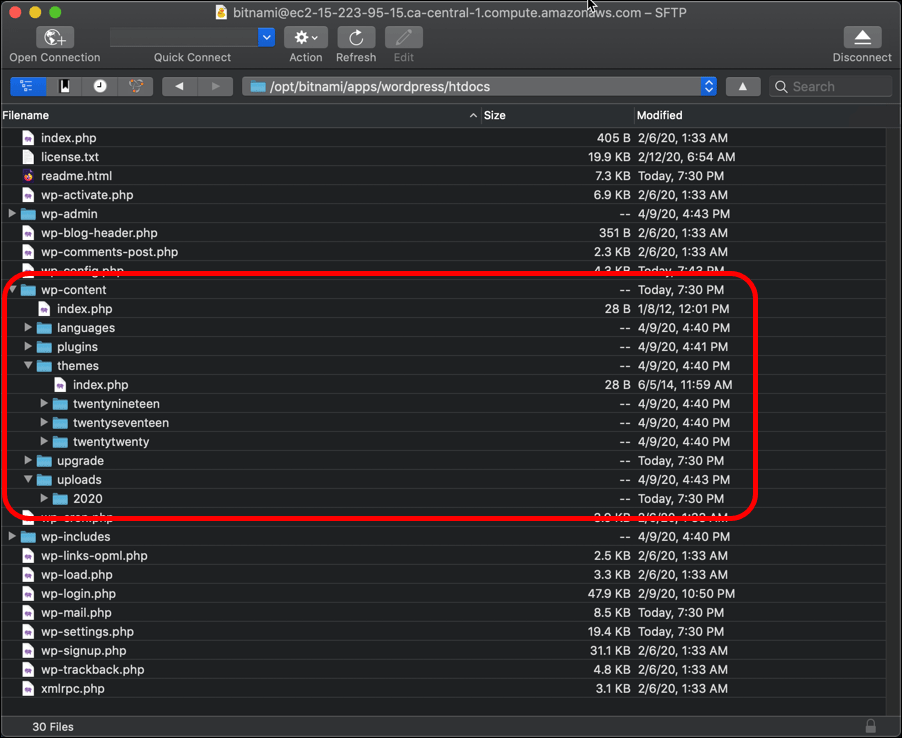
- When you are done using the FTP connection, click the Disconnect button in the top-right corner of the Cyberduck browser.