
Update: May 2020
This article was originally created in December 2018 and completely updated in June 2019. I will not be updating it going forward.
Although the instructions remain valid, if you are using the WordPress Certified by Bitnami and Automattic Amazon Machine Image to create an EC2 instance to host a WordPress site, Bitnami has more recently integrated its own Let’s Encrypt certificate client into the Bitnami Helper Tool, which you can read more about in WordPress on Amazon EC2: Connect to an Instance via SSH.
This is part of my Introduction to Installing Let’s Encrypt Certificates for WordPress on Amazon Web Services (AWS) tutorial.
In Renew a Let’s Encrypt SSL/TLS Certificate on an AWS EC2 Instance I went over the steps to renew your Let’s Encrypt SSL/TLS certificate, which will expire every 90 days. It’s good to know how to renew the certificate yourself, but once you do you can write a bash script to automate that renewal process. Here’s a basic overview of how that works:
- Create a bash script that executes the same renew commands used in Renew a Let’s Encrypt SSL/TLS Certificate on an AWS EC2 Instance.
- Upload that bash script to your EC2 instance.
- Create a cron job. Cron is a function in Linux that allows you to schedule automated tasks, allowing you to run your bash script at a specific time and a specific interval. In this example, we will execute the bash script at midnight on the first day of every month.
Unfortunately, when I tried this, it didn’t actually work for me. So the steps below provide a description of the symptom, along with my workaround.
Symptom: Let’s Encrypt certificate not renewed by bash script
As I have previously said, this series of three tutorials on using Let’s Encrypt certificates with AWS EC2 Instances created by Bitnami to run WordPress is based on Bitnami’s own documentation. I originally wrote this article using Bitnami’s instructions, but I found that it did not actually complete the automation task.
The steps I originally followed didn’t generate any errors or break my website or anything like that, but when I checked back after the first day of the month, I would find that my certificate had not been renewed. Either the cron job had not run or the bash script didn’t renew the certificate the way it was supposed to. I spent a lot of time researching the problem and never found an answer. Google searches led me to multiple threads in Bitnami’s Community forums where users were experiencing identical or very similar issues, but I never found an answer.
Solution: Place the bash script in a directory not owned by root
Eventually, it occurred to me that the version of the Bitnami documentation that I was using as a reference told me to put the bash script in the /etc/lego directory, which was “owned” by the system’s root user. I decided to put the bash script in a different directory, one owned by the bitnami user, and created the below instructions, which seem to work.
Several months later, I looked at the Bitnami documentation again, and it looks like it has been updated to put the bash script in /opt/bitnami/letsencrypt/scripts/renew-certificate.sh, which is similar to what I did below. But when I check the ownership of the /opt/bitnami/letsencrypt/scripts/ directory, it also seems to be owned by root, so I am going to stick with my workaround for now.
Reviewing this several months later, there is another possible reason that my certificate was not renewing: by using the same Bitnami documentation that everybody else was, suggesting that you renew at midnight on the first of every month, there may have been too many bash scripts out there trying to renew Let’s Encrypt certificates with the Lego client, all at the same time. It seems unlikely, but I when I changed the time of day and day of the month that the script executed to a more random value – anything other than midnight GMT on the first of the month – my certificates renewed more consistently.
Prerequisites
In this example I am automating the renewal of a Let’s Encrypt SSL/TLS certificate on a LAMP-stack virtual server (in this case an EC2 instance from Amazon Web Services) over Secure Shell (SSH) using the command line. I am using the macOS Terminal, which is Unix-based, but the commands will be the same regardless of what command-line interface you are using. I am also using the Cyberduck FTP client, but any FTP client should work.
Warning
- When working with SSL/TLS certificates, be very careful. If you are planning on adding, renewing, or removing an SSL/TLS certificate, make sure you create a complete backup of your website before trying anything.
- If you are working with AWS EC2 instances, always take a snapshot of the instance’s storage volume before you try any of these steps. If anything goes wrong, you can use the snapshot as part of your recovery plan.
Automate the Renewal of an SSL/TLS Certificate from Let’s Encrypt on Your EC2 Instance
- Open a text editor and paste the following text into a blank text file:
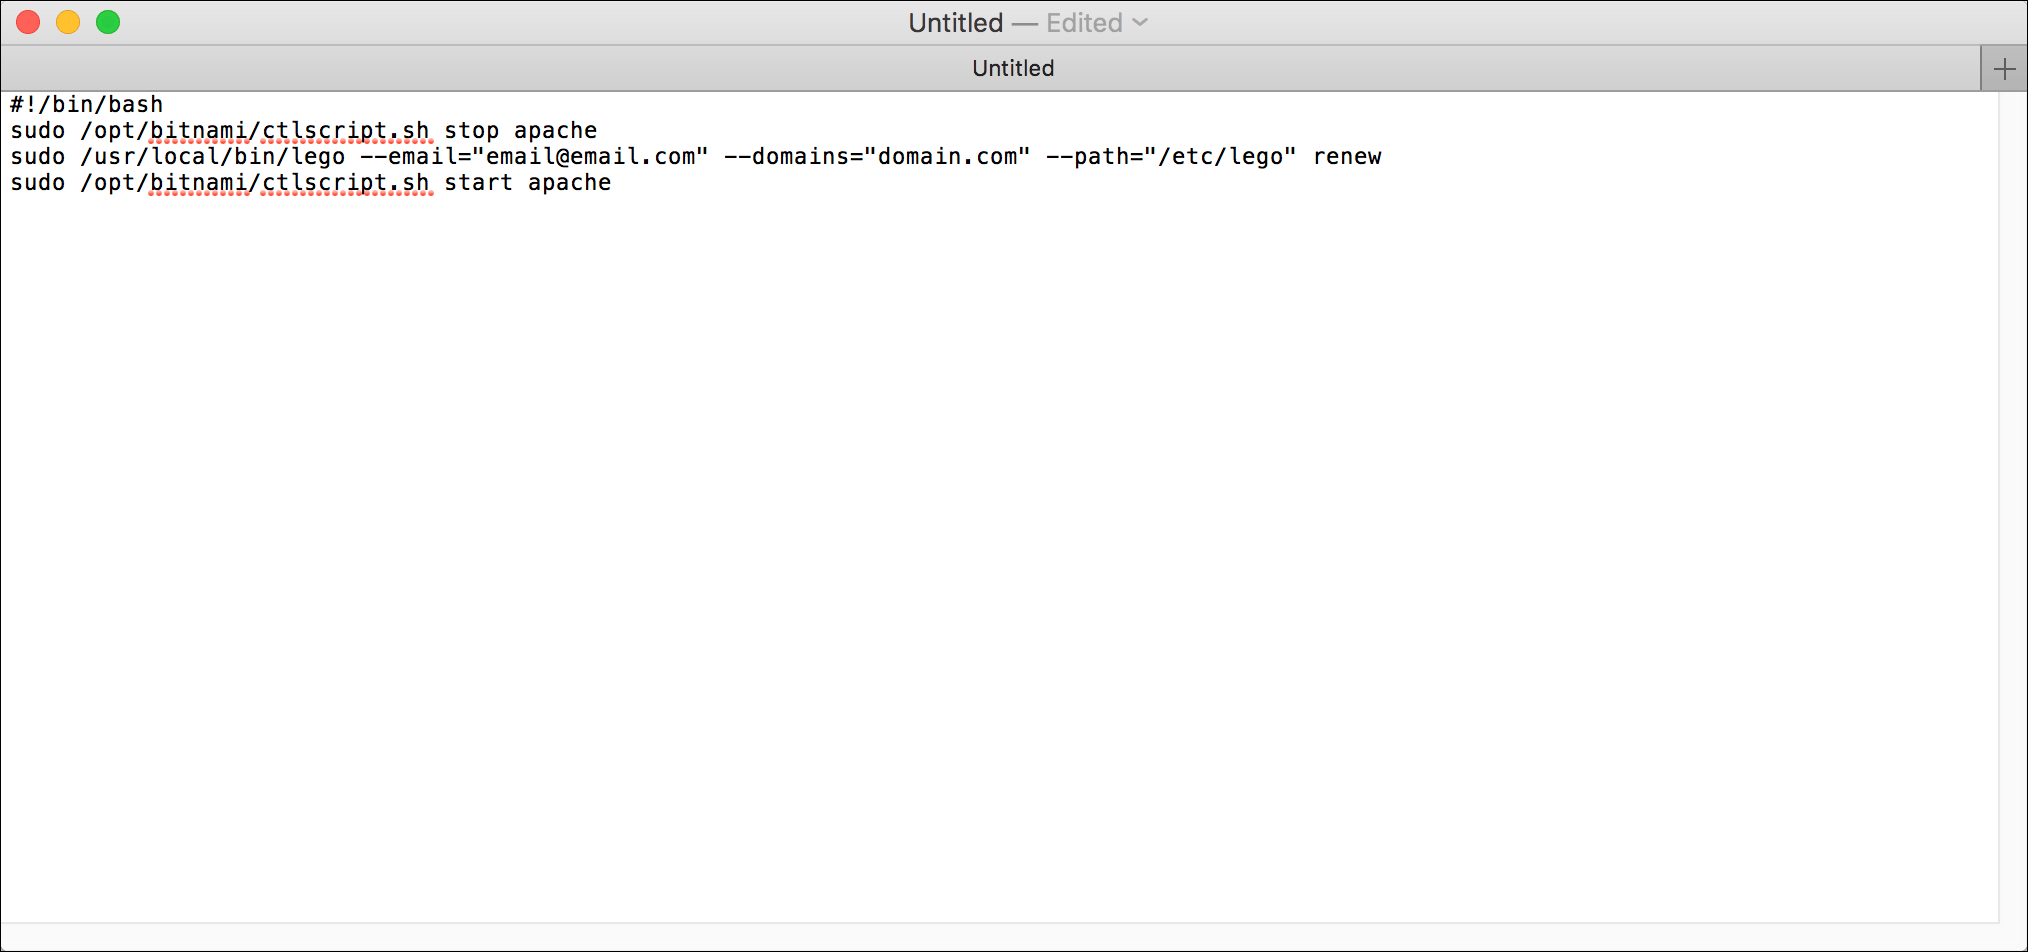
#!/bin/bash

sudo /opt/bitnami/ctlscript.sh stop apache

sudo /usr/local/bin/lego --email="email@email.com" --domains="domain.com" --path="/etc/lego" renew

sudo /opt/bitnami/ctlscript.sh start apache- Replace
email@email.comwith the email address where you want to receive updates about your certificate, including warnings when your certificate is about to expire. - Replace
domain.comwith the domain name for the Let’s Encrypt certificate that you are renewing. Includewww.as needed.
- Replace
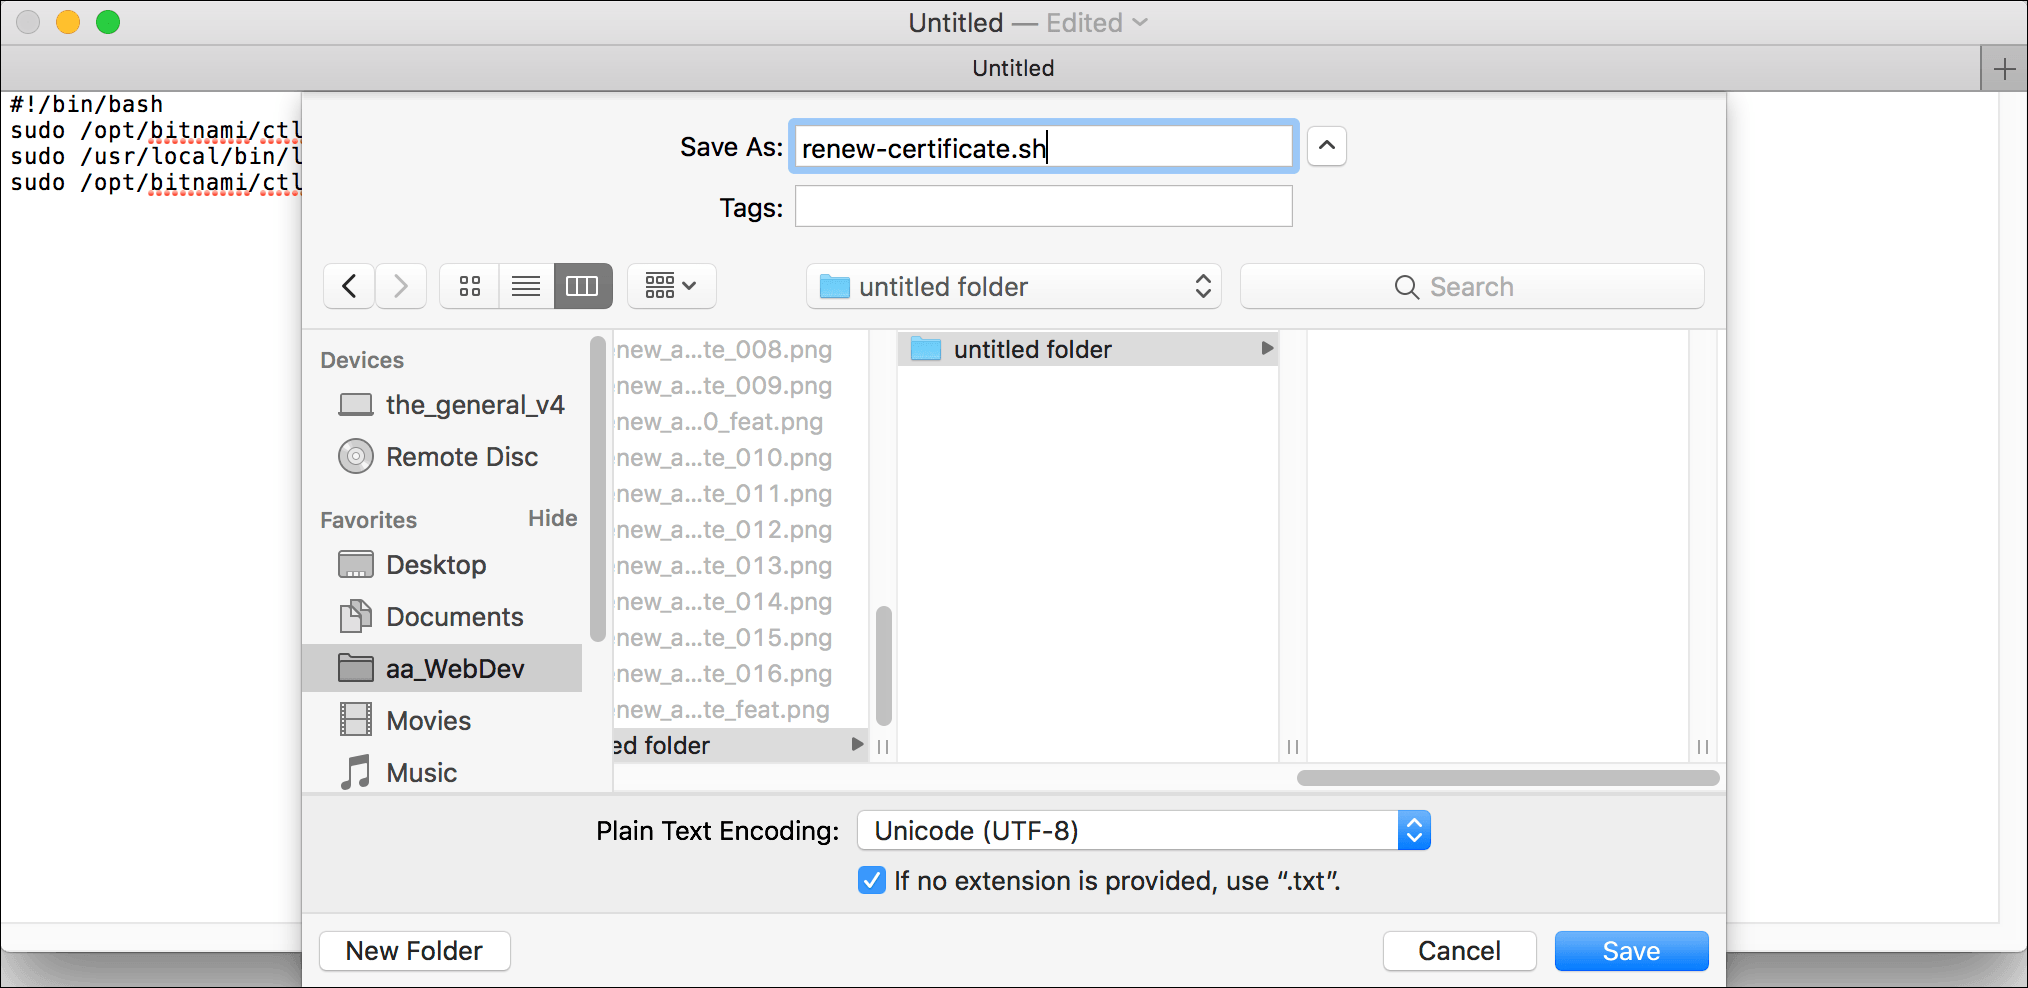
- Save the text file as renew-certificate.sh.
- Open your FTP client and use the steps in WordPress on Amazon EC2: Connect to an Instance via FTP.
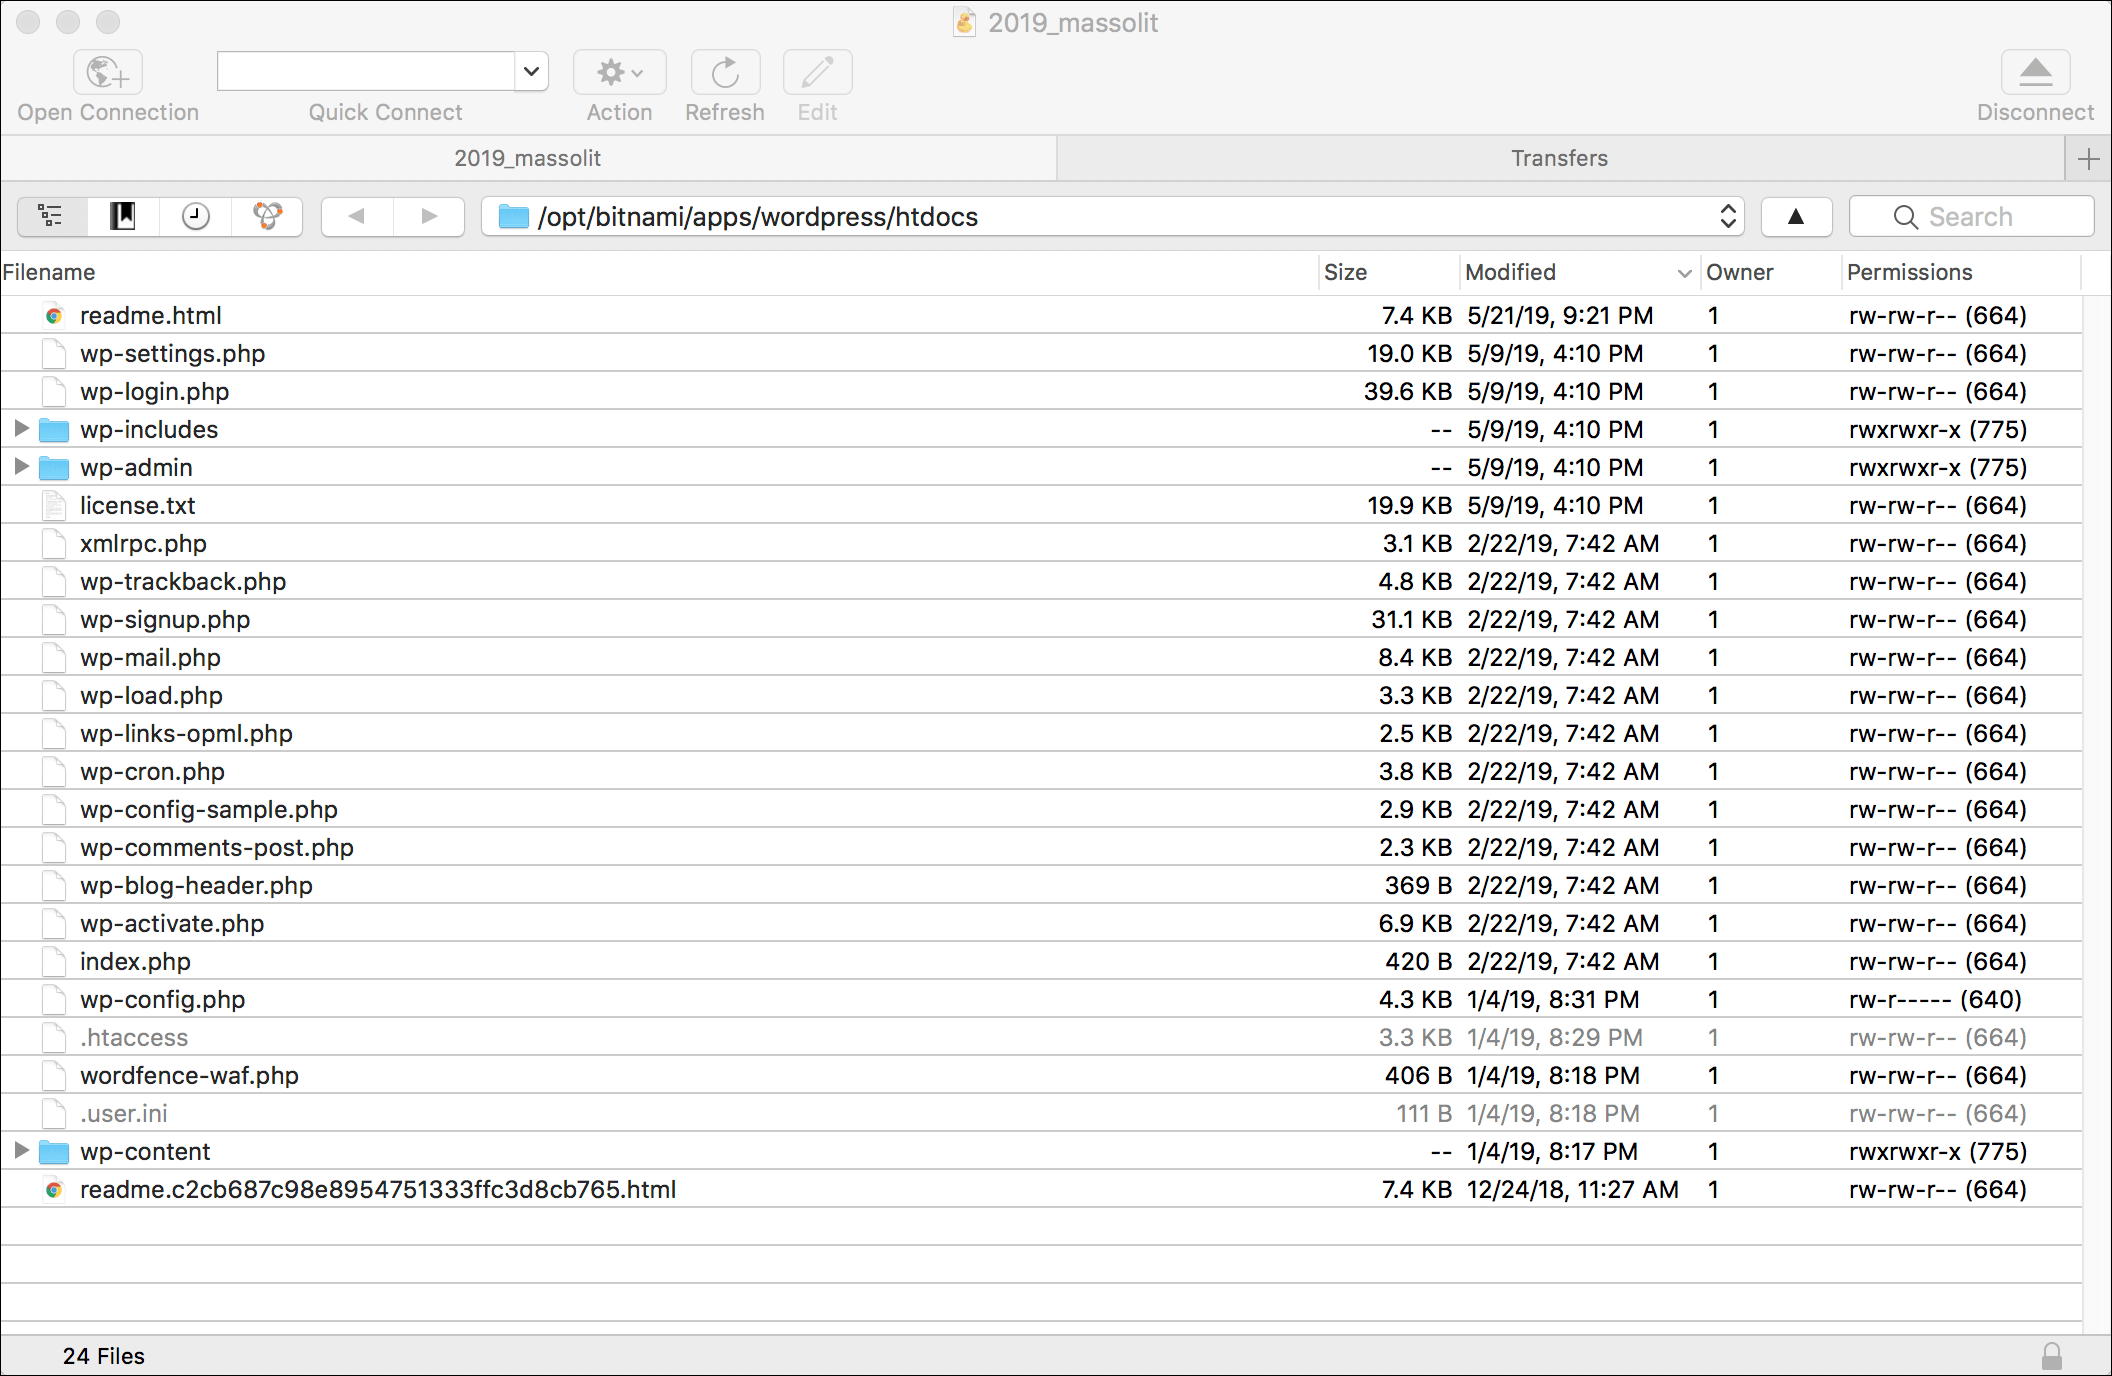
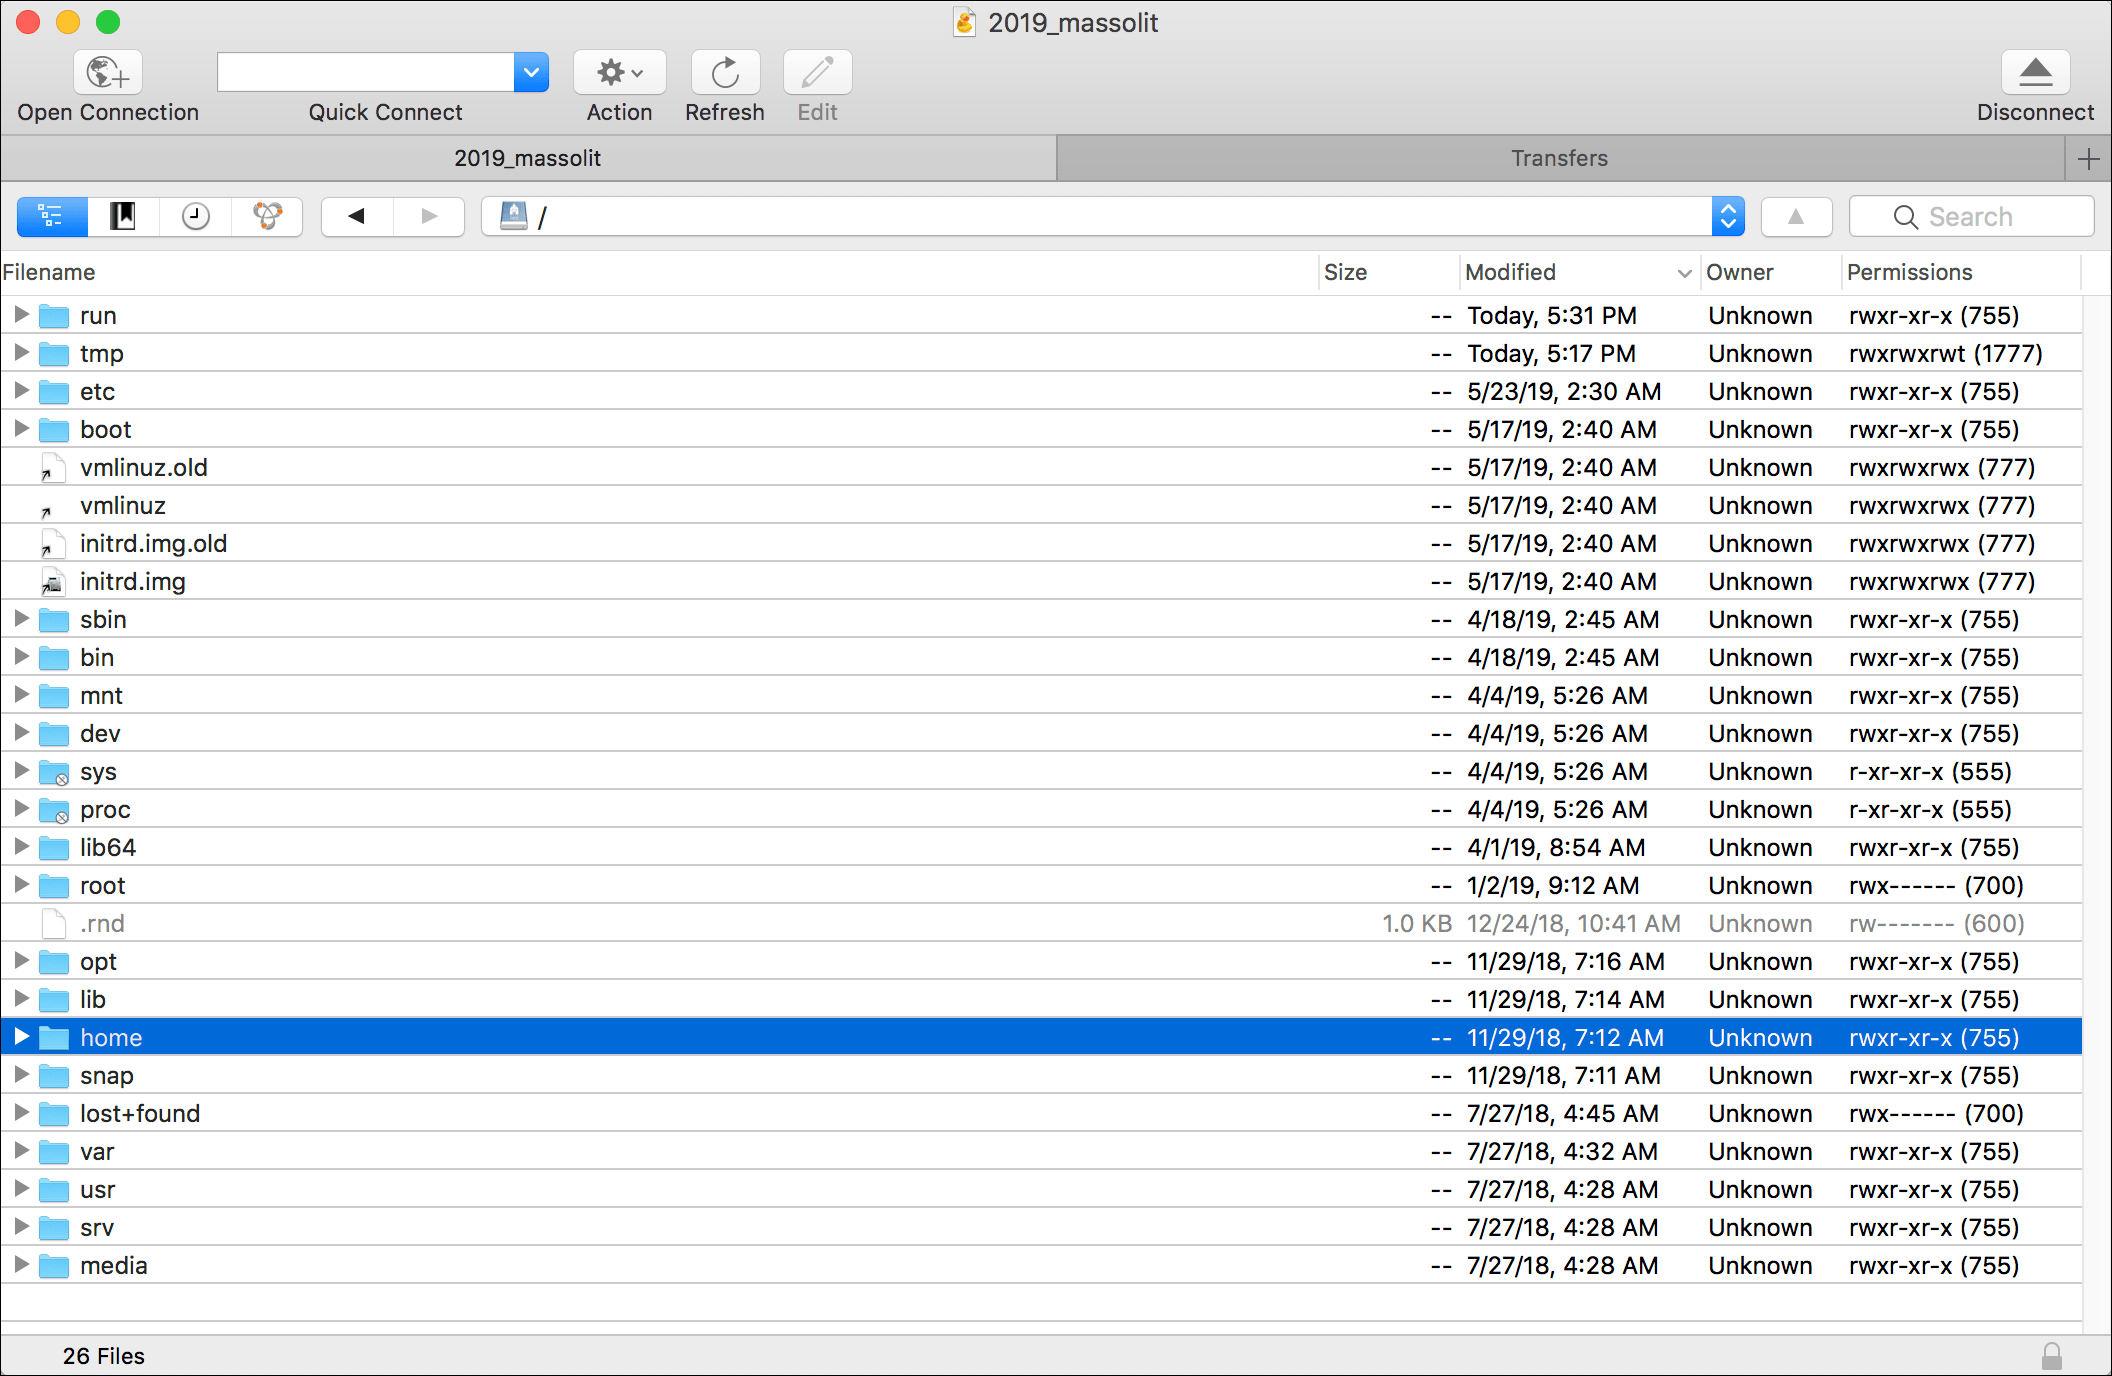
- Use your FTP client to navigate to the top level of the directory system, find /home, and double-click to enter the /home directory.
- Double-click to enter the bitnami directory.
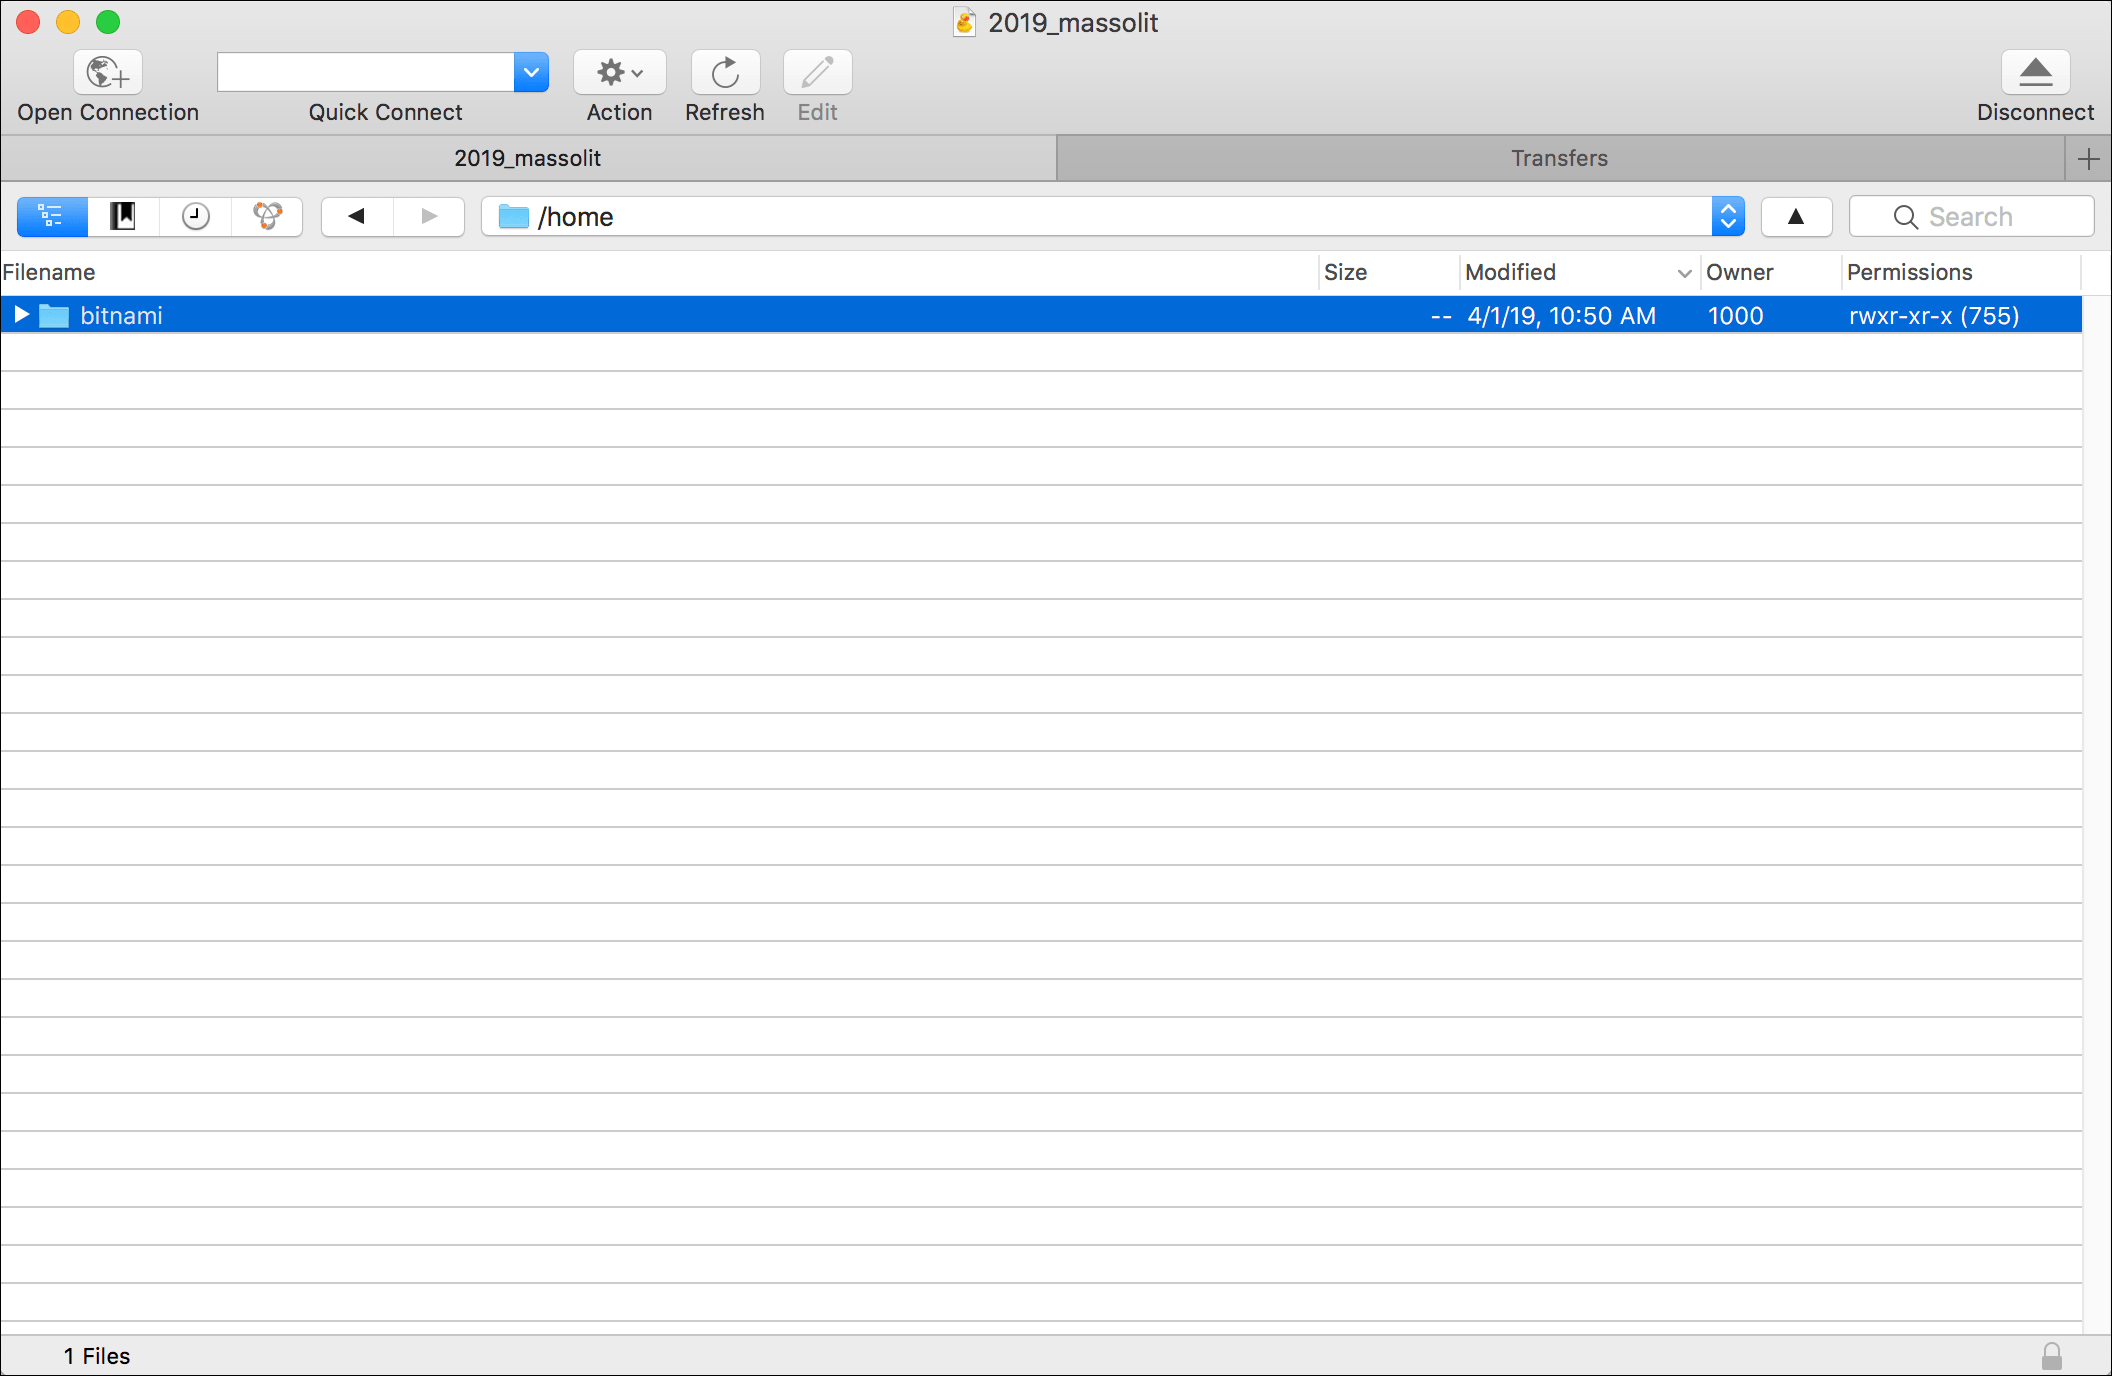
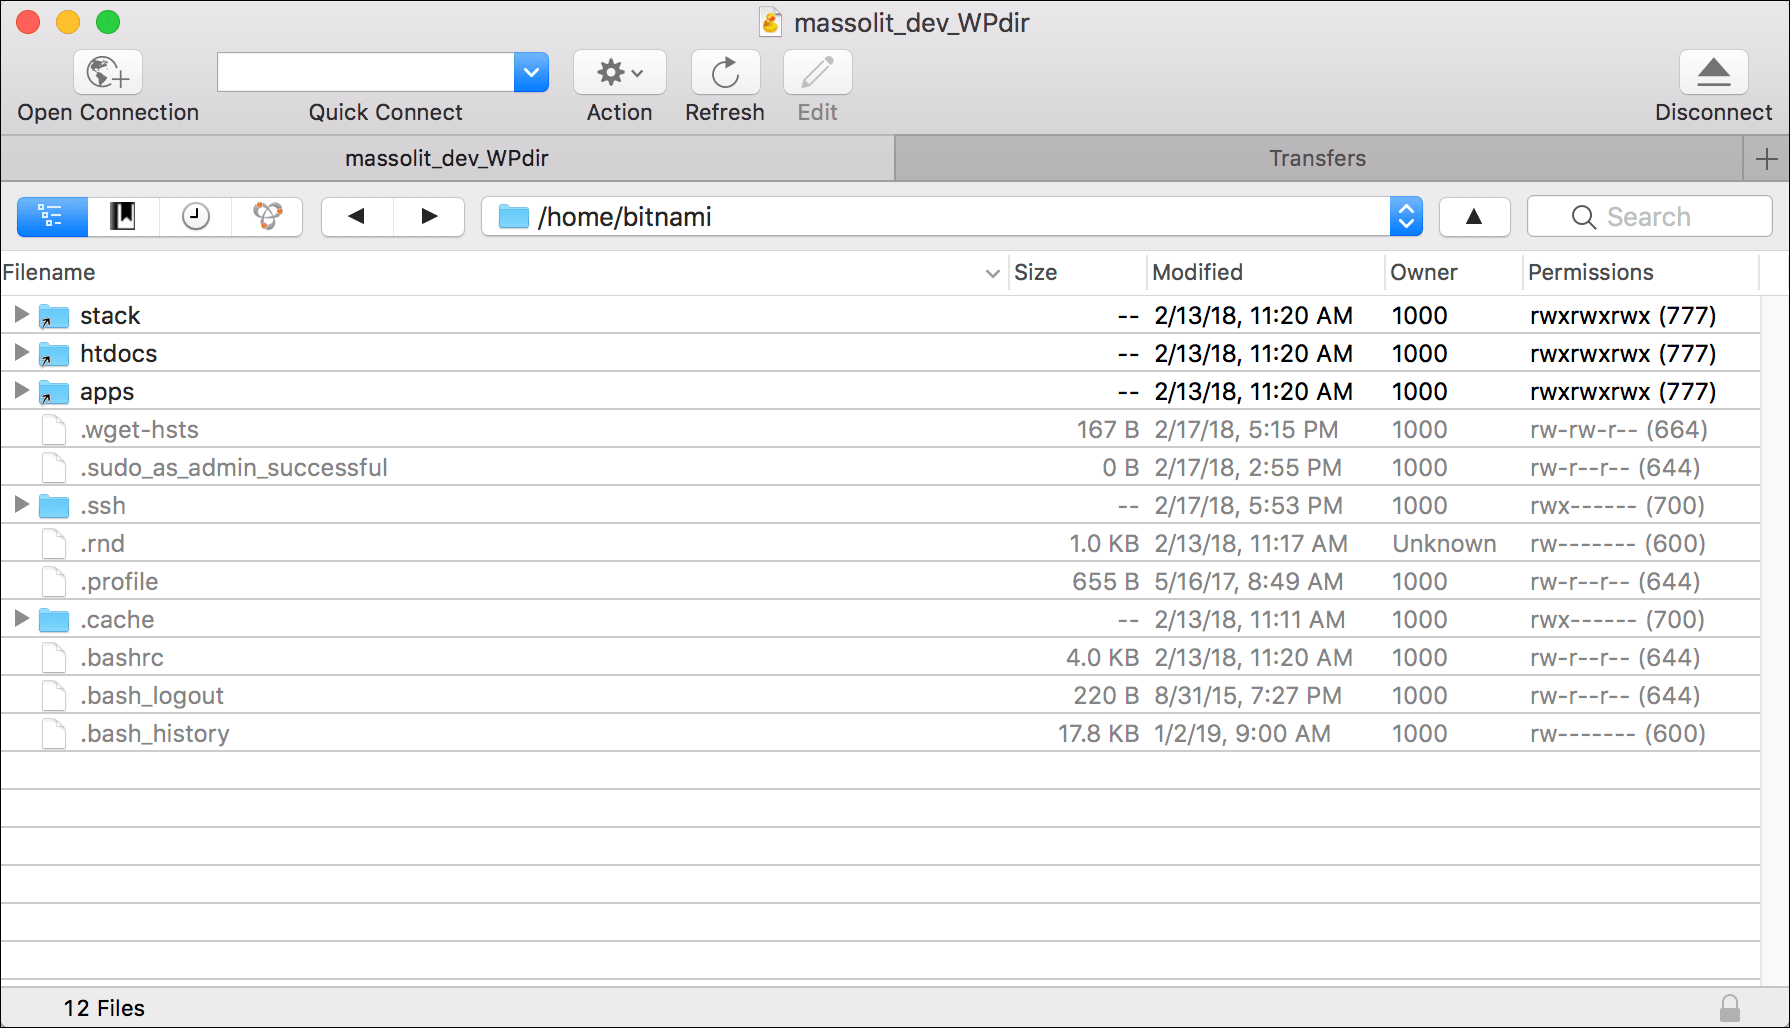
- As the name suggests, /home/bitnami is the directory for the bitnami user. This is where we are going to create a directory to put our bash script in.
- Although you can create a directory on the command line using the
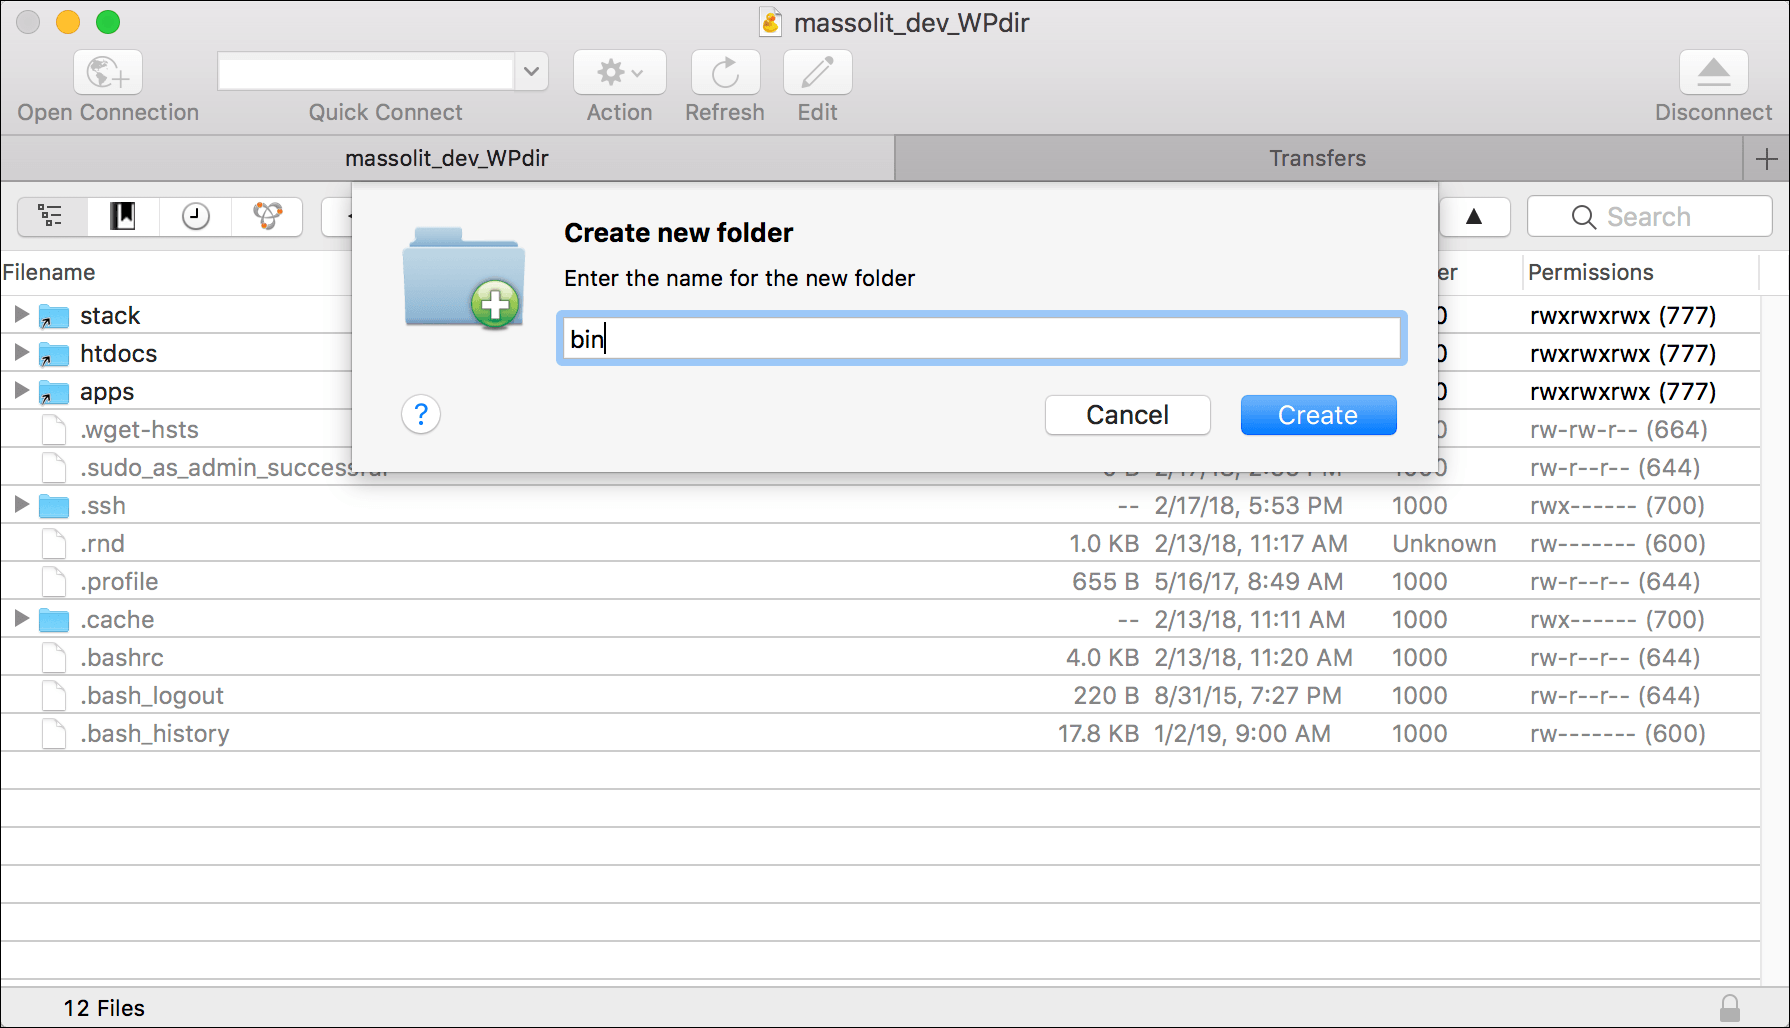
mkdircommand, since we are already in Cyberduck we can create it here. Select the File menu and choose New Folder….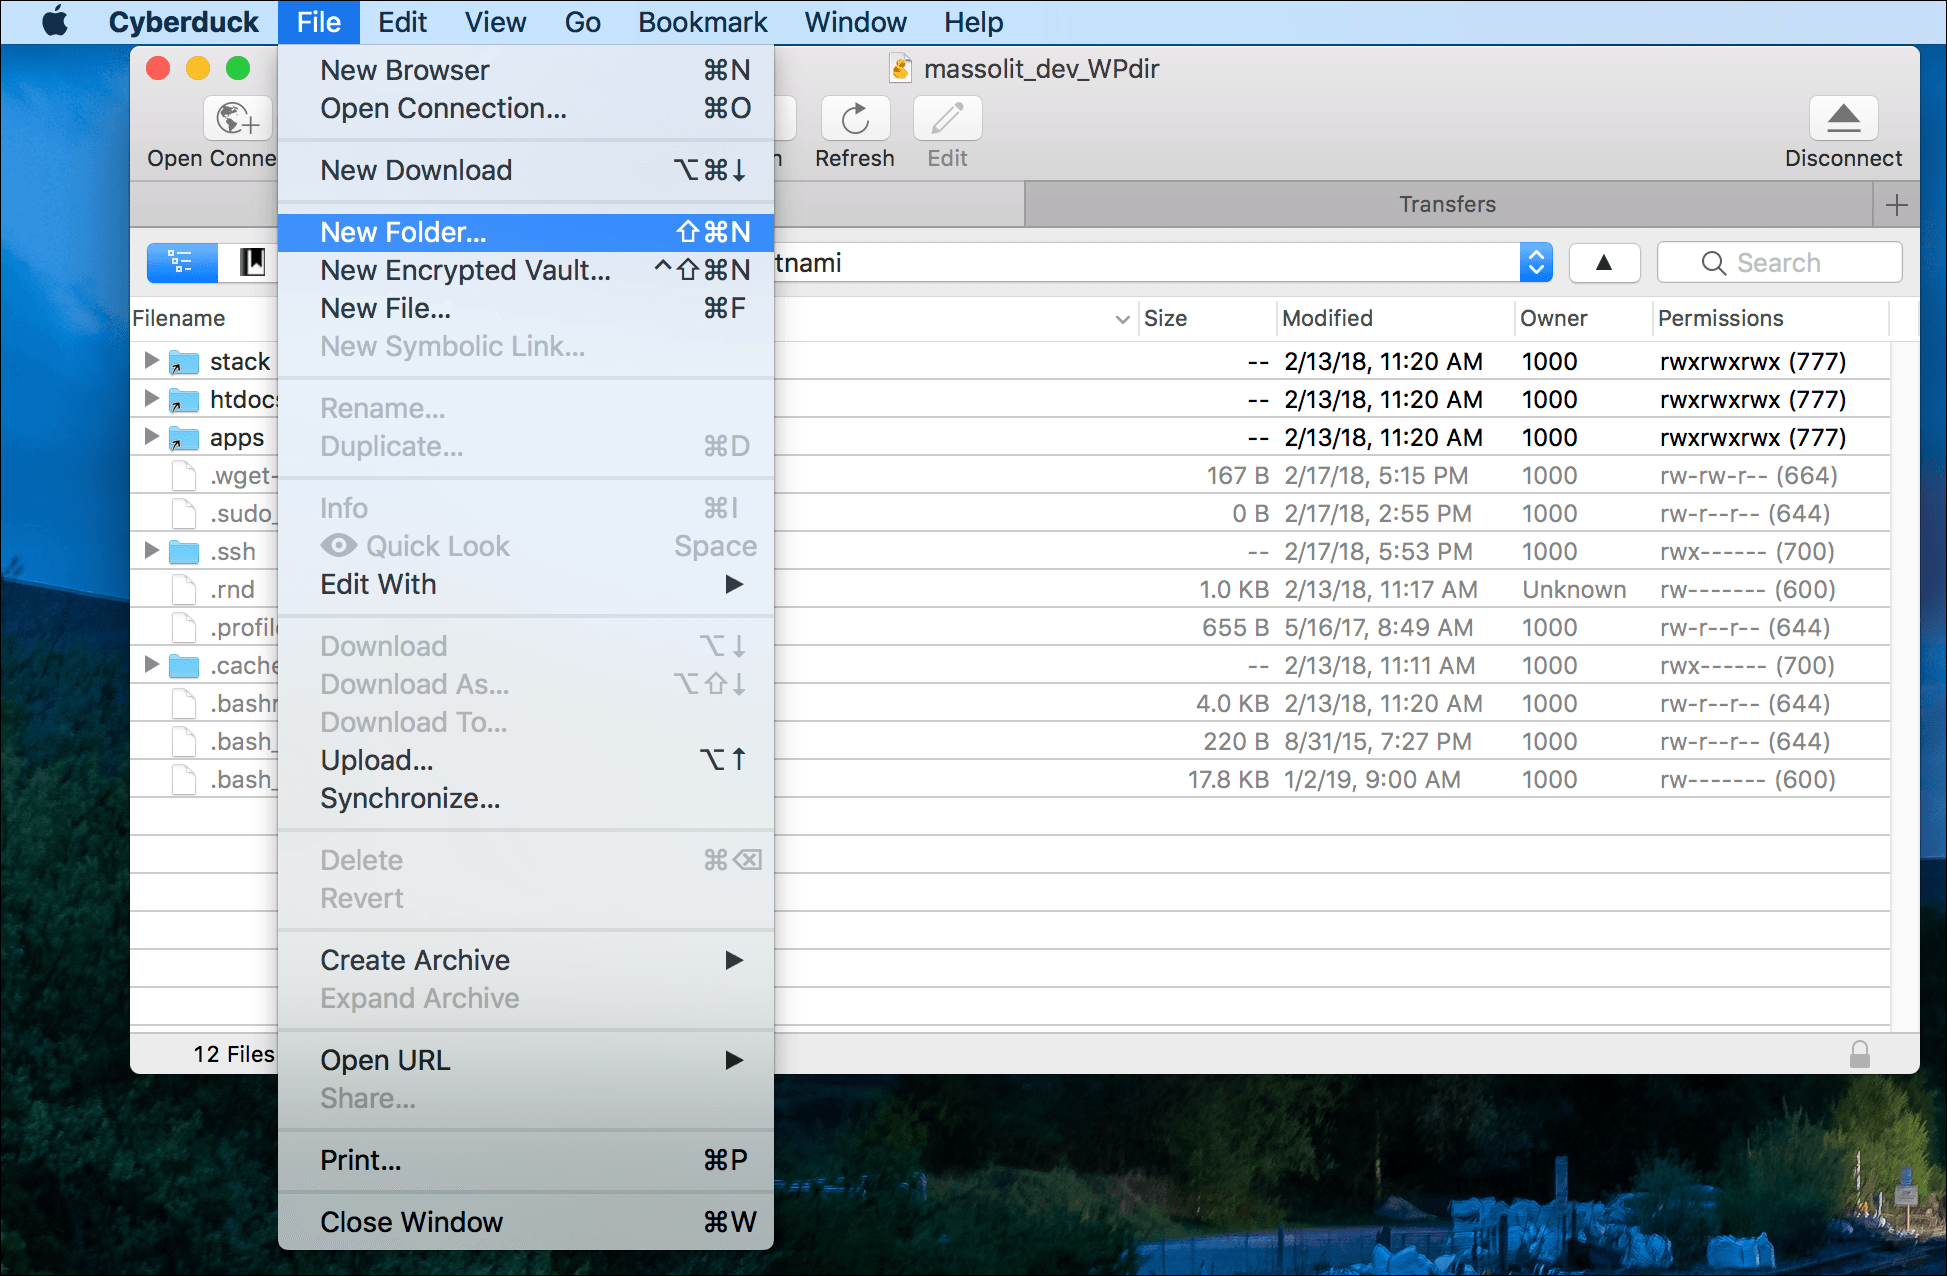
- Name the new folder bin and click Create. (The name doesn’t matter and I probably am misusing the directory name “bin” here, but… at this point I am not doing the screenshots all over again.)
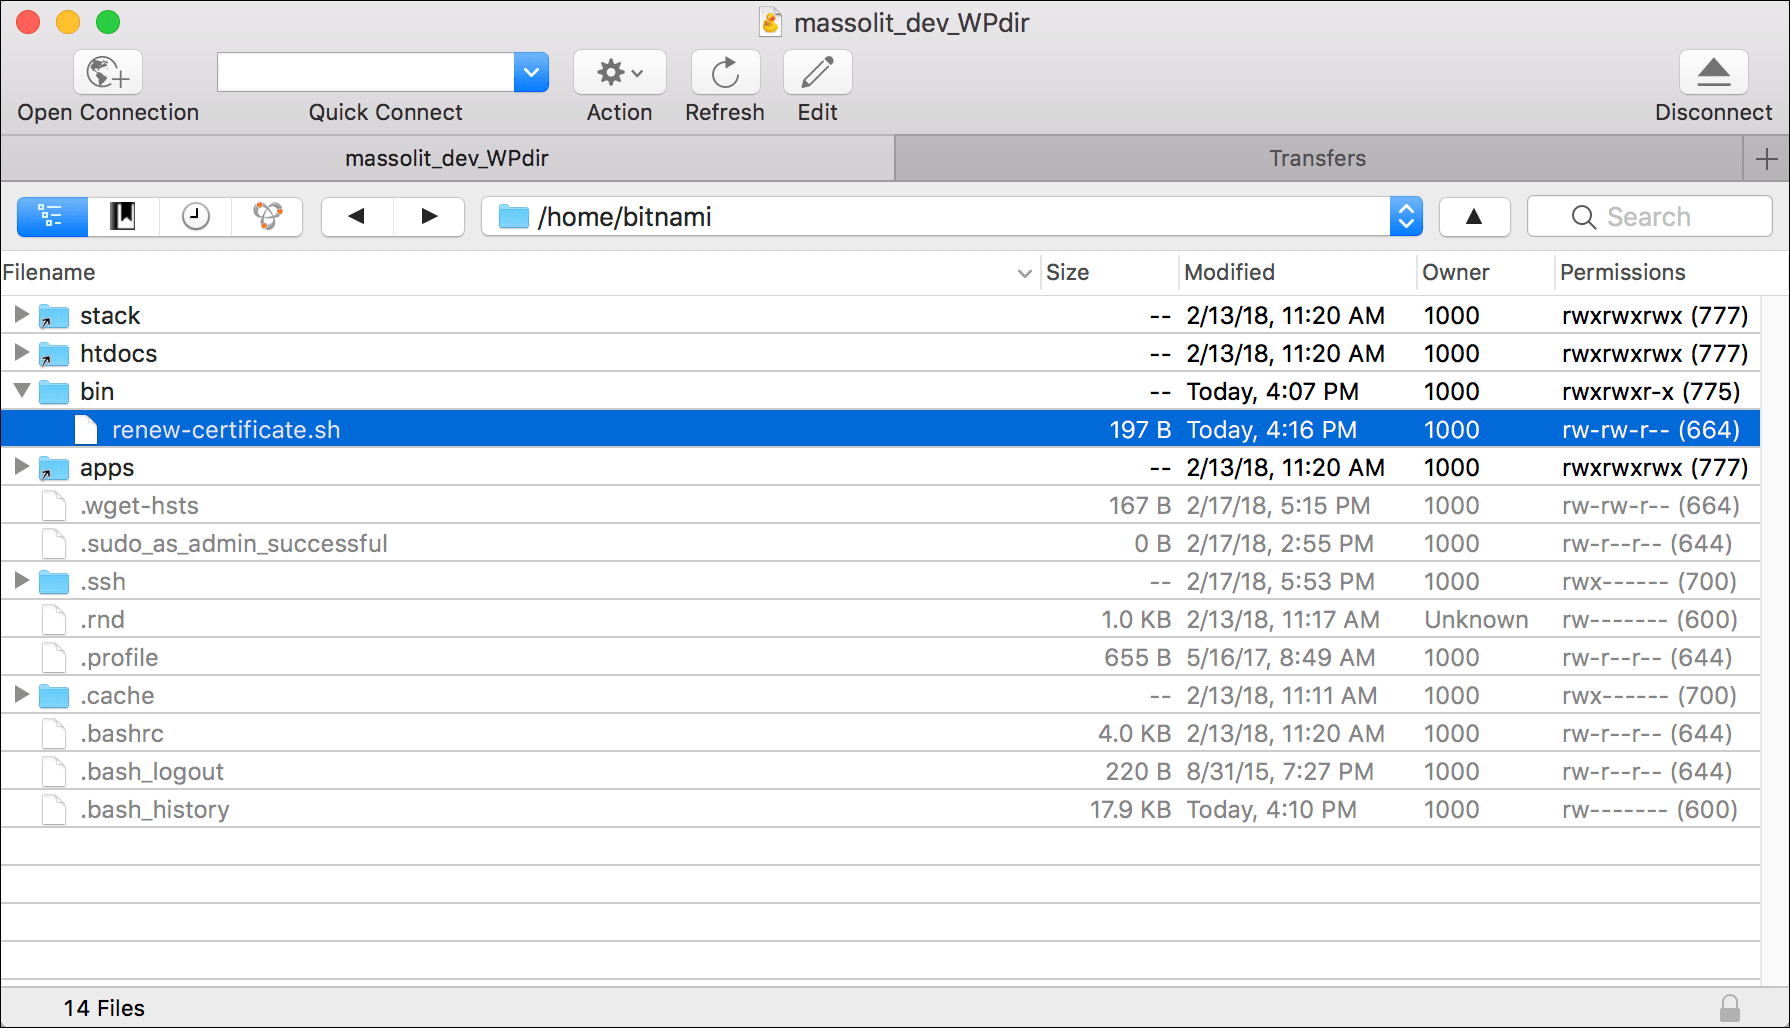
- Drag and drop the renew-certificate.sh file from your computer to the bin folder to upload it.
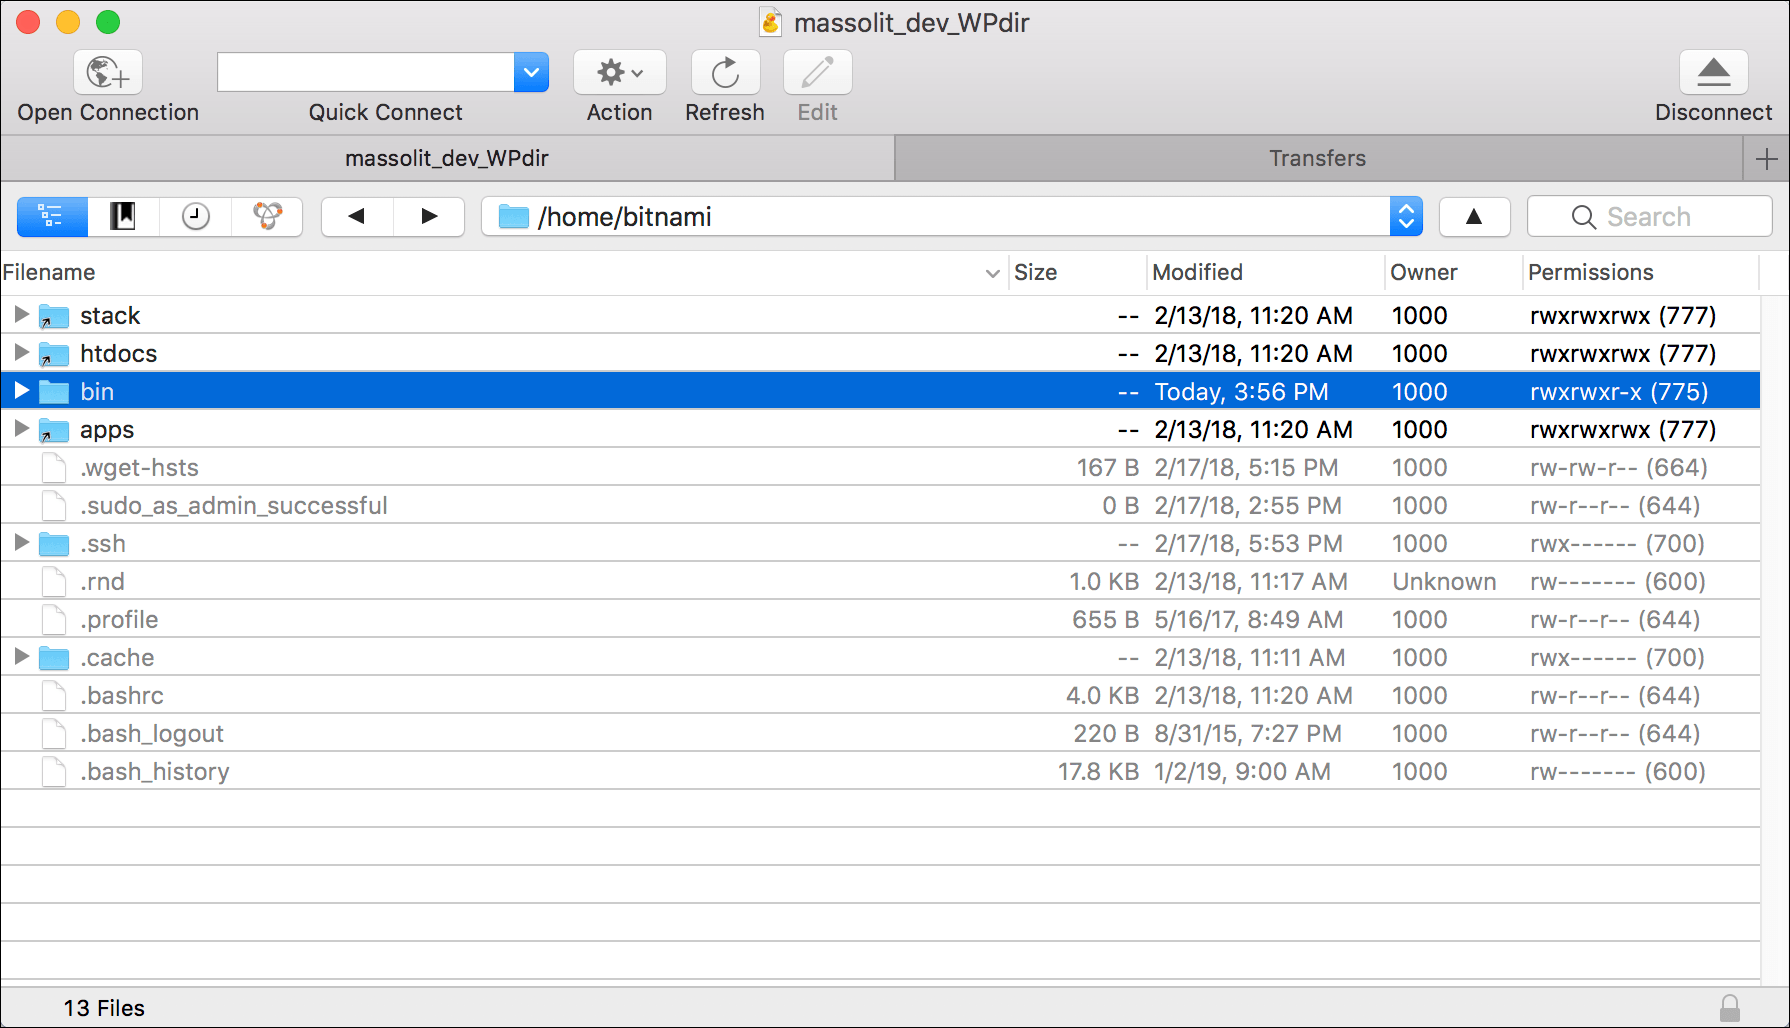
- You can click the arrow next to bin to expand the folder and confirm that you placed renew-certificate.sh in the right place.
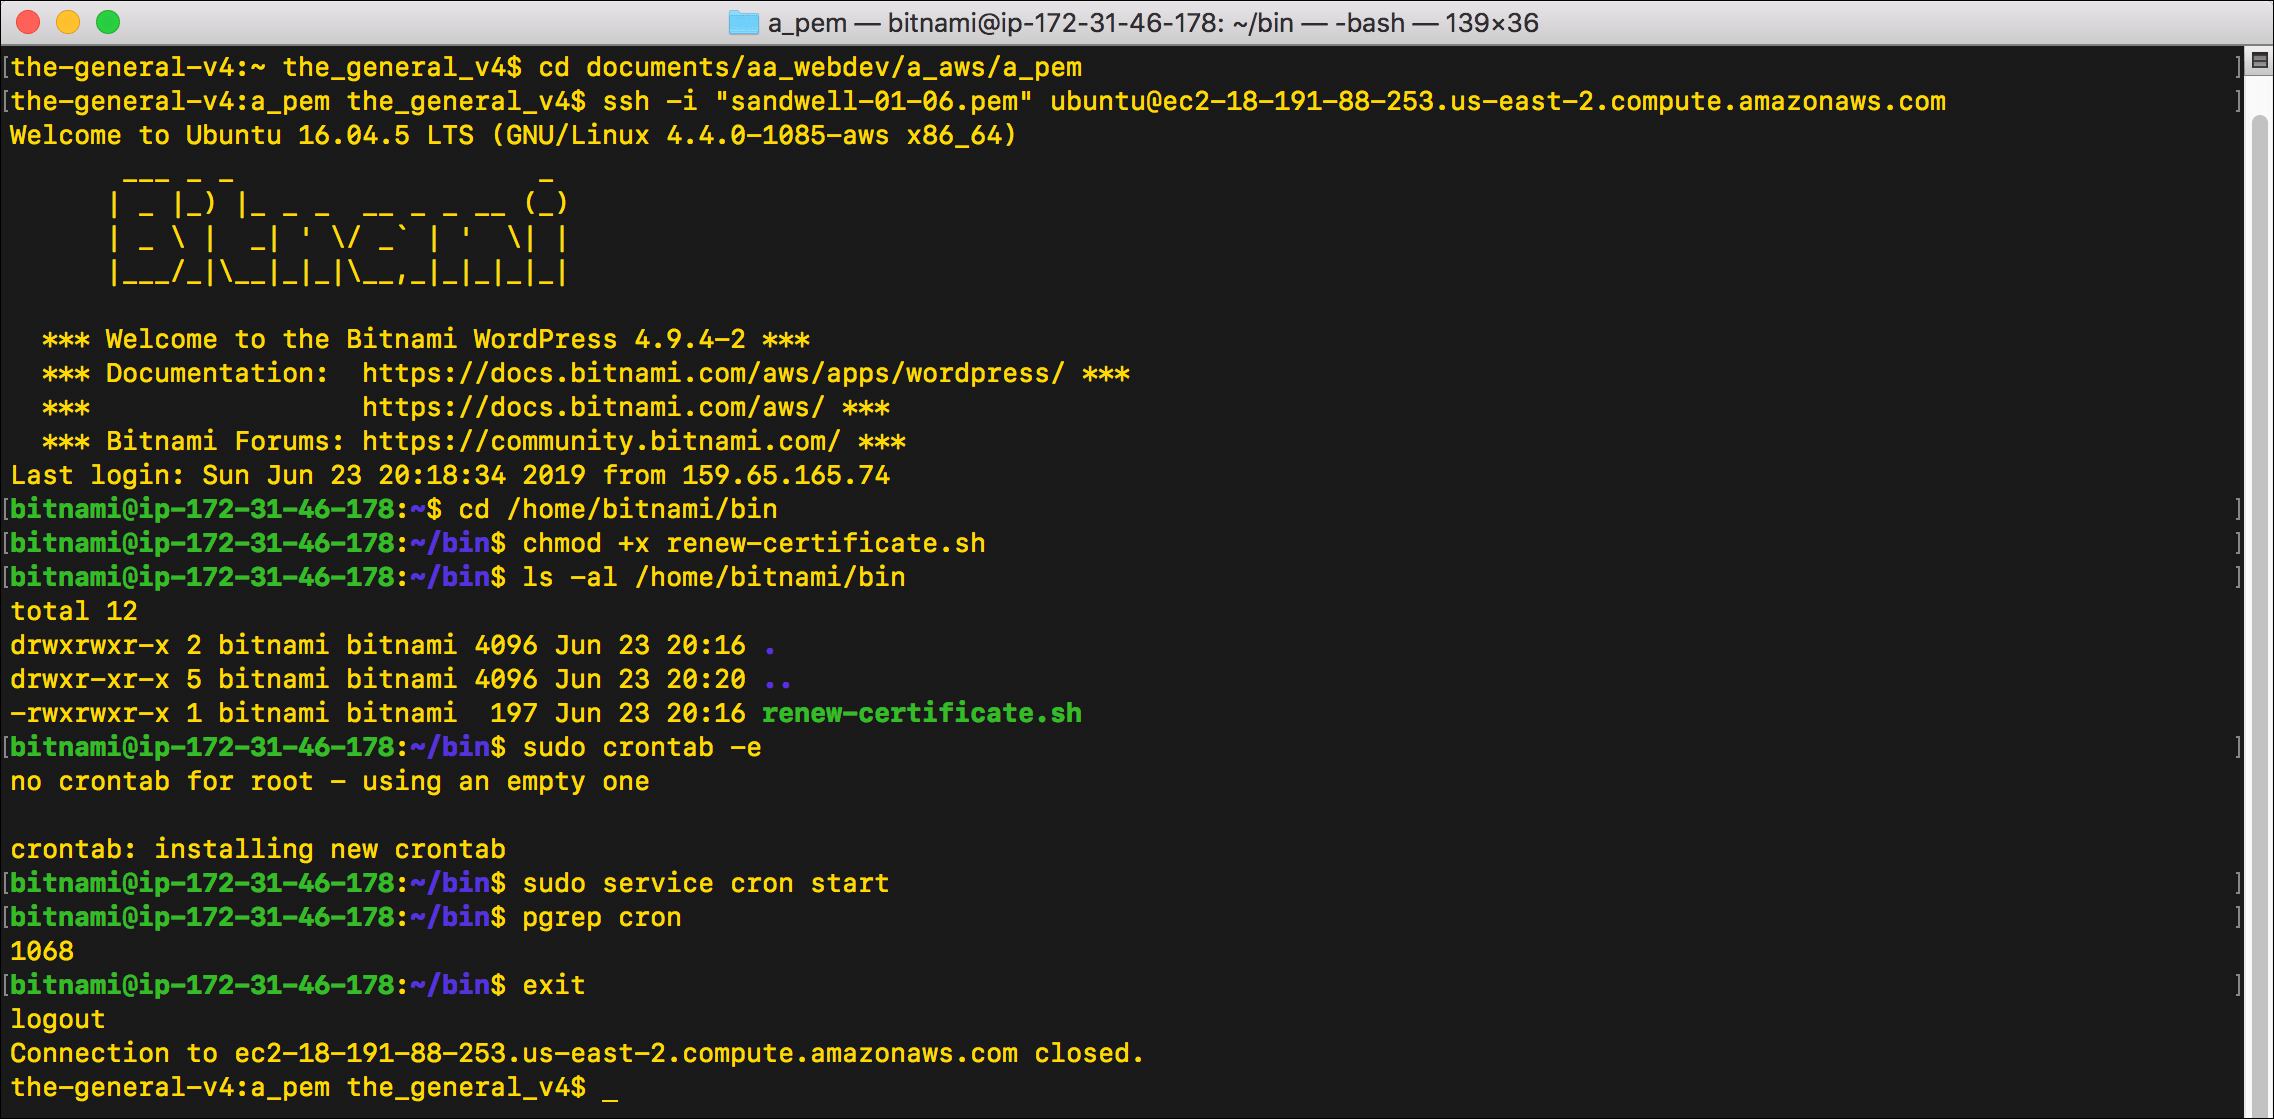
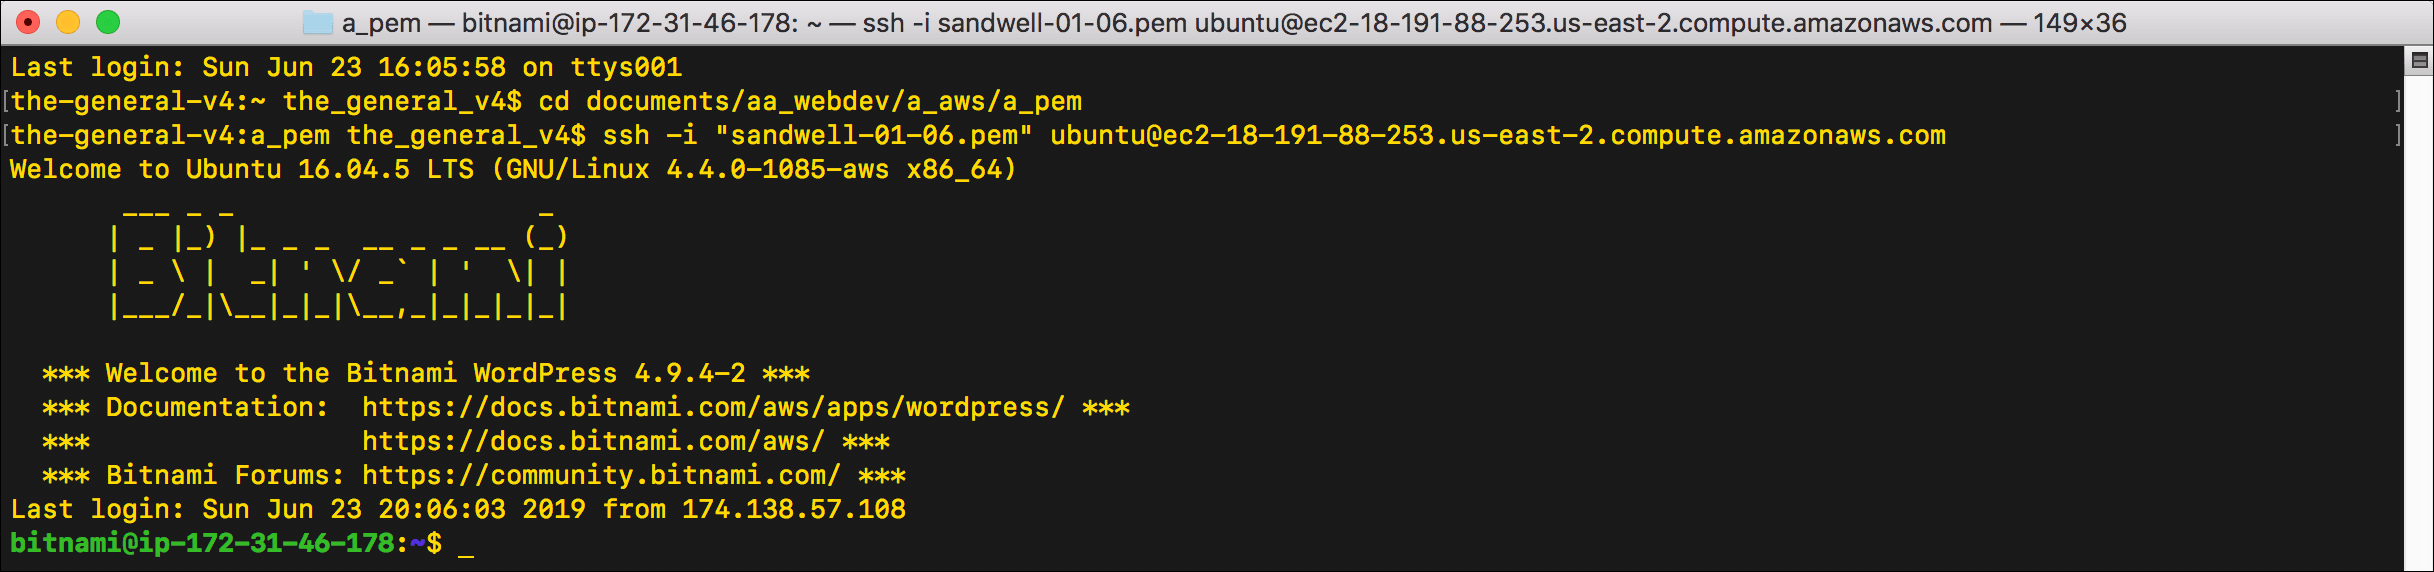
- Open Terminal and connect to your EC2 instance using the steps from WordPress on Amazon EC2: Connect to an Instance via SSH.
- Navigate to the
binfolder you just created by enteringcd /home/bitnami/bin.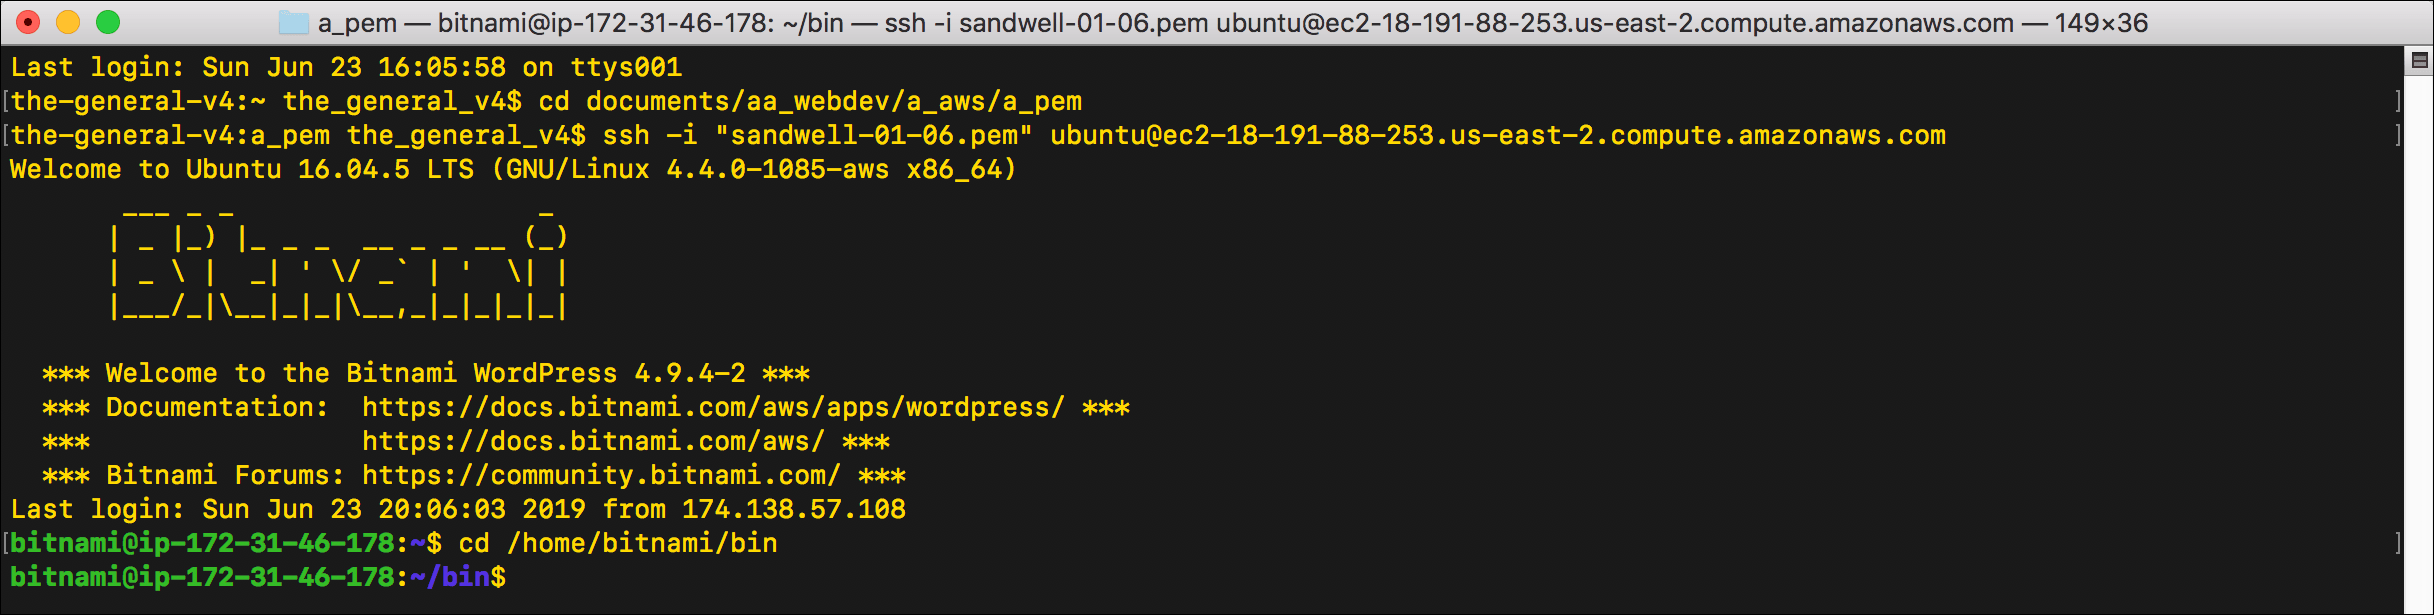
- Type
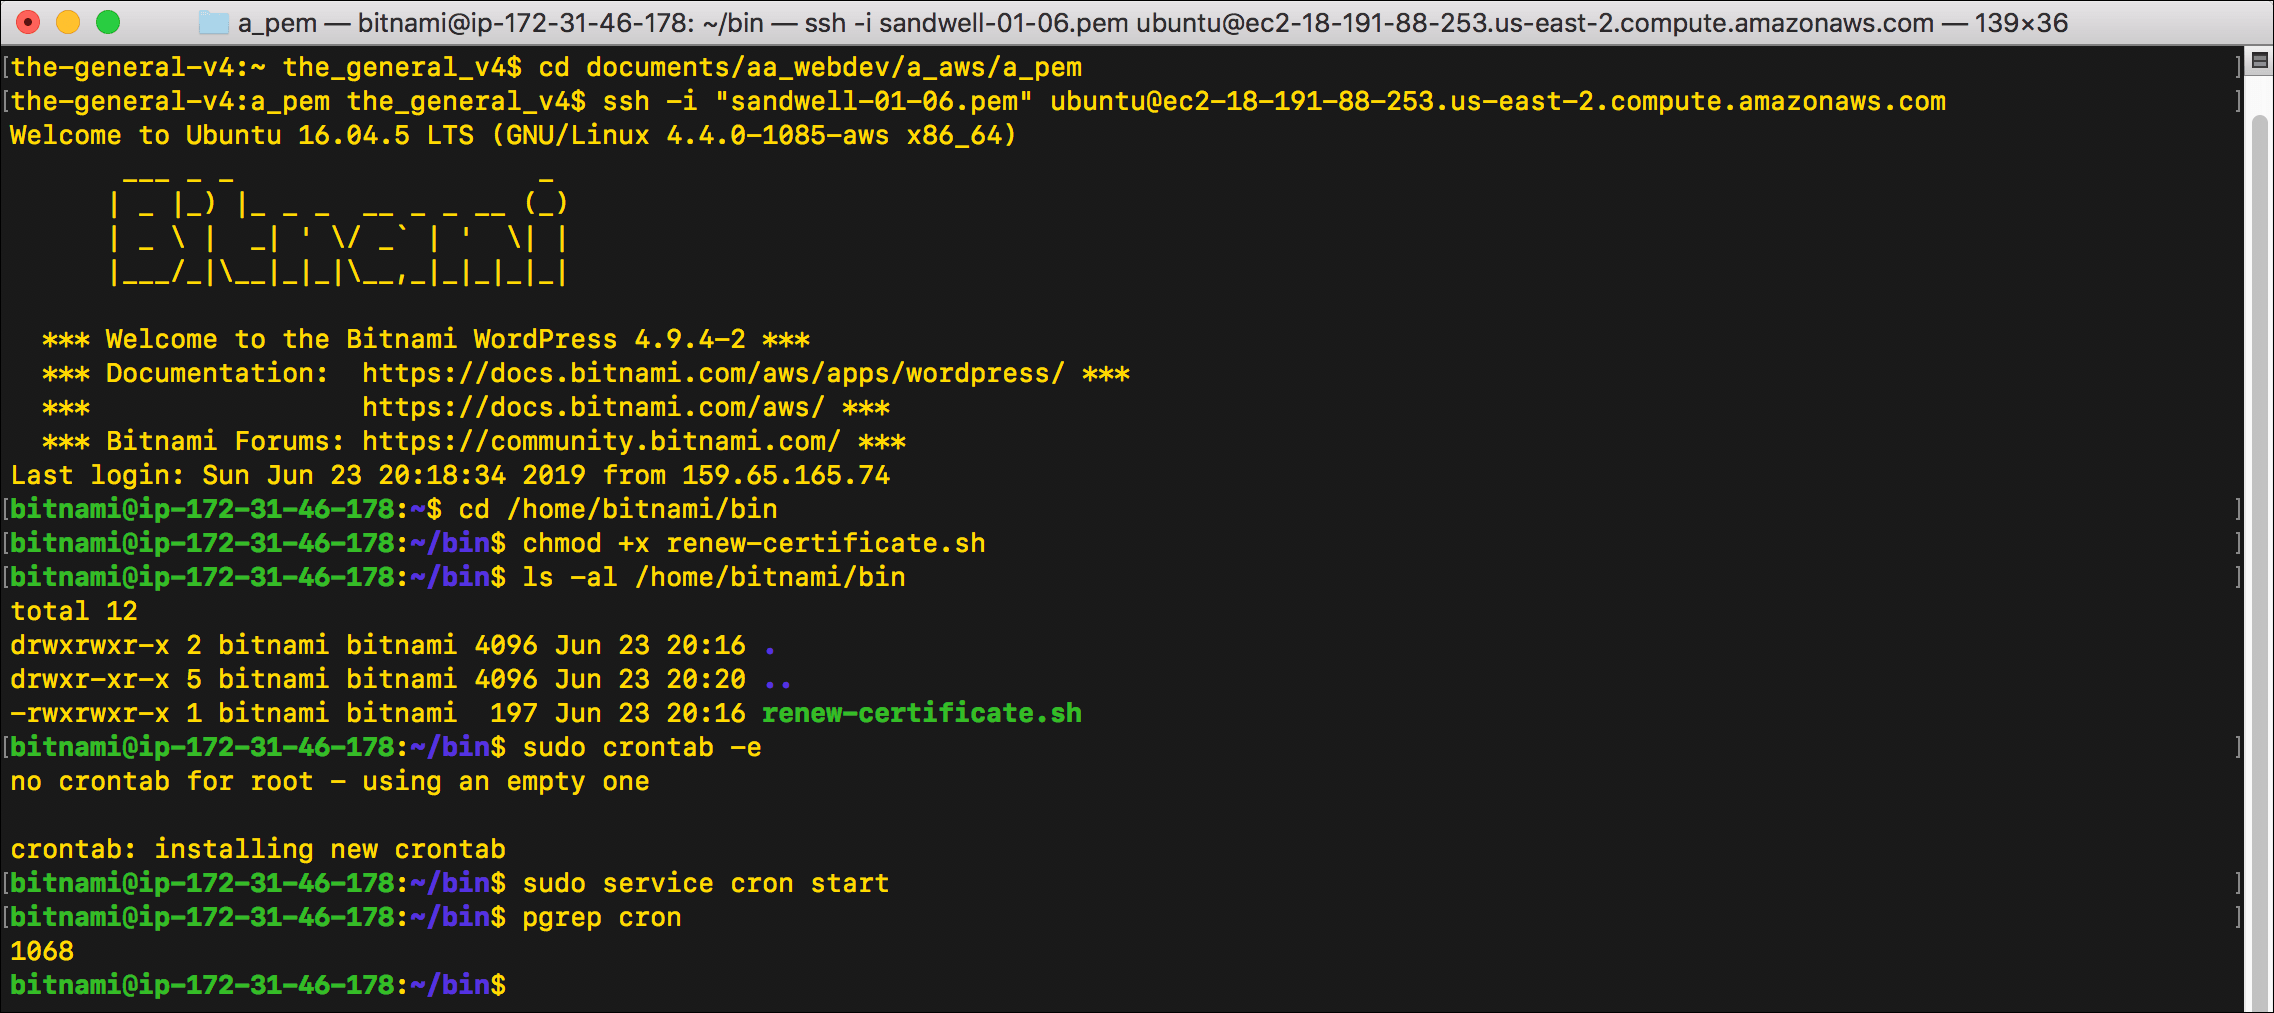
chmod +x /home/bitnami/bin/renew-certificate.sh, then pressEnter. Thechmod +xcommand makes the file executable.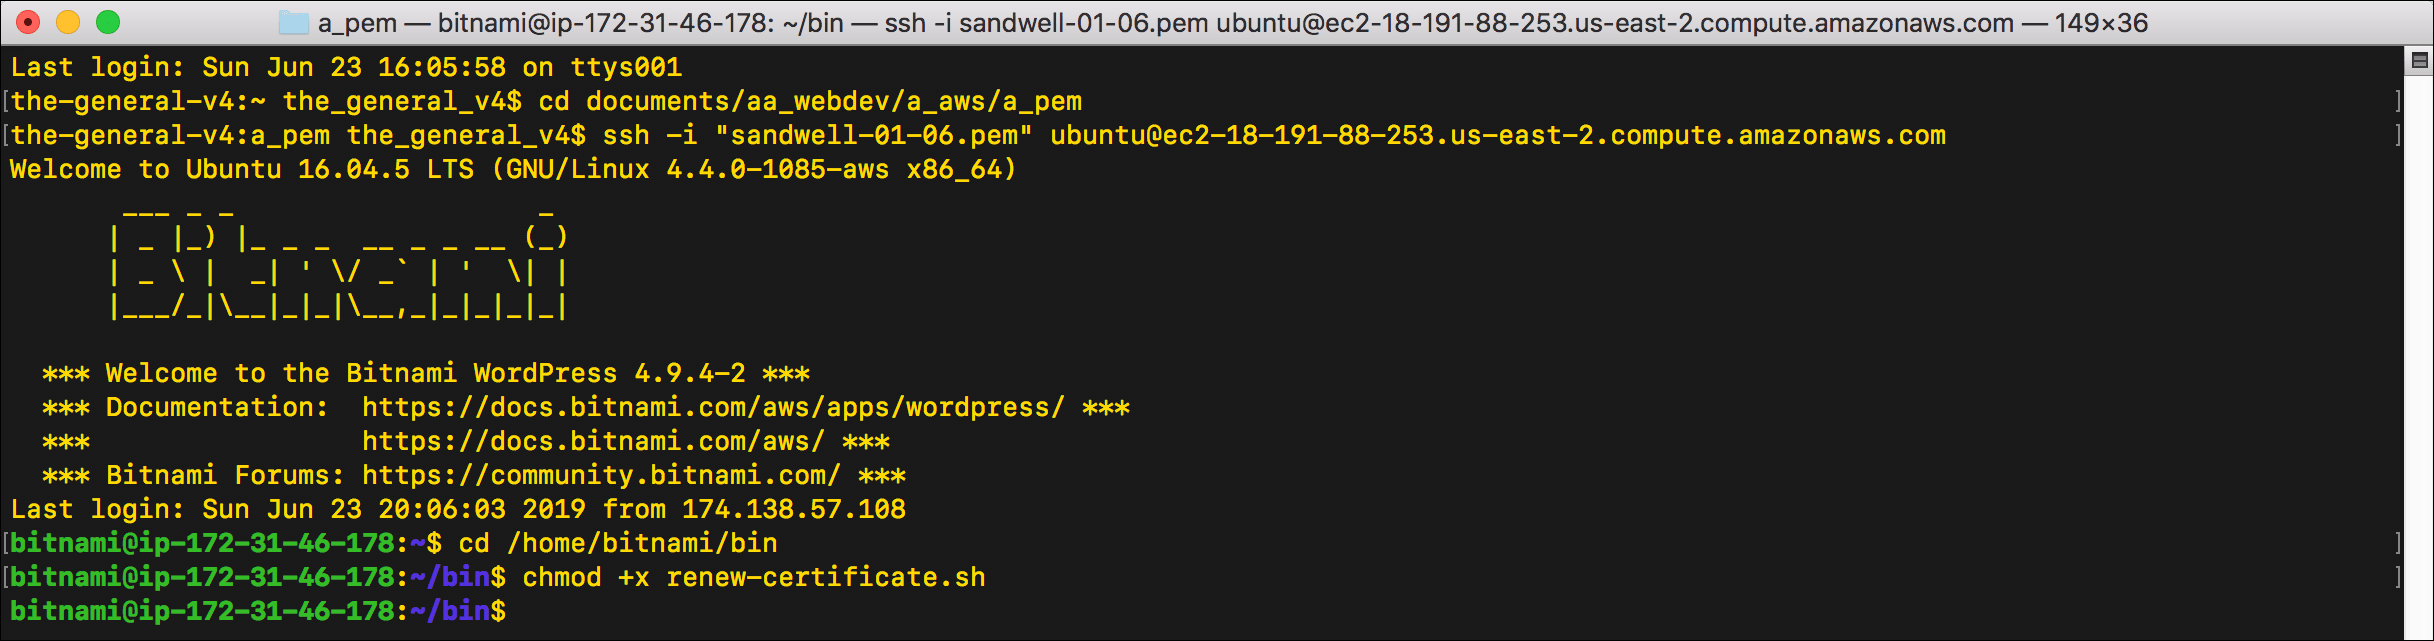
- You can check the permissions of
renew-certificate.shand of the entire directory by typingls -al /home/bitnami/binand pressingEnter. The permissions forrenew-certificate.shshould be-rwxrwxr-xand both the owner and group should bebitnami.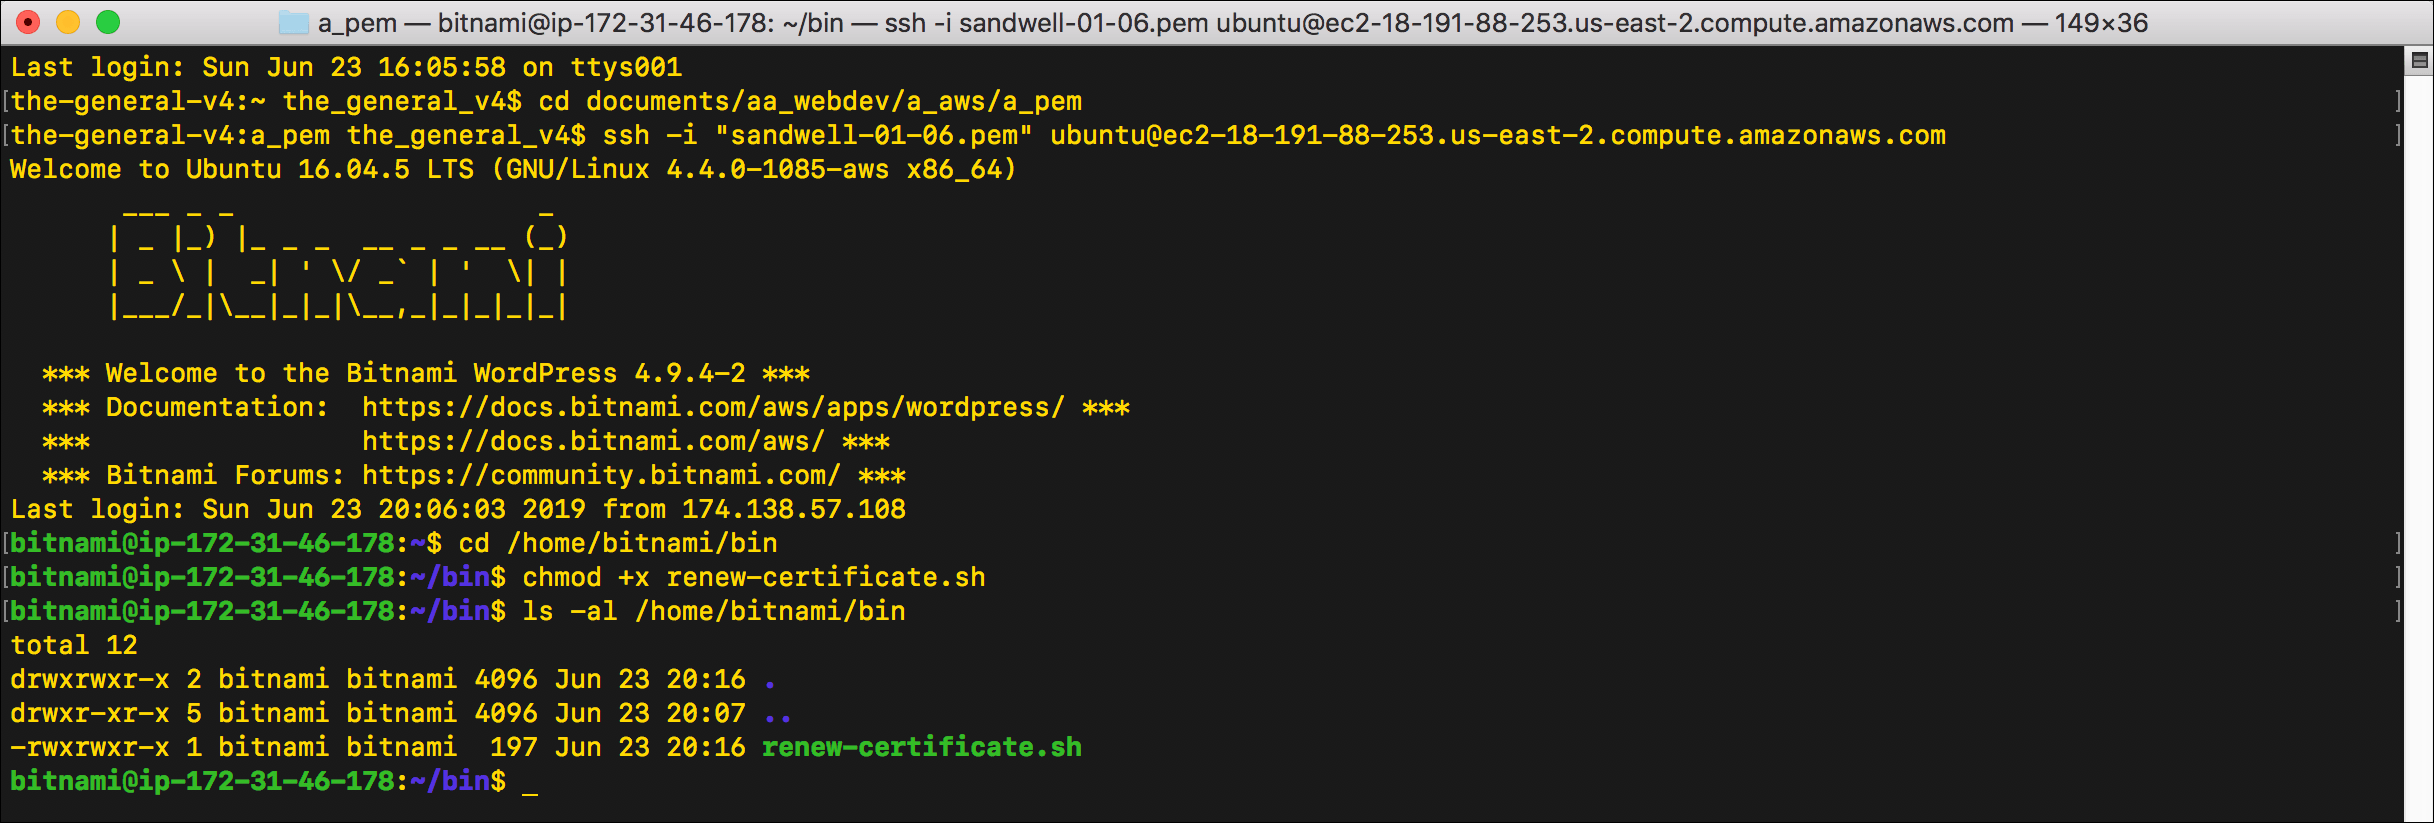
- You can check the permissions of
- Type
sudo crontab -eto enter the crontab editor.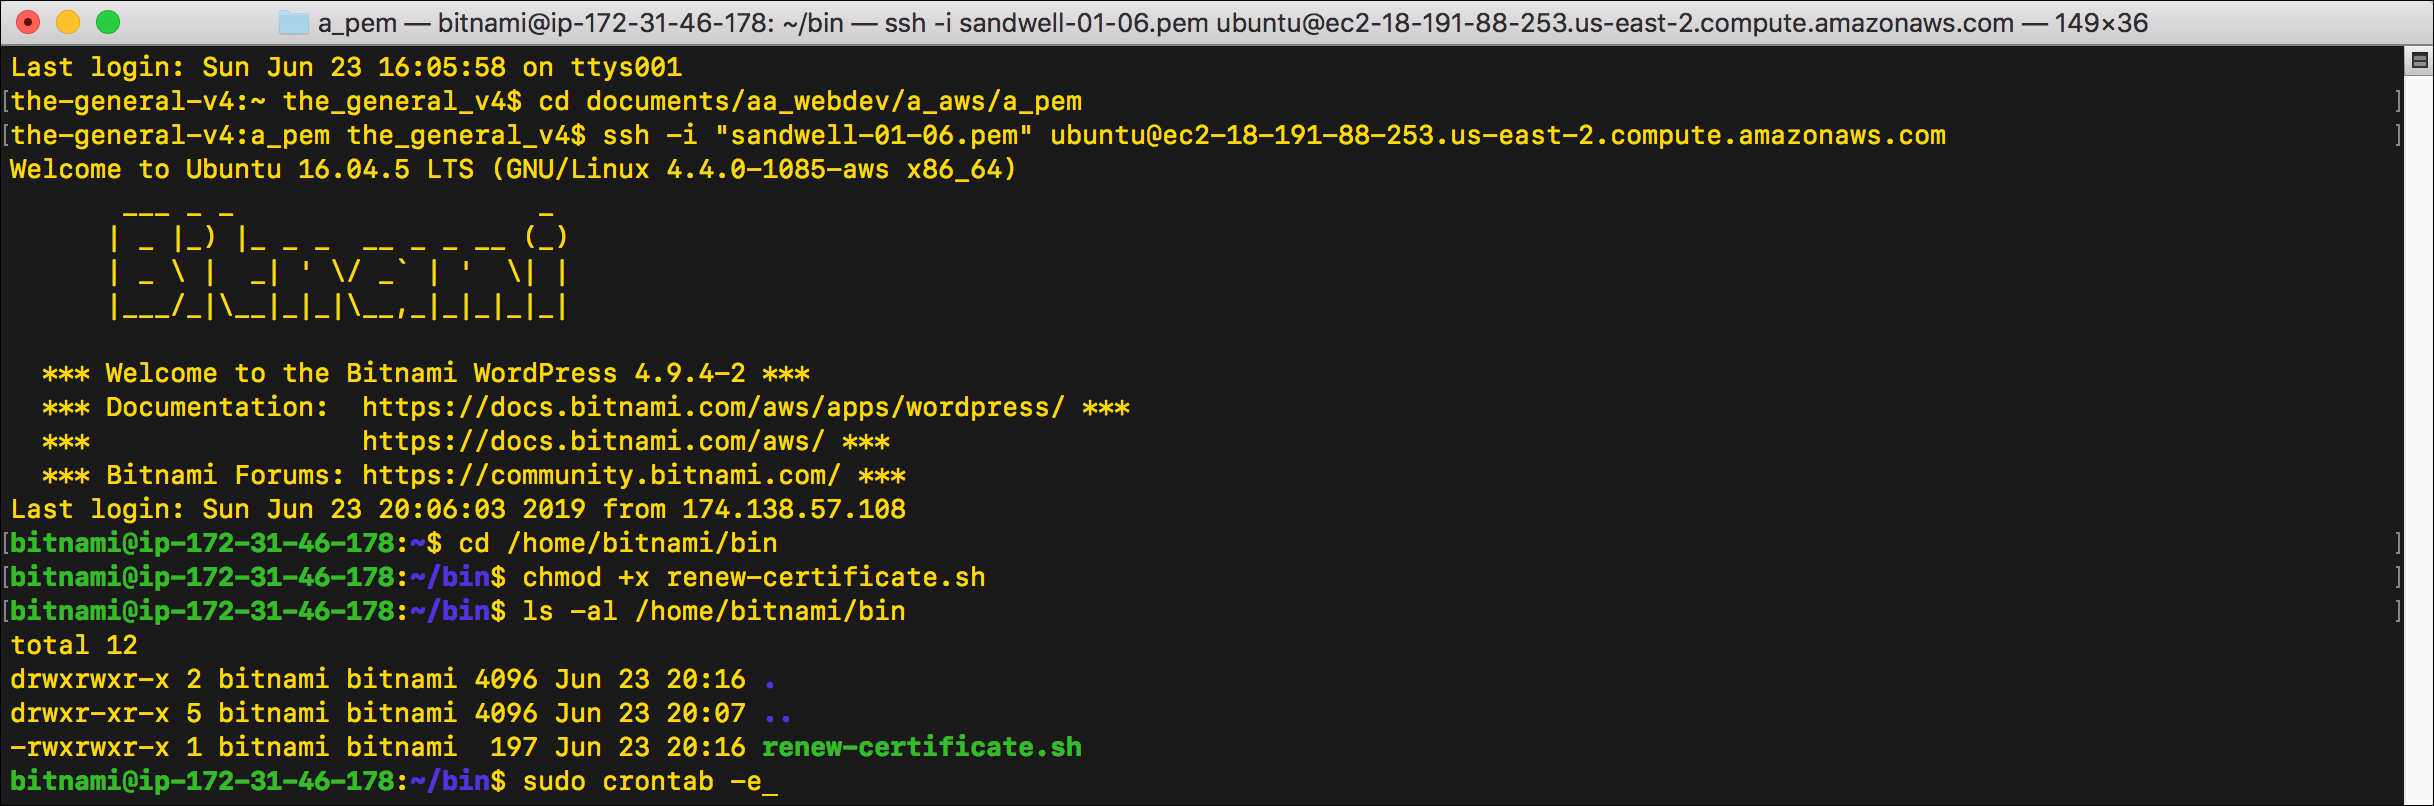
- If this is the first time you are editing the crontab (or any other file) on this instance using the command line, you may be prompted to select a text editor. This EC2 instance, created from the WordPress Certified by Bitnami and WordPress, recommends the nano editor as the easiest. Type
2and pressEnterto choose nano.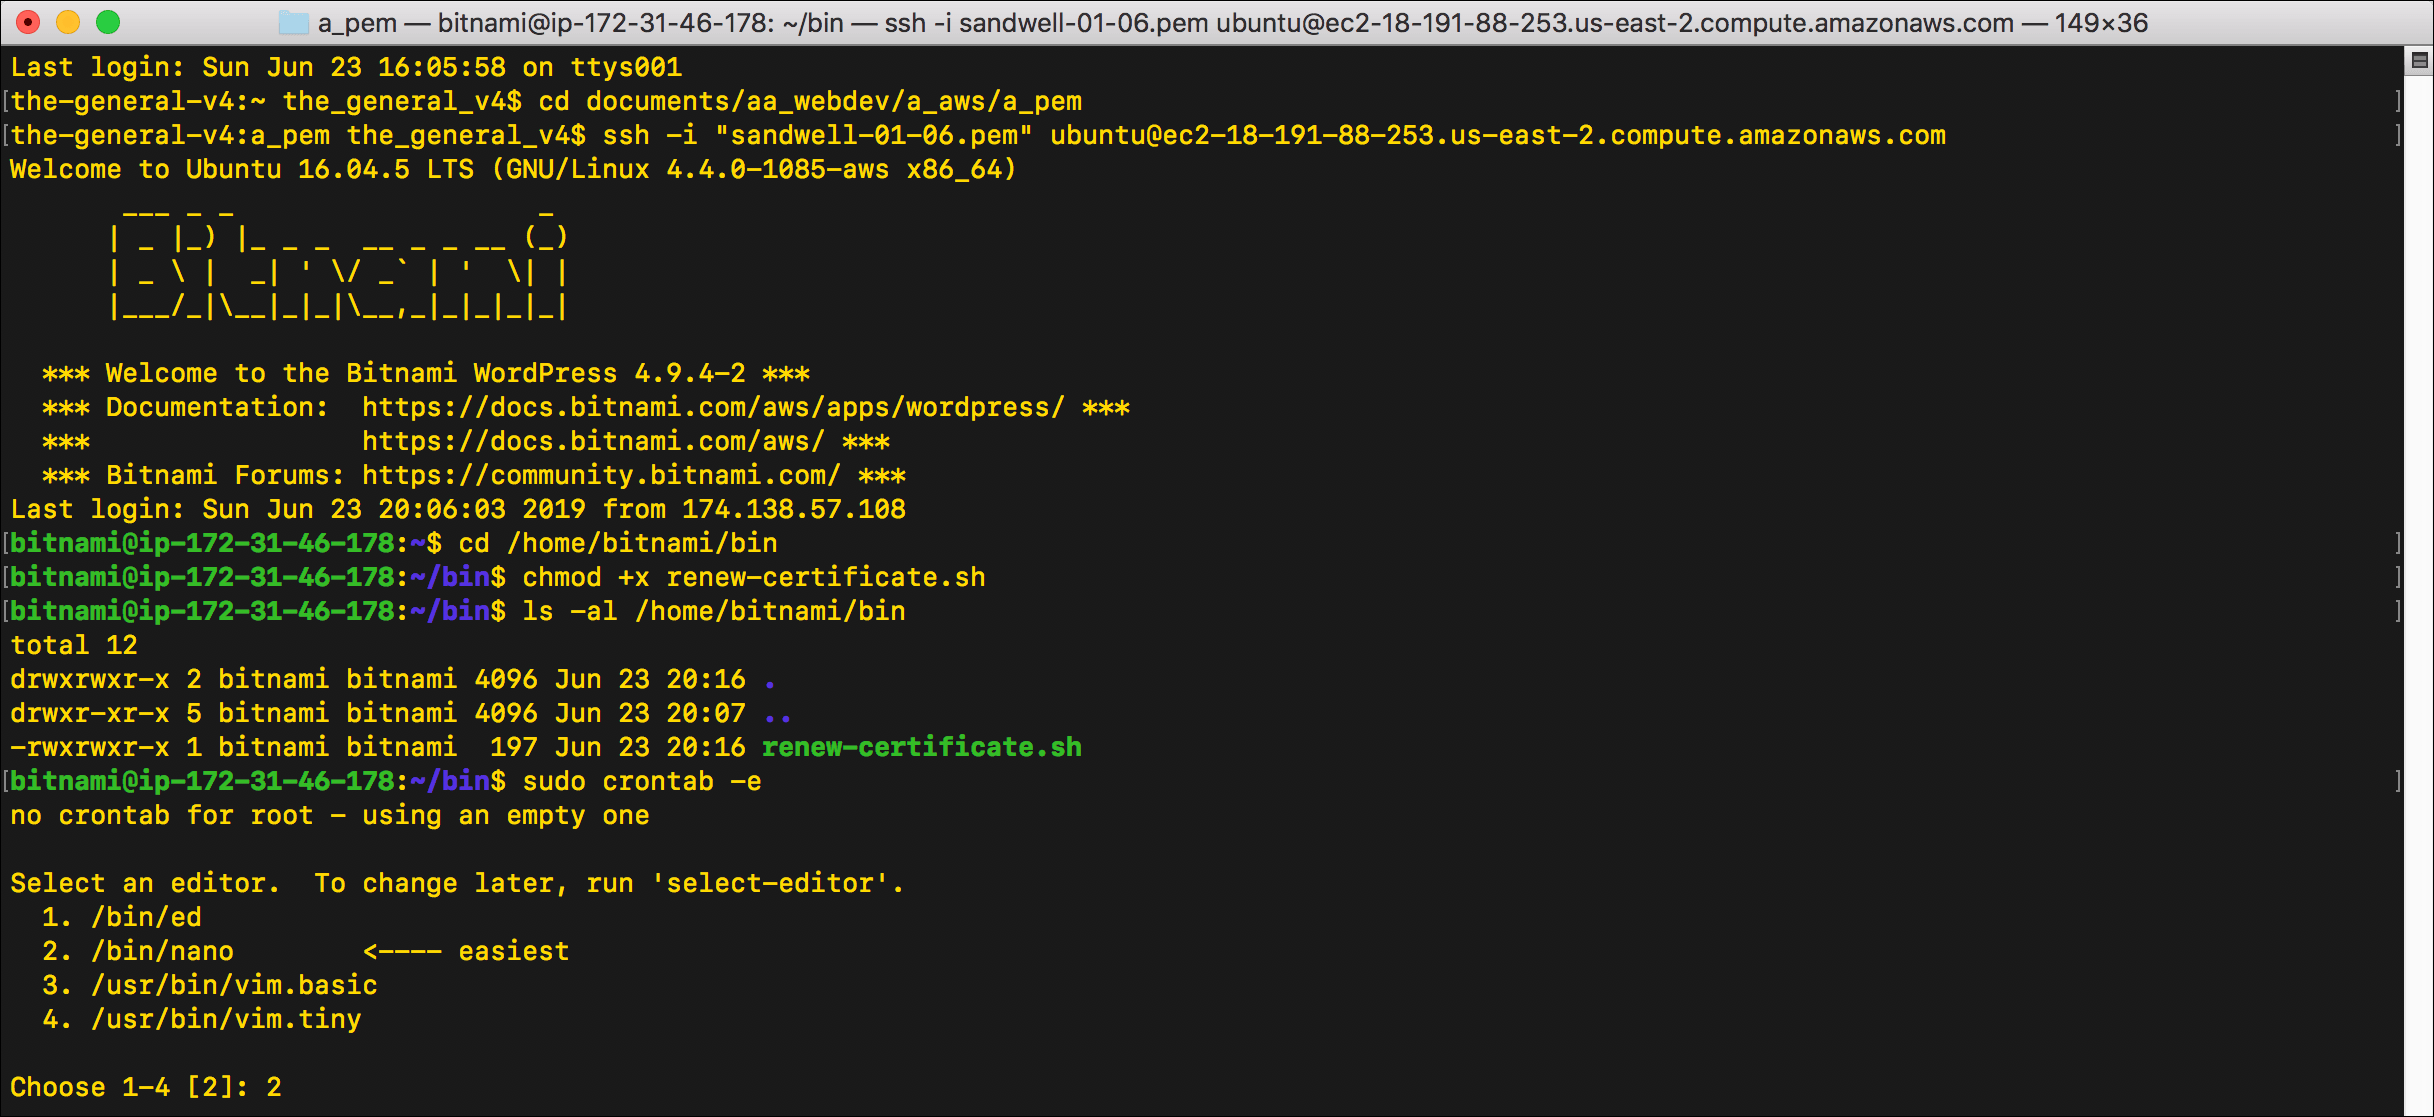
- If this is your first time editing the crontab, you will see a blank crontab file with some instructions.
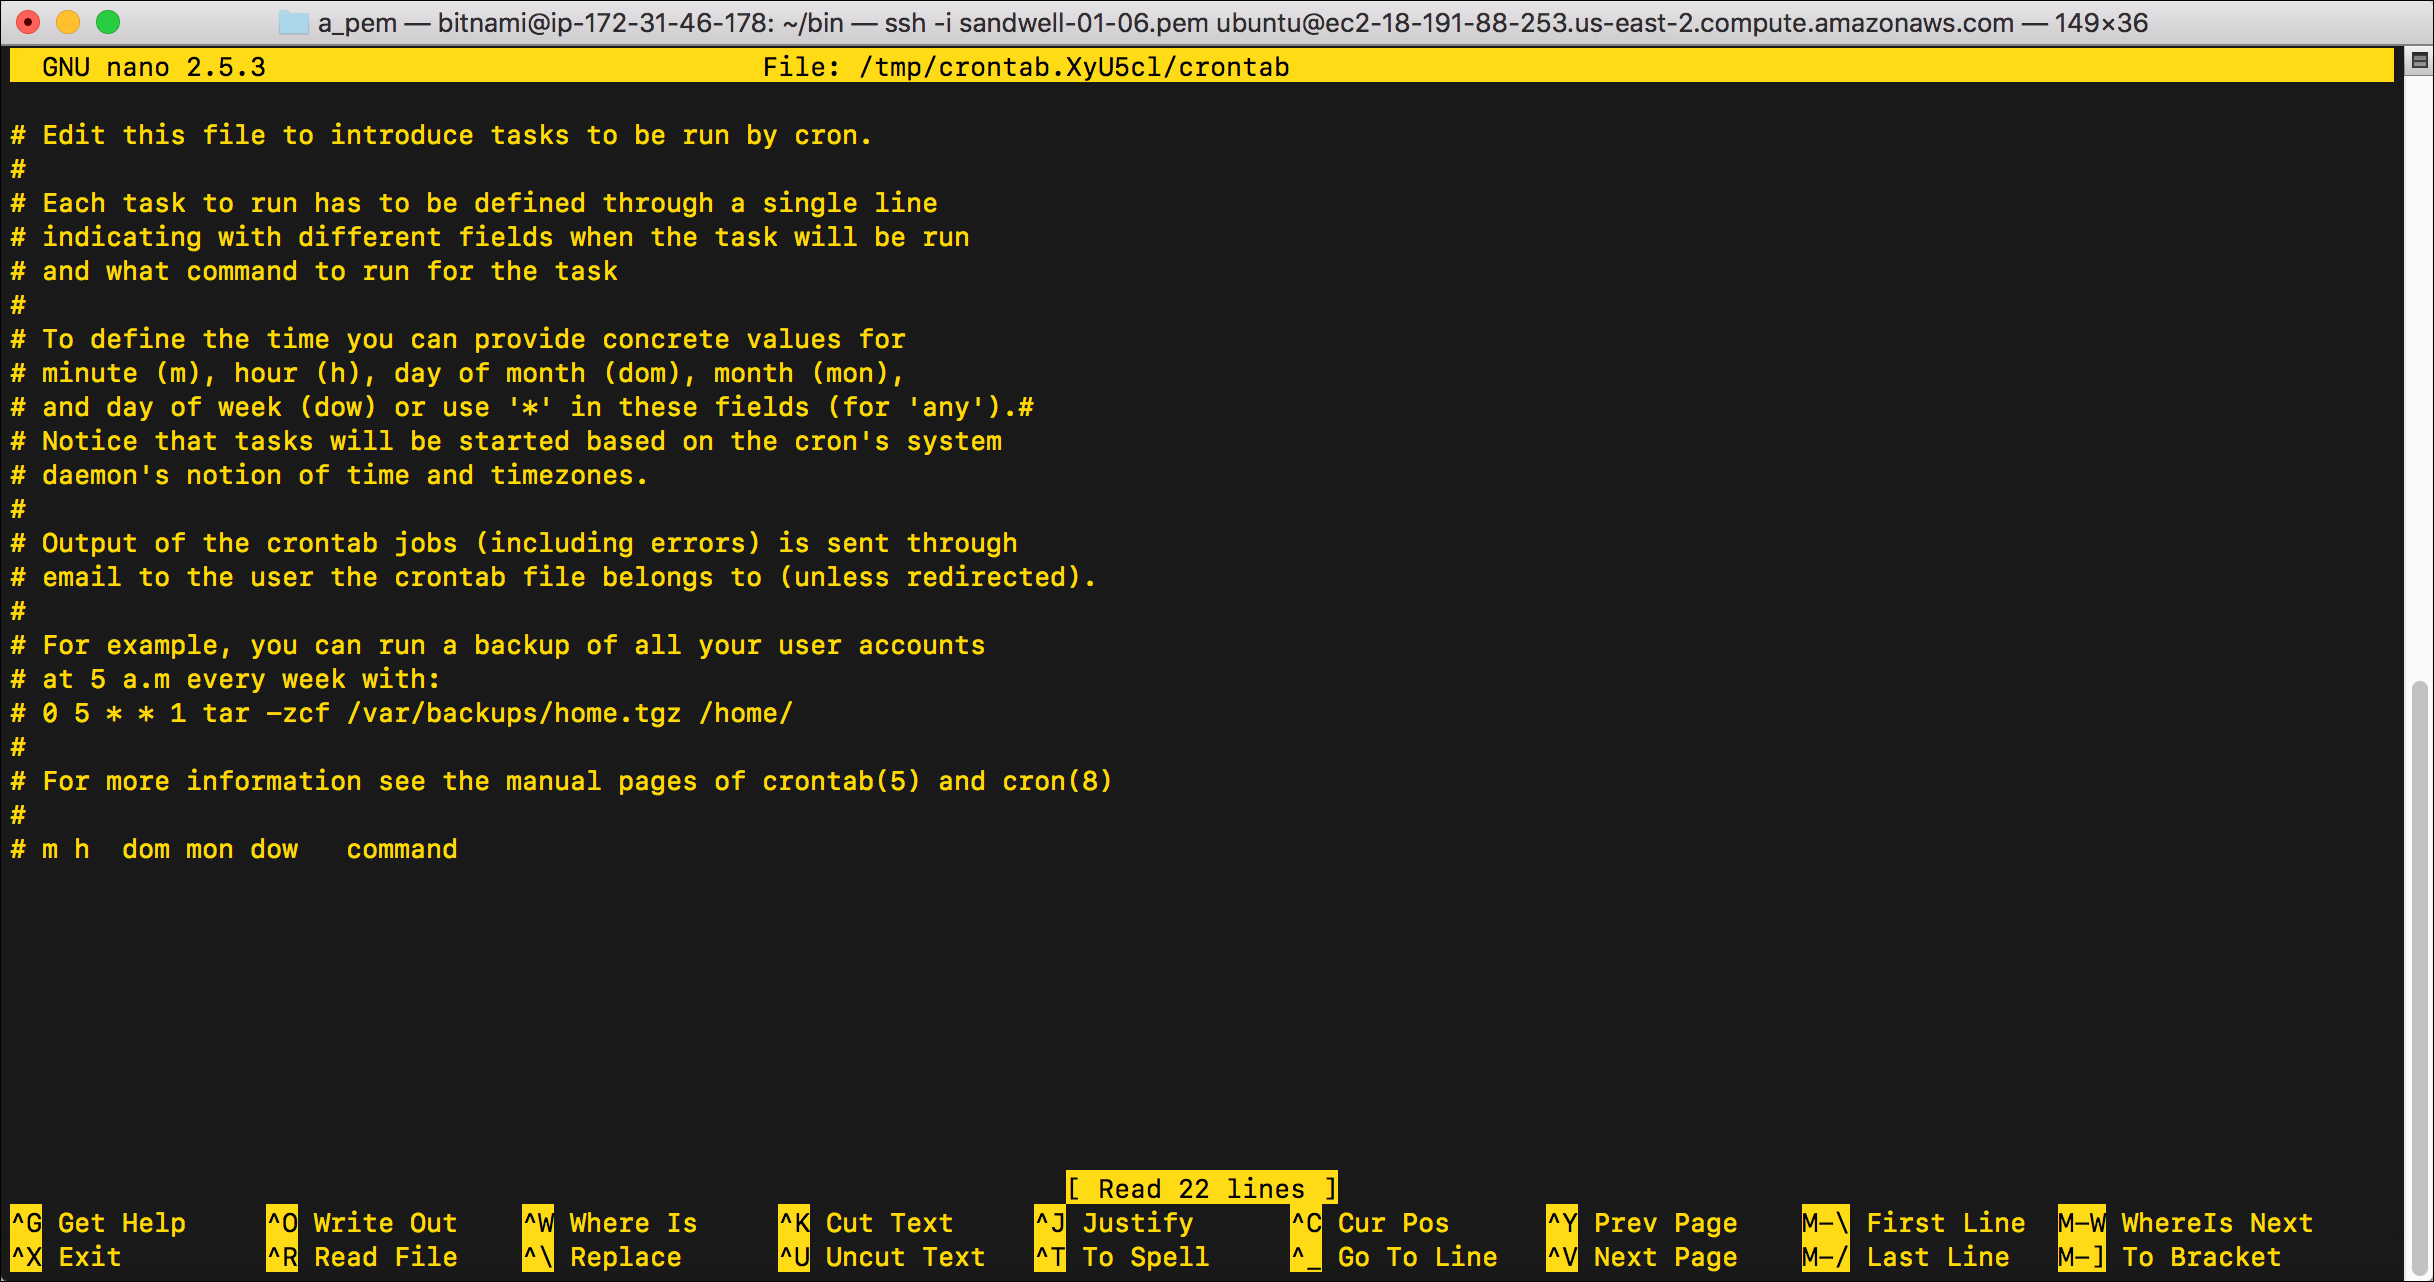
- After the commented-out section of the crontab, enter the following text:
0 0 1 * * /home/bitnami/bin/renew-certificate.sh 2> /dev/null- This creates a cron job that, at 0 minute of 0 hour (or midnight) on the first day of the month (1) of any month (*), on any day of the week (*), will run the bash script at
/home/bitnami/bin/renew-certificate.sh. - The
2> /dev/nullis a default that means that any errors running this cron job will not be emailed to you or otherwise logged. - Remember that your system time is likely set to UTC, which is Greenwich Mean Time (GMT), so keep that in mind when setting the time.
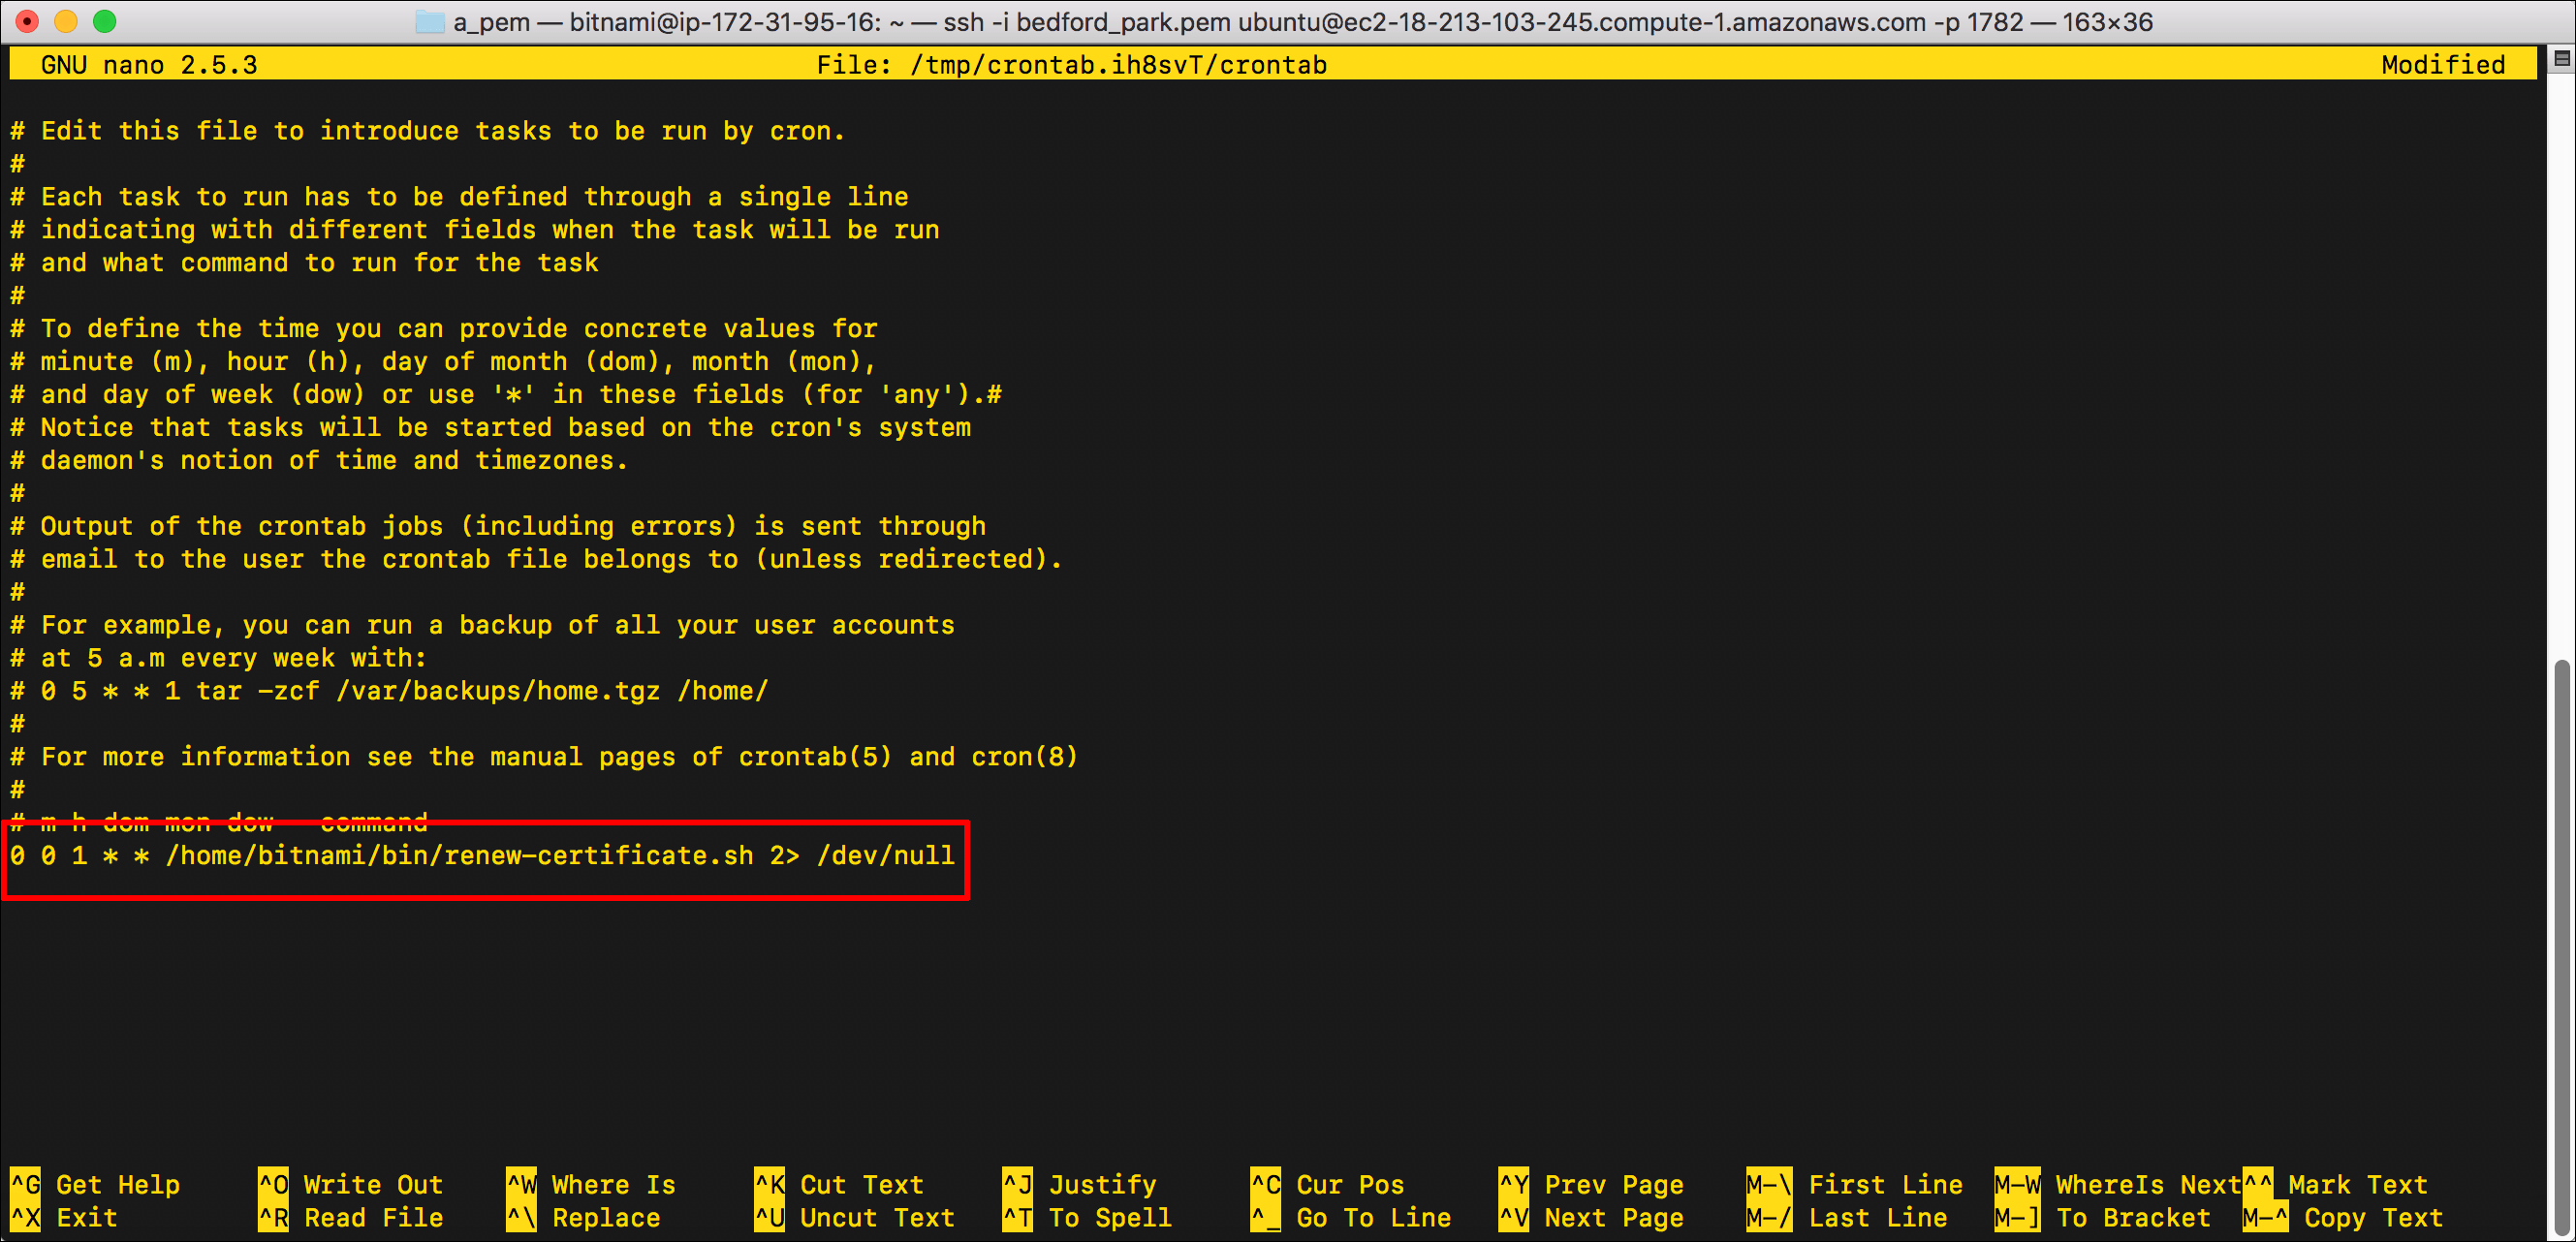
- This creates a cron job that, at 0 minute of 0 hour (or midnight) on the first day of the month (1) of any month (*), on any day of the week (*), will run the bash script at
- Press
Command+Oto “Write Out” the crontab file.
- Press
Enterto save your changes.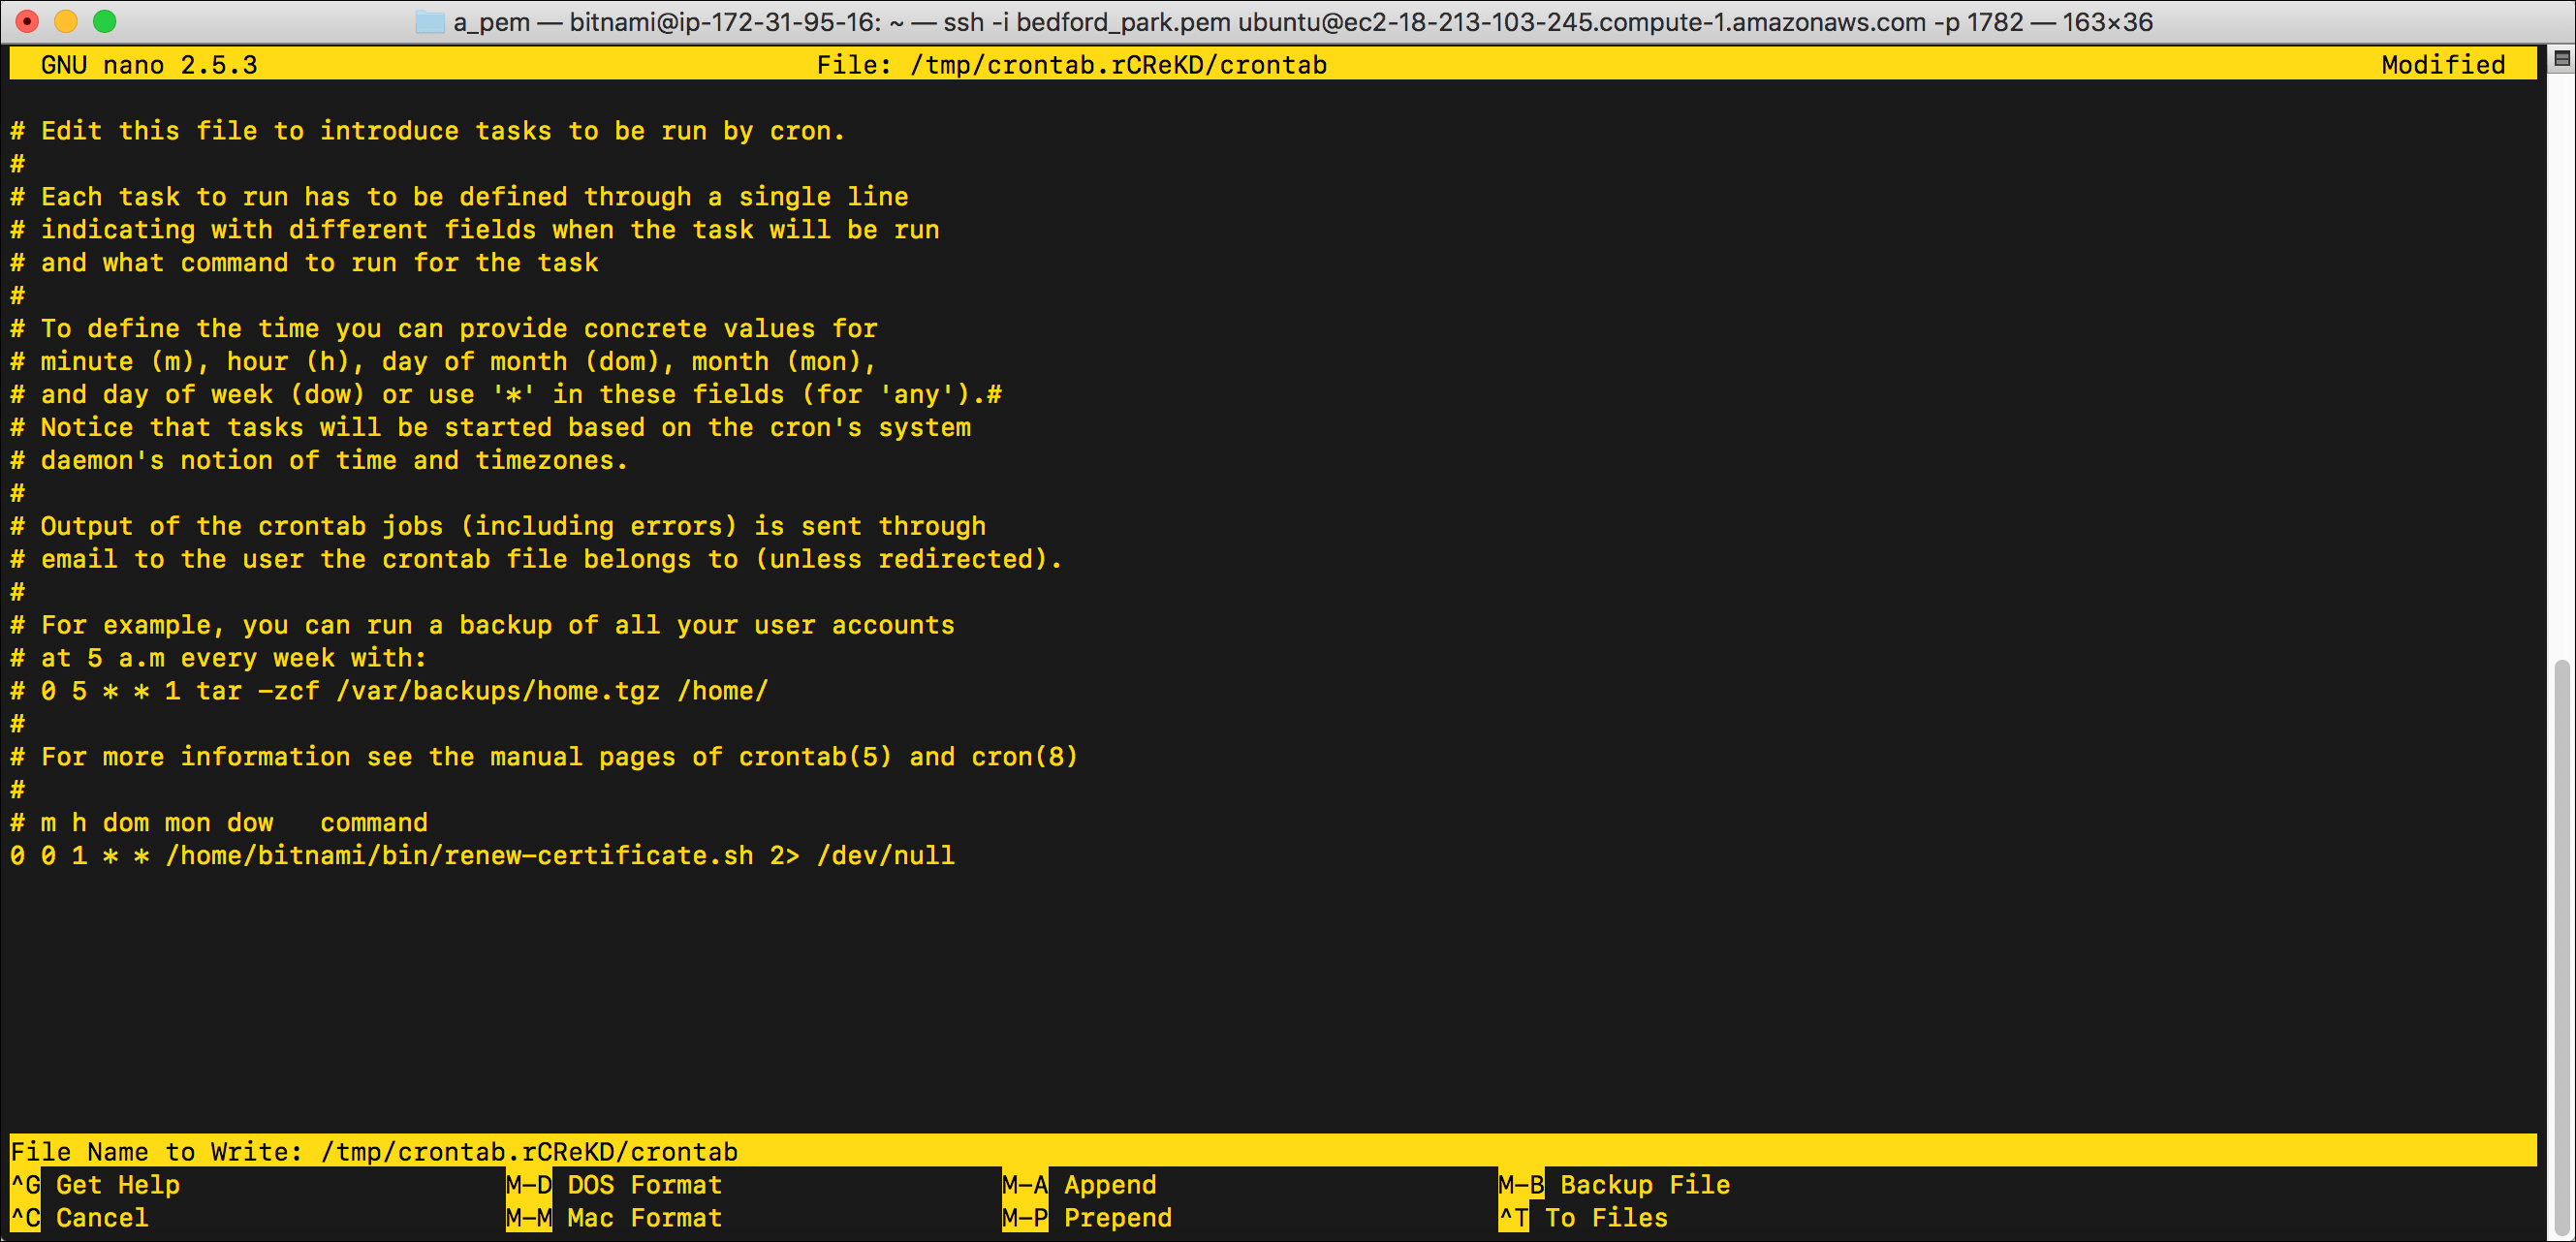
- Press
Command+Xto exit crontab.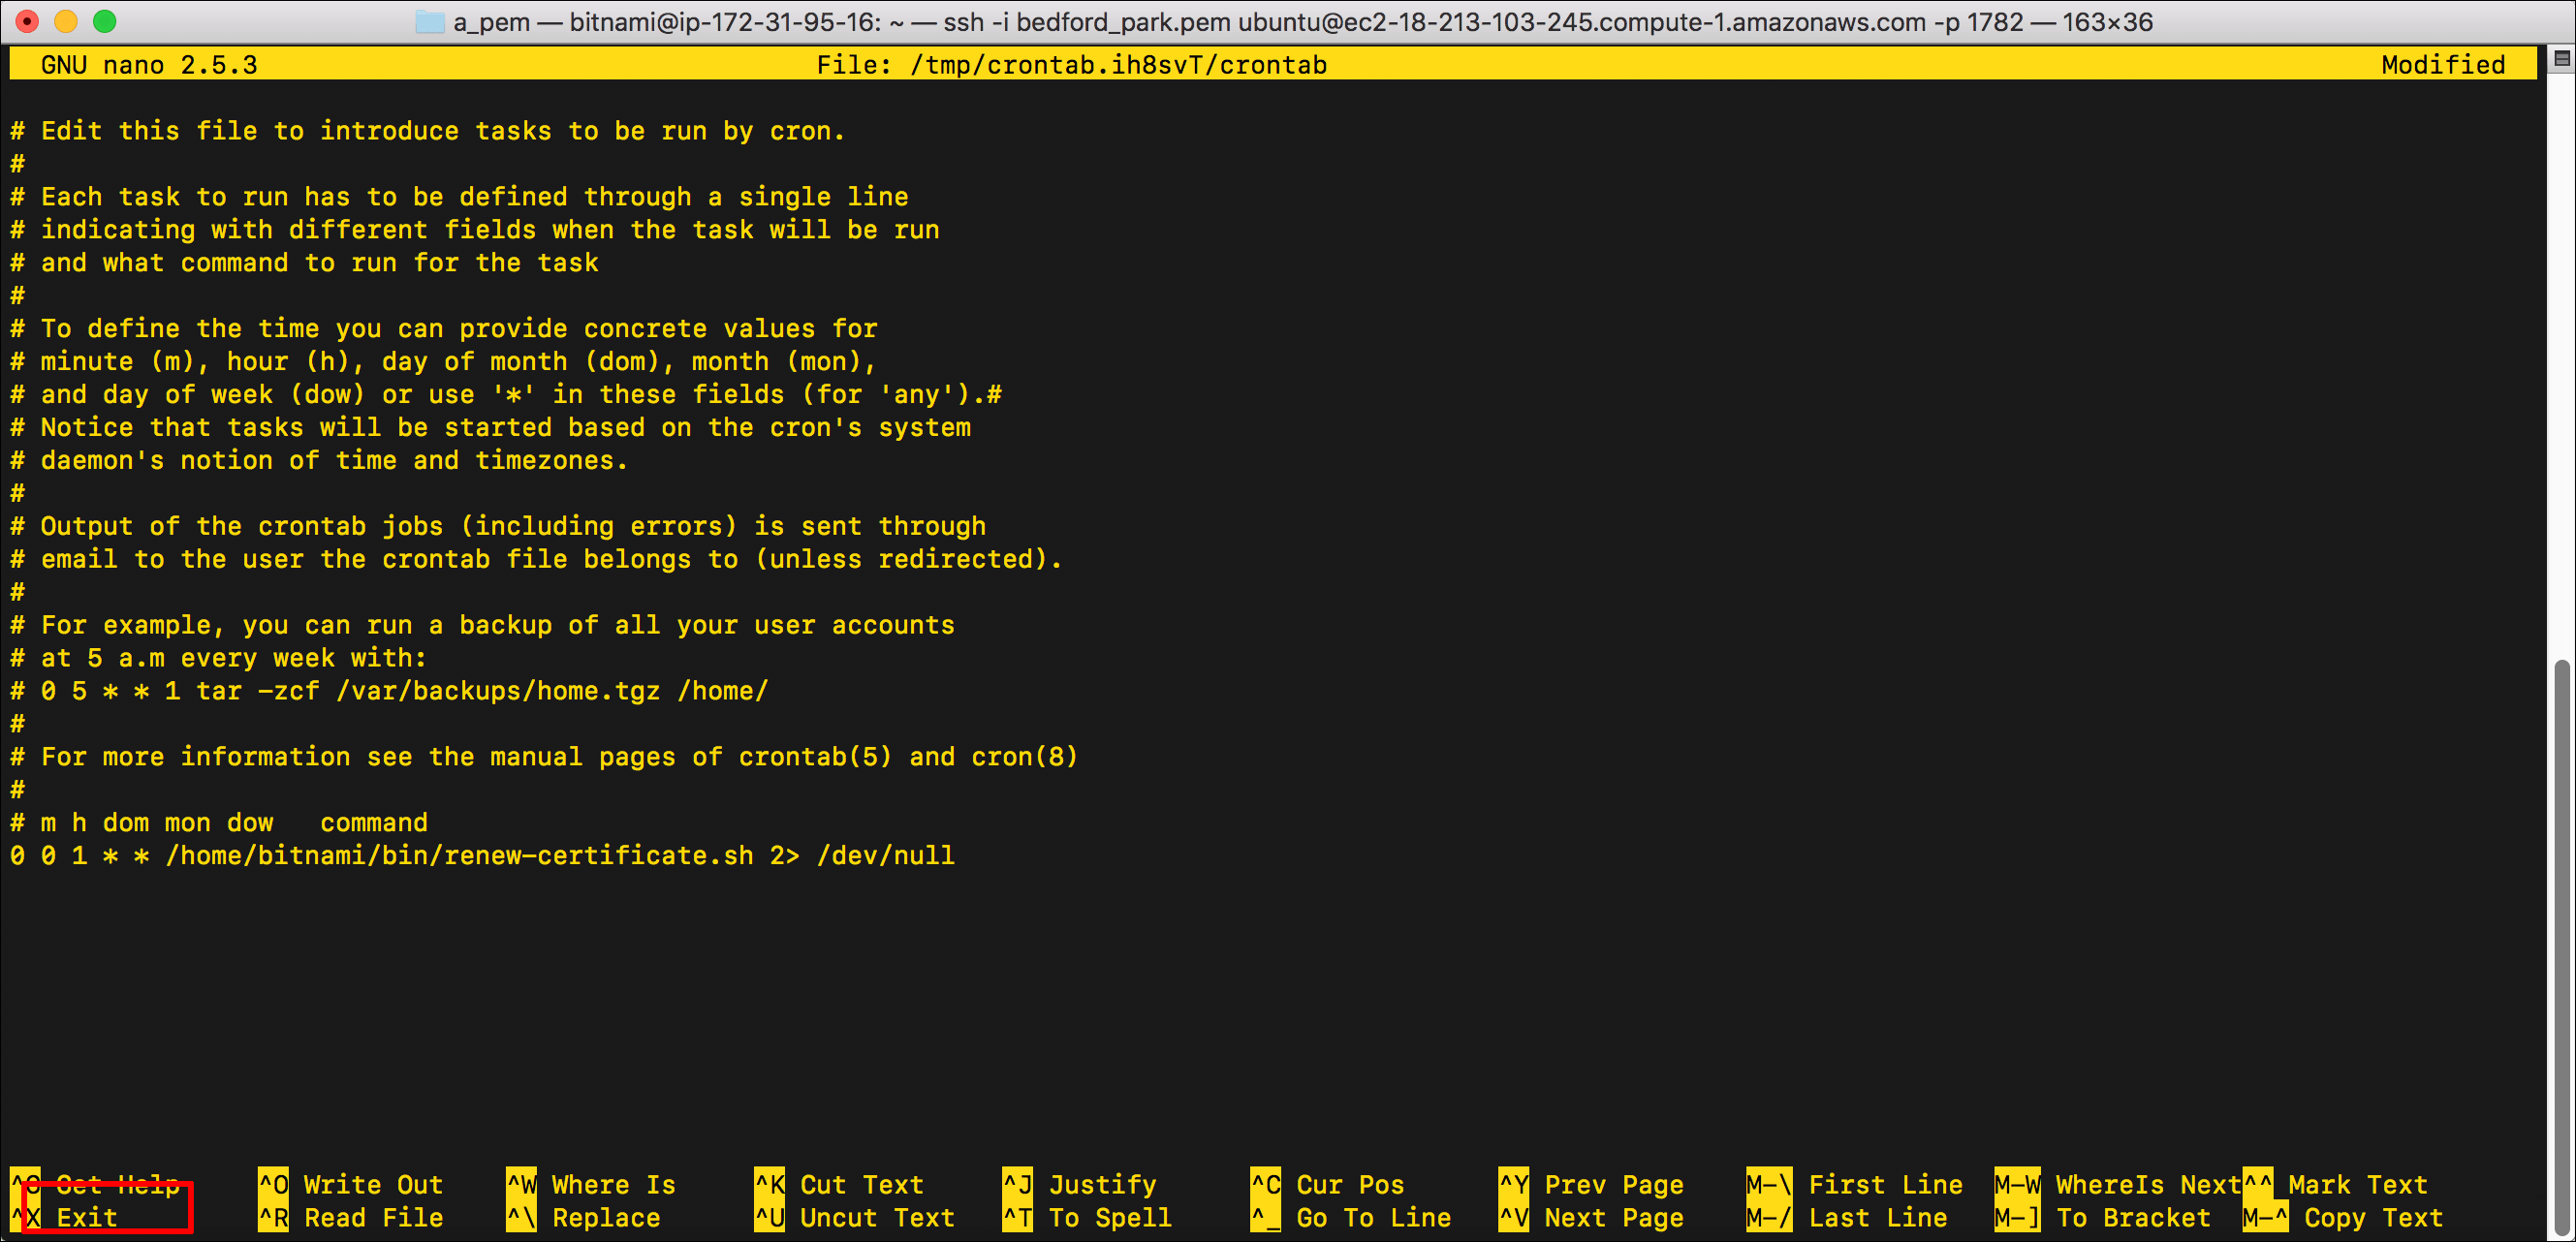
- You are returned to the command line, which displays
crontab: installing new crontab.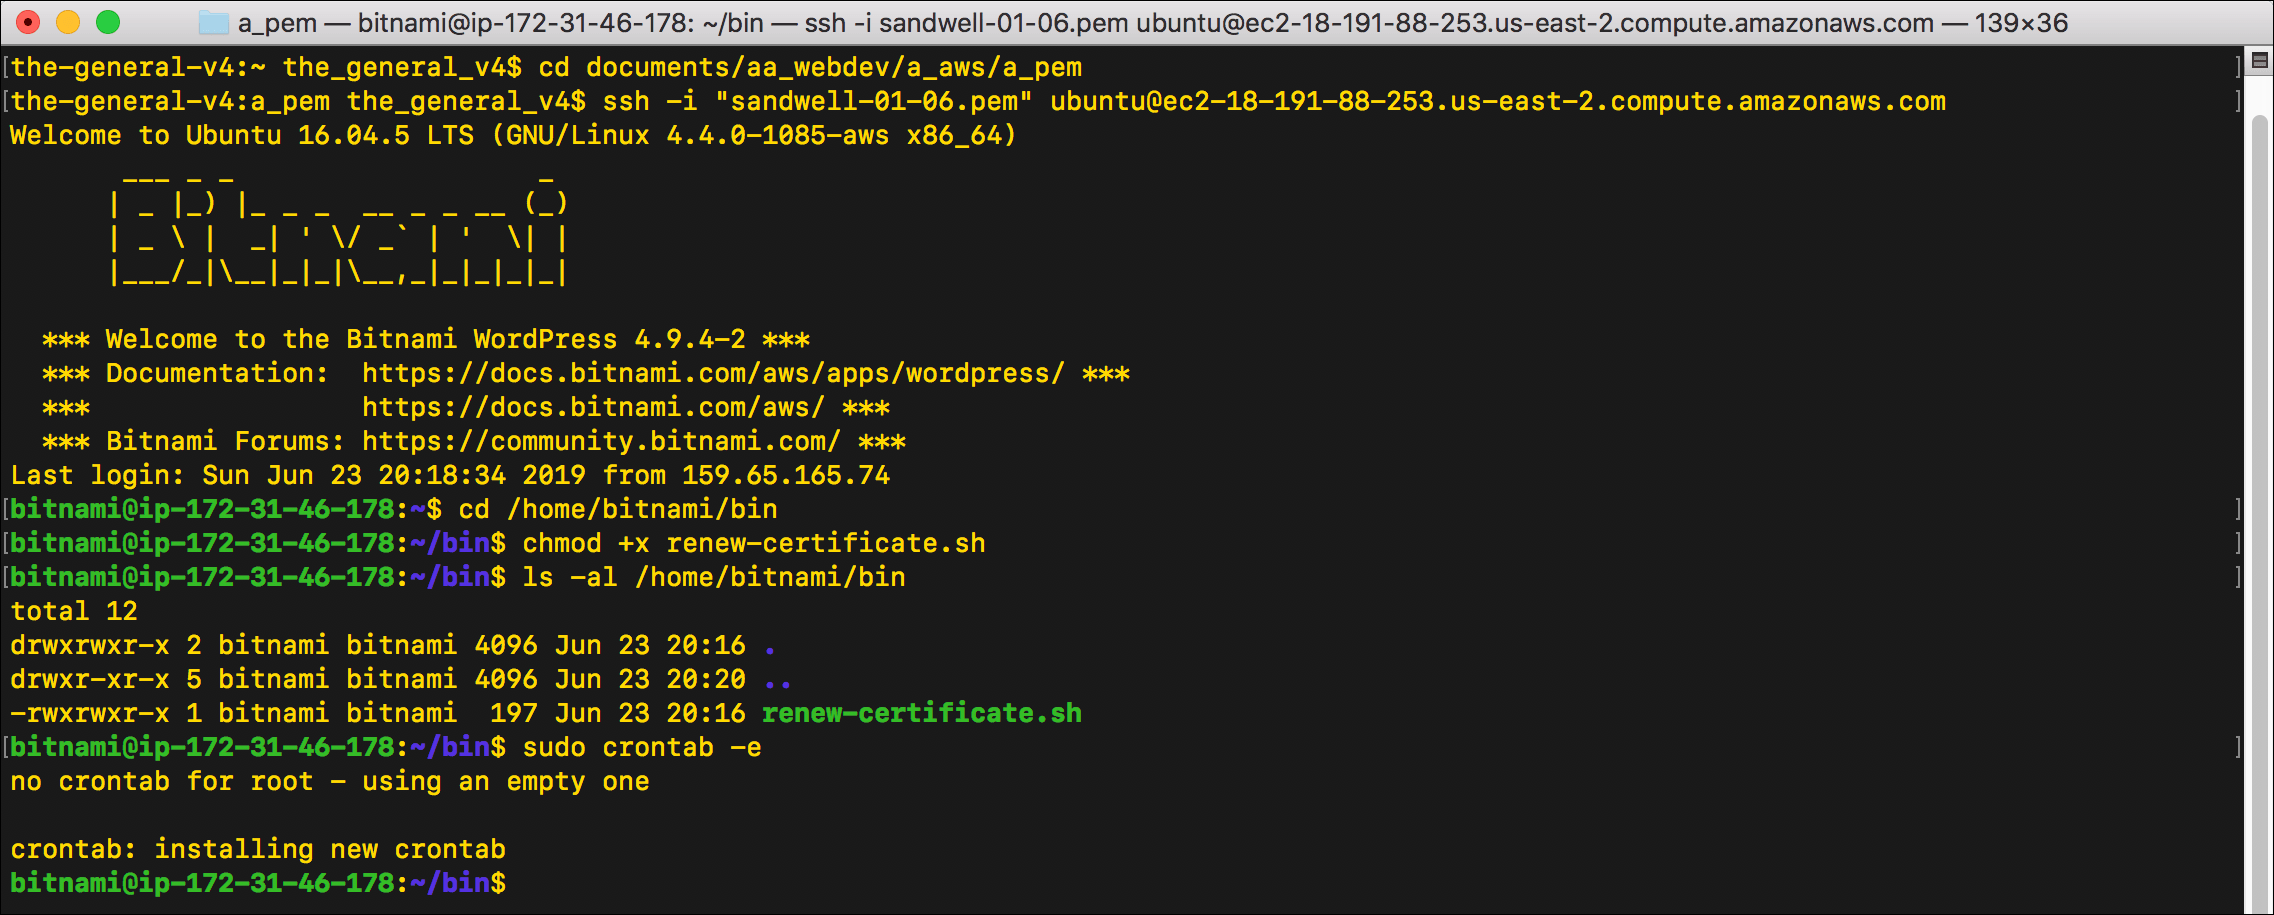
- To make sure that the cron service is running on the system, especially if it is your first time using cron, type
sudo service cron startand press Enter.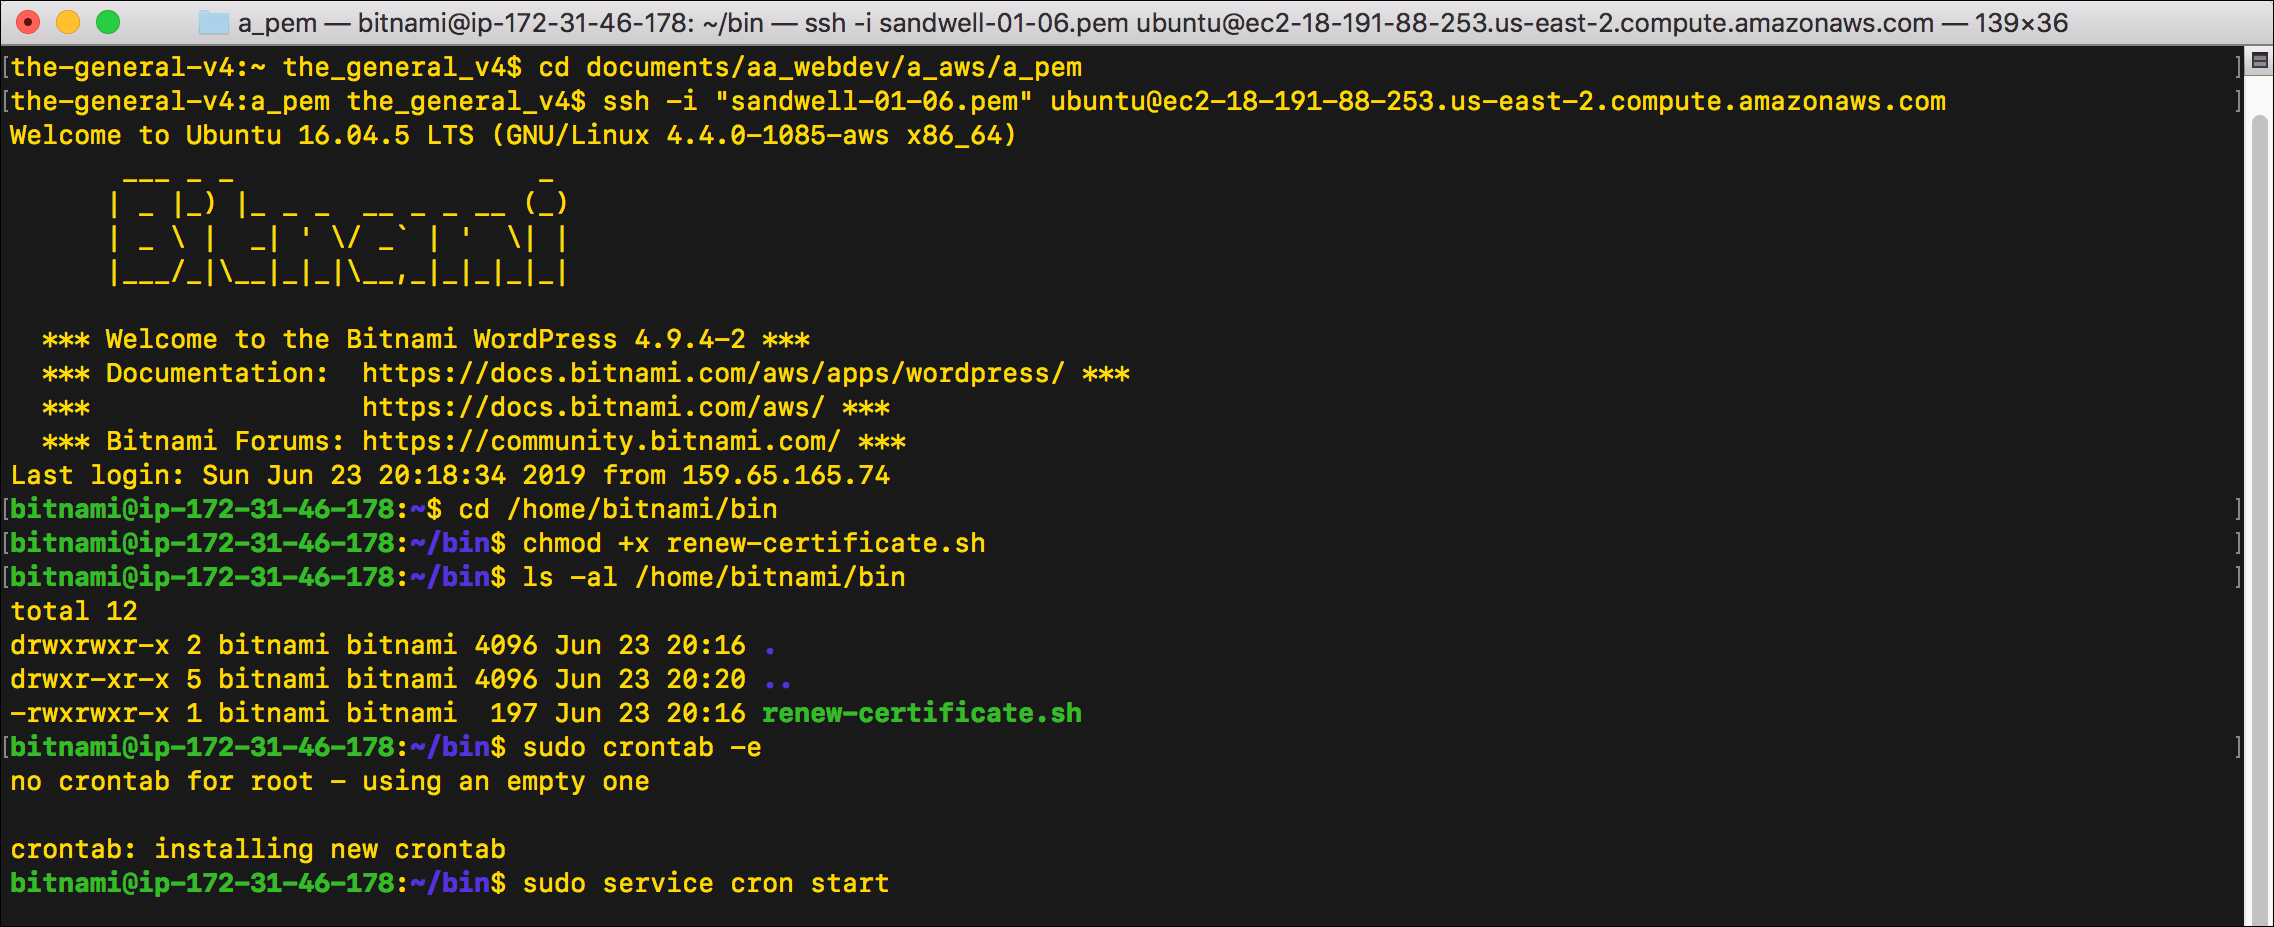
- To make sure that cron is running, enter
pgrep cron.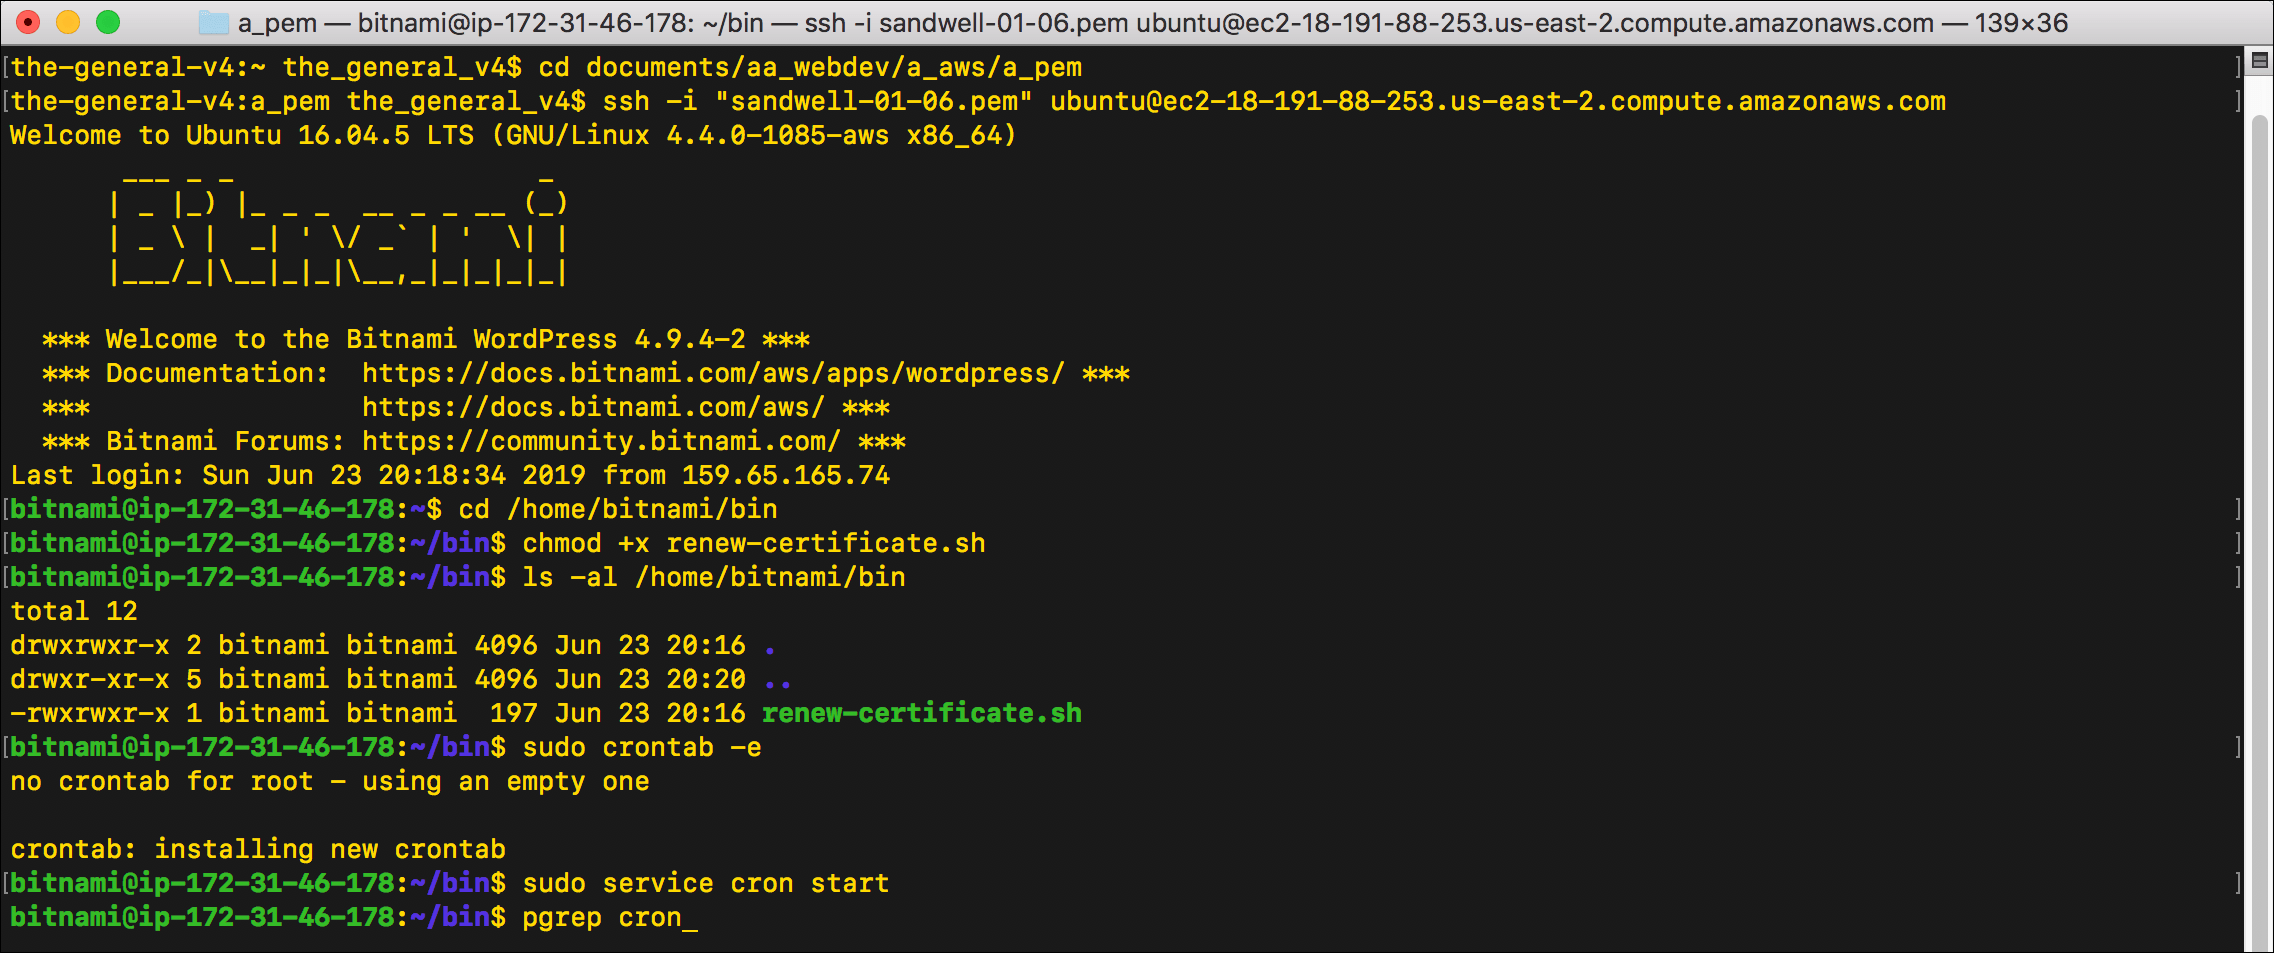
- If cron is running, Terminal will display a number, the process ID (PID) for the cron process.
- You are done. Type
exitand press Enter to end the SSH session.